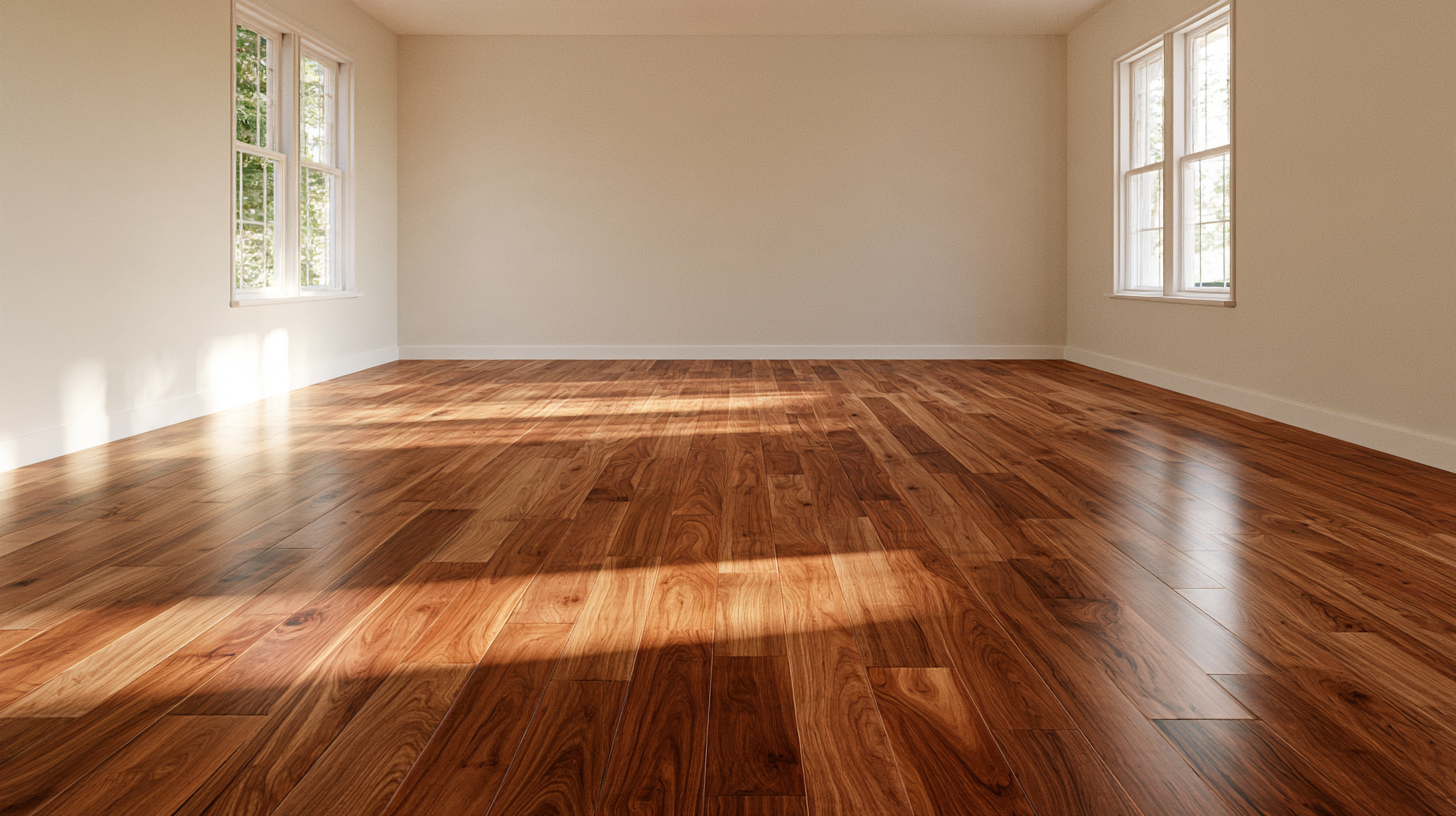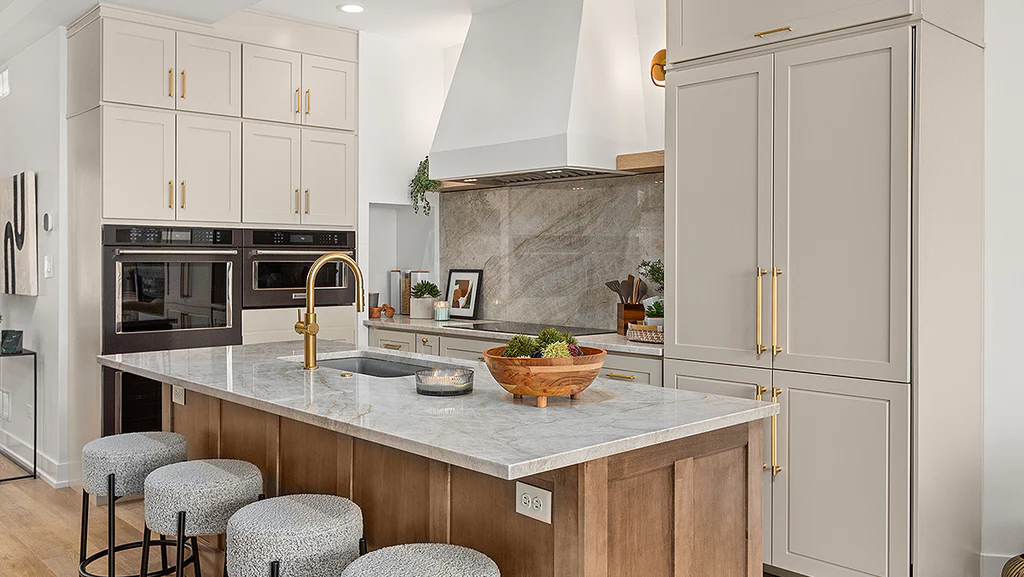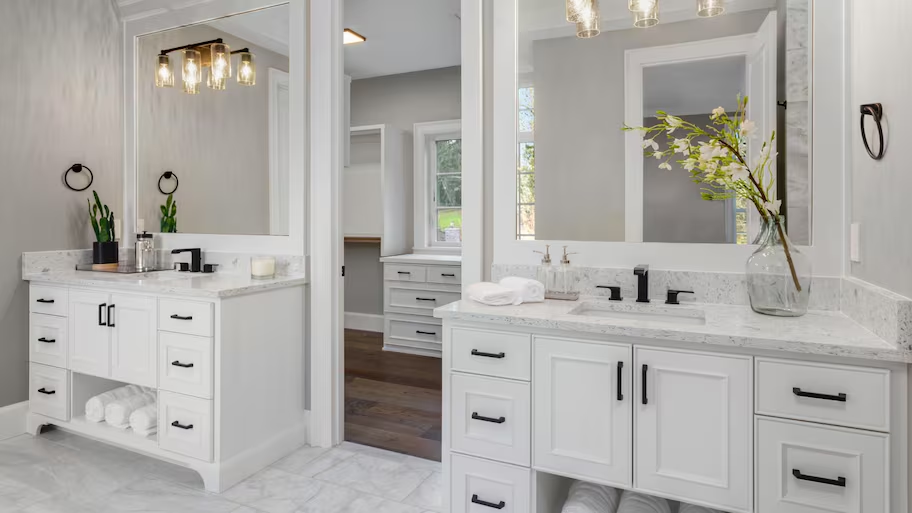

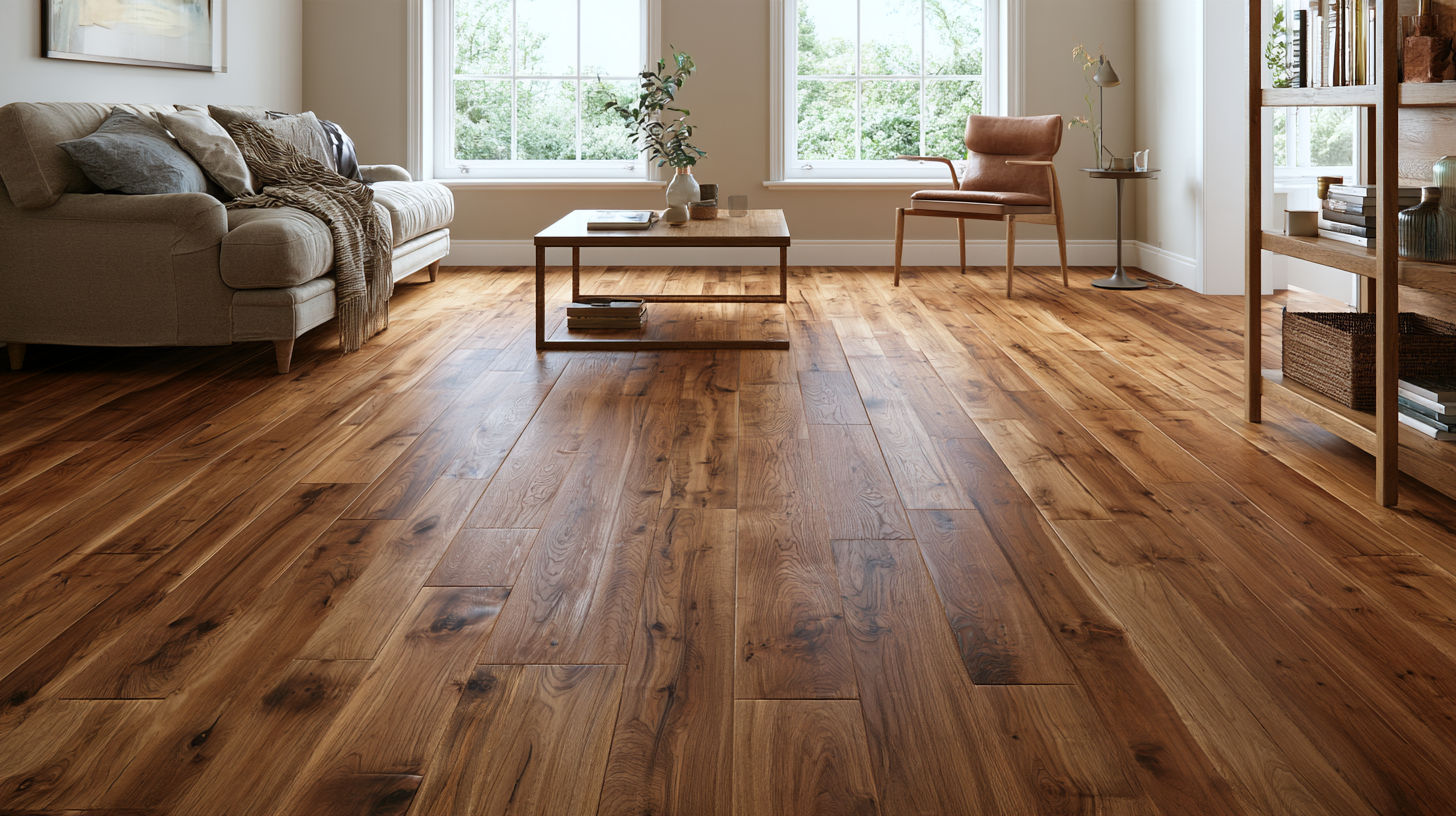
Staining hardwood floors means applying a colored stain to bare or freshly sanded wood to change its tone, then sealing it with a protective finish for lasting results. The stain is the color. The finish is the protection. They are two separate decisions, and getting both right is what gives you a floor you love for years. Most people use "stained floors" to refer to stained hardwood, though the term can also mean stained concrete, which is a different material and a different process (we cover that in a separate resource).
Refinishing or installing wood floors is a real investment in your home, both financially and emotionally. You want the color right the first time, not a surprise you have to live with. Few finishes in a house carry as much visual weight as the floors, so the stain you choose shapes how every room feels the moment you walk in. This guide walks you through how wood takes color, how to choose it, and what the process actually involves, so you can make a confident decision.
What Does It Mean to Stain Hardwood Floors?

When you stain wood floors, you change the color of the wood. That's its whole job. The stain soaks into the grain and shifts the tone, but it does not seal or protect the floor on its own. The protection comes from the finish, usually a polyurethane, applied in coats over the dried stain. Think of it as two steps that work together: color first, then a clear coat that stands up to foot traffic, spills, and daily wear.
This is different from paint. Paint sits on top of the wood and hides the grain completely. Stain penetrates and lets the natural color and grain show through, which is usually the point of choosing wood in the first place. On hardwood floors, that grain is the whole personality of the room, so a stain is meant to deepen the wood rather than cover it. It's also different from stained concrete, which colors a slab through a chemical reaction or pigment rather than soaking into wood fibers.
Staining is typically part of refinishing an existing floor, where you sand the wood back to bare, apply the stain, and seal it. It also applies when finishing new floors made of unfinished wood. Either way, the finished color depends on the wood itself, the way light hits the grain, and how evenly the stain absorbs across the surface area. A uniform result takes preparation, not luck. The same can of stain can produce a warm honey tone in one room and a slightly cooler, flatter look in another, simply because the light and the wood underneath are different.
Does Wood Species Affect How Floors Take Stain?
The wood species is the single biggest factor in how predictable your floor color will be. Open-grain woods drink in stain evenly. Dense, closed-grain woods can fight you and blotch if they aren't prepped correctly. This is why two homeowners can pick the same stain and end up with very different floors.
Oak, both red oak and white oak floors, has pronounced open grain and takes stain beautifully and evenly, which is why it's the most forgiving choice for a wide range of colors. Red oak carries a slight pink undertone that warms up medium browns, while white oak runs a touch cooler and holds gray and natural tones well. Walnut stains easily and is already naturally dark, so it leans toward rich tones without much help, and a dark walnut stain on walnut flooring produces some of the deepest color you can get. Cherry brings its own warm reddish character to the mix. Maple is the tricky one. It's dense and tight-grained, which means stain can absorb unevenly and leave blotches unless you first apply a pre-stain wood conditioner to help the color blend.
If you're refinishing an existing floor, you can't change the species, so the wood you already have sets your realistic color range. Knowing what you're working with before you pick a color saves disappointment later. On red oak, a dark stain reads rich and even; on maple, that same dark stain can turn patchy without the right prep. A quick look at the grain under good light usually tells an experienced eye which species you have and how it will behave.
How Do You Choose Hardwood Floor Stain Colors?

Start with your vision and the room, not the sample chart. The color that looks perfect in a showroom can read completely differently in your space once your walls, furniture, and natural light come into play. The way a stain plays against your walls matters as much as the stain itself, because floors and walls are read together by the eye.
A few directions cover most homes. Natural or clear tones keep the wood looking like wood and work with almost any style. Warm mid-browns feel classic and lived-in. Dark walnut, jacobean stain, and espresso bring drama and depth. Grays have been popular for several years, especially on white oak, and they lean modern and cool. There's no single right answer, only the one that fits your home. If your style leans traditional, a warm medium brown tends to blend effortlessly; if it leans contemporary, a cooler gray or a deep dark stain often suits the look better. A thoughtful color combination of floor, wall, and trim ties the whole room together.
It also helps to think about how the floors connect the house together. Open floor plans read best when the stain carries the same tone from room to room, so the eye moves across the entire floor without a jarring break. If you've saved a photo of a floor you love, bring it to the conversation. One photo of the look you're after tells us more about your taste than a paragraph of description, and it gives us a real target to match against your actual floor.
Lighter Floors vs. Dark Stain and Dark Walnut
This tradeoff matters more than the exact shade. Lighter floors reflect light and make a room feel larger and more open, which helps smaller spaces and rooms that don't get much sun. A lighter floor also hides dust and footprints between cleanings, which is a quiet everyday advantage. Darker floors feel rich and grounded, and they hide minor imperfections in the wood. The catch is that dark colors show dust, footprints, and scratches far more readily, so they need more maintenance to look their best.
Dark colors have a real pull for a reason. A deep walnut or espresso floor gives a room a sense of weight and elegance that lighter tones can't quite match. Just go in with clear eyes: the same dark stain that looks stunning in a photo will also reveal every speck of lint on a sunny morning. Lighter and mid-tone floors are more forgiving day to day, while dark floors reward homeowners who don't mind keeping up with them.
Whatever direction you lean, match the stain to the whole room. Your wall color, furniture, and lighting all change how the floor reads. A stain that looks warm under evening lamps can look flat in gray daytime light. Decide in the actual room, not from a single photo online, and look at your samples against the walls and furniture that will actually share the space.
Why You Should Always Test the Stain Before Committing
A printed chip or a photo on your screen will not match your floor. The same stain looks different on red oak than on maple, different under north-facing windows than south, and different again once the finish goes on top. Testing is how you avoid a color you regret. A stain that looks like a medium brown on paper can pull noticeably darker and into a richer color once it's on real wood and sealed.
Ask for sample boards in your species, or better, test patches applied directly on your sanded floor. Lay a few different hardwood floor stain colors side by side so you can compare them in the same light rather than judging each one alone. Bona stains and jacobean stain, for example, can look quite different on the same board, so testing the exact product matters. Look at them in daytime and again at night under your own lighting before you approve anything. Set a piece of furniture nearby and hold up a fabric swatch or a wall paint chip so you can see how the color blends with the rest of the room. This is the single best way to prevent surprises.
Water Popping and Staining Hardwood Floors for Richer Color
Water popping is worth testing too. It means lightly dampening the sanded wood with water so the grain pores open and swell slightly. When you then apply stain, the floor absorbs it more deeply and more uniformly, giving richer, darker color. The effect is strongest on species like oak and shows up most on darker tones, which is exactly where even absorption matters most. Because it changes the final shade, a good test includes samples both with and without water popping so you can see the difference and choose on purpose.
Staining Hardwood Floors: The Refinishing Process, Step by Step
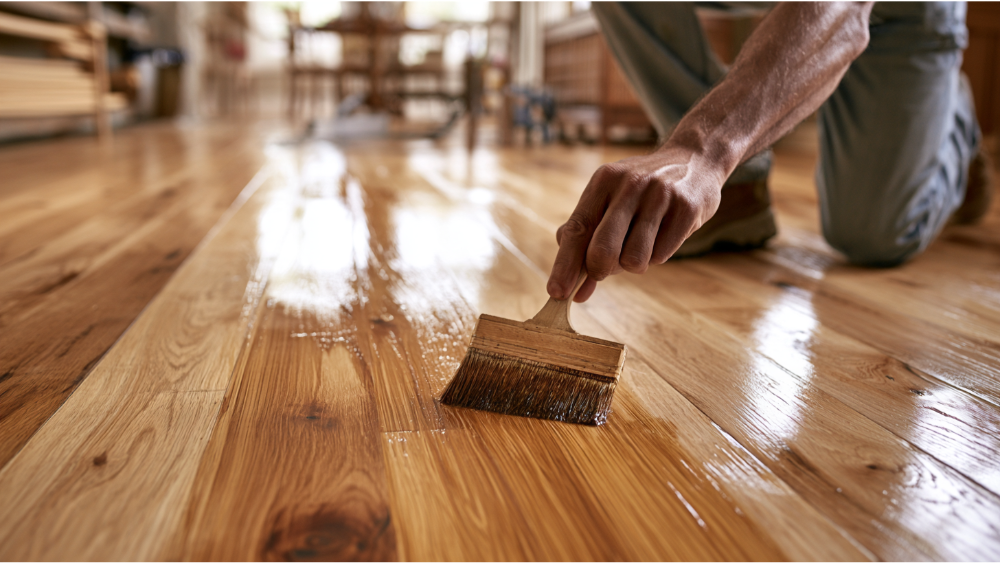
Done well, staining is skilled work. Uneven sanding or rushed drying shows permanently, so the order and the patience behind each step matter as much as the products. Each stage sets up the next, and skipping one to save time almost always costs more later.
- Assess and plan. We evaluate the wood species, the existing finish, and the condition of the boards to decide what's possible and what the color range realistically is. This is also where we flag any deep gouges, pet stains, or old repairs that could affect how the new stain lands.
- Sand. The sanding process removes the old finish and smooths the surface. For minor wear and light scratches, 80 to 120 grit usually does the job, with coarser grit reserved for heavy old finishes. We work through the grits in sequence so each pass erases the scratches from the last, which is what gives you a clean surface that takes stain evenly. We pay close attention to the edges, where larger machines can't reach. Containing the dust during this stage protects the rest of your home.
- Clean and tack. Every speck of sanding dust comes off before staining, because trapped dust shows up permanently under the finish. We vacuum and then run a tack cloth over the whole floor to remove dust completely, which is the difference between a smooth result and a gritty one.
- Condition or water pop. Maple and other blotch-prone species get a pre-stain conditioner. If you want deeper color, this is where water popping happens, applied evenly so the whole floor absorbs the stain at the same rate.
- Apply stain. Even coats, wiping the excess so the color is consistent. Wiping with mineral spirits can help lift any uneven buildup before the finish goes on. We keep a wet edge and work in manageable sections so no part of the floor dries unevenly or shows lap marks. Drying typically runs 24 to 48 hours, and darker stains take longer to dry fully.
- Seal. At least three coats of polyurethane build the durable protective layer. An oil based poly adds warmth and depth to the color, while many homeowners choose oil poly for exactly that richer look. Darker floors especially benefit from three or more coats, with a light sanding between layers for adhesion and smoothness.
- Cure and return to service. The finish needs time to cure before furniture goes back. Following the product's cure window prevents dents, scuffs, and marks in a floor that looked finished but wasn't ready. Area rugs usually go back last, since trapping a finish that hasn't fully cured can leave marks.
Quality materials and enough drying time are what produce lasting results. A floor stained in a hurry rarely wears the way it should, and the time saved on the front end tends to reappear as callbacks and touch-ups.
Benefits and Tradeoffs of Beautiful Stained Hardwood Floors
Stained hardwood earns its popularity, but an honest look at both sides helps you decide well.
Benefits:
- Color customized to your style, so the floor fits the rest of your home.
- Warmth and character that few other flooring materials match.
- A durable surface when protected by a quality finish applied in enough coats.
- Real value added to your home.
- Refinishable later, so you can change the color again down the road, whether you want to lighten a dark floor or go richer.
Tradeoffs:
- Dark floors show dust and scratches and need more frequent cleaning.
- Some color variation across boards is natural, since each piece of wood is unique and no two take stain identically.
- Later spot repairs can be hard to color-match to an existing stain, especially with a custom dark walnut or gray.
- The work itself is skilled, so results depend heavily on who does it.
A high-quality finish and enough coats go a long way toward reducing how visible scratches become, which is especially worth the investment on darker floors. On a well-finished dark stain, light surface scuffs tend to hide in the depth of the color rather than standing out. Done right, the result is beautiful floors that hold up for years.
How to Clean and Maintain Stained Floors So They Last
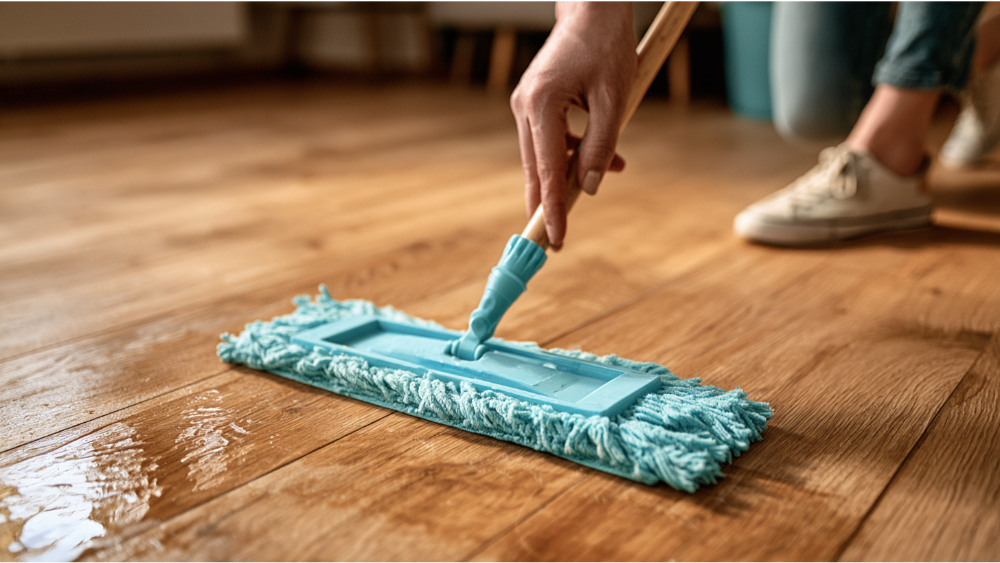
The job isn't done at handoff. How you care for the floor determines how long it stays beautiful, and good habits are simple once you know them.
- Sweep or dust regularly. Grit acts like sandpaper underfoot. Dark floors show dust sooner, so they benefit from more frequent attention, while a lighter floor can go a little longer between passes.
- Damp-mop with a compatible cleaner. Use a product made for your specific finish. Avoid ammonia, bleach, and harsh chemicals, which can dull or damage the protective layer.
- Test any new cleaner first. Try it on a hidden spot before using it across the whole floor. Misused cleaning products are a common cause of finish damage.
- Blot spills immediately. Wipe up liquids with a dry cloth right away. Quick cleanup prevents moisture damage and staining.
- Use felt pads under furniture. Pads under chair and table legs prevent scratches, and they're cheap insurance.
- Inspect the finish periodically. Watch for wear in high-traffic paths so you can plan a recoat before the stain itself is exposed. Catching a thinning finish early means a simple recoat instead of a full sand-and-stain.
A regular maintenance schedule keeps small problems small. We provide a written maintenance plan with the exact products that work on your finish, so you're never guessing what's safe to use.
What About Humidity, Sunlight, and Other Factors?
Wood is a living material that responds to its environment long after the finish cures. High humidity makes boards swell, and low humidity makes them shrink, which can open small gaps between planks. Keeping indoor humidity reasonably stable protects both the wood and the finish over time, and a simple humidifier or dehumidifier run through the extreme seasons goes a long way.
Direct sunlight is the other quiet factor. Over the years, strong UV exposure can fade or discolor stain, and some colors shift more than others. Gray tones in particular can change under sun, and a dark stain can lighten in the brightest patches near windows, drifting from its natural color in those spots. Rugs in sunny spots and window coverings slow this down and keep the color even across the room, so one area doesn't drift away from the rest. Rotating a rug now and then also keeps the wood underneath aging at the same pace as the floor around it.
For homeowners here in the Pacific Northwest, moisture is a real part of daily life. Rain tracked in at entries and seasonal humidity swings make a quality finish and good entry mats genuinely worthwhile. A well-sealed floor handles our climate; a thin or rushed finish struggles with it. A sturdy mat at every exterior door catches most of the grit and water before it ever reaches your wood floor.
Stained Hardwood vs. Stained Concrete: Which "Stained Floors" Do You Mean?
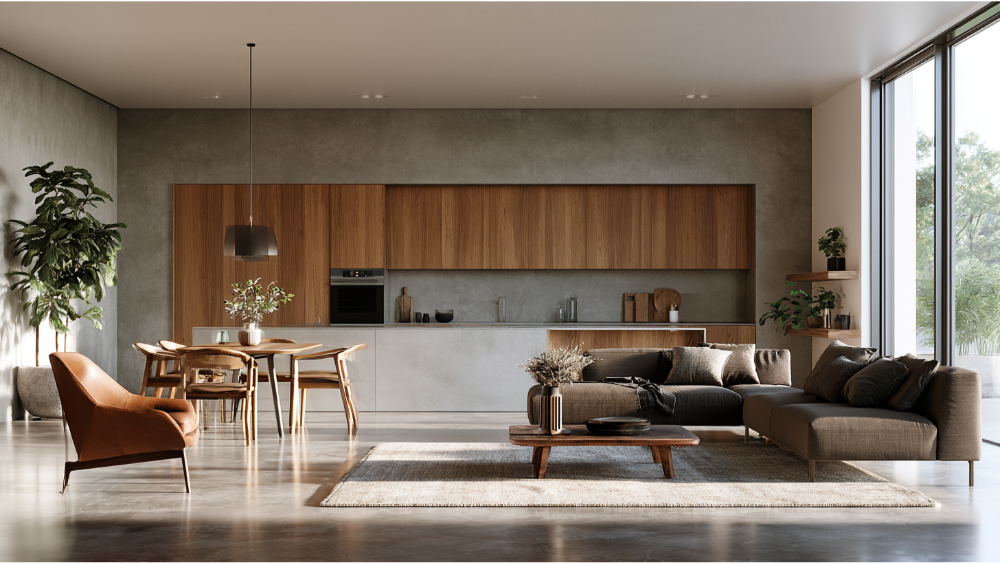
The term gets used for two very different floors, so it helps to be clear. Stained hardwood is colored wood sealed with polyurethane. It's warm underfoot, shows natural grain, and can be refinished again later when you want a change.
Stained concrete is a different animal. An acid or water-based stain reacts with or colors a concrete slab, which is then sealed for durability. It's common in basements and ground-level living areas built on a slab, and the finished look depends heavily on the slab's condition, porosity, and moisture, so testing the slab before committing matters even more than it does with wood. Where a wood floor gives you fairly predictable color within a species, concrete tends to produce a more mottled, one-of-a-kind result.
FeatureStained HardwoodStained ConcreteHow color is appliedStain soaks into wood grain, then sealed with polyurethaneAcid or water-based stain reacts with or colors the slab, then sealedFeel underfootWarm, shows natural grainHarder, cooler surfaceColor predictabilityFairly predictable within a speciesMore mottled, one-of-a-kind resultTypical locationLiving areas, bedrooms, throughout the homeBasements and ground-level rooms built on a slabRefinishing laterCan be sanded and recolored againDepends heavily on slab condition, porosity, and moisture
Both have their place, and we handle each as part of full home renovation. If you're leaning toward concrete, that deserves its own conversation, since the preparation and expectations are so different.