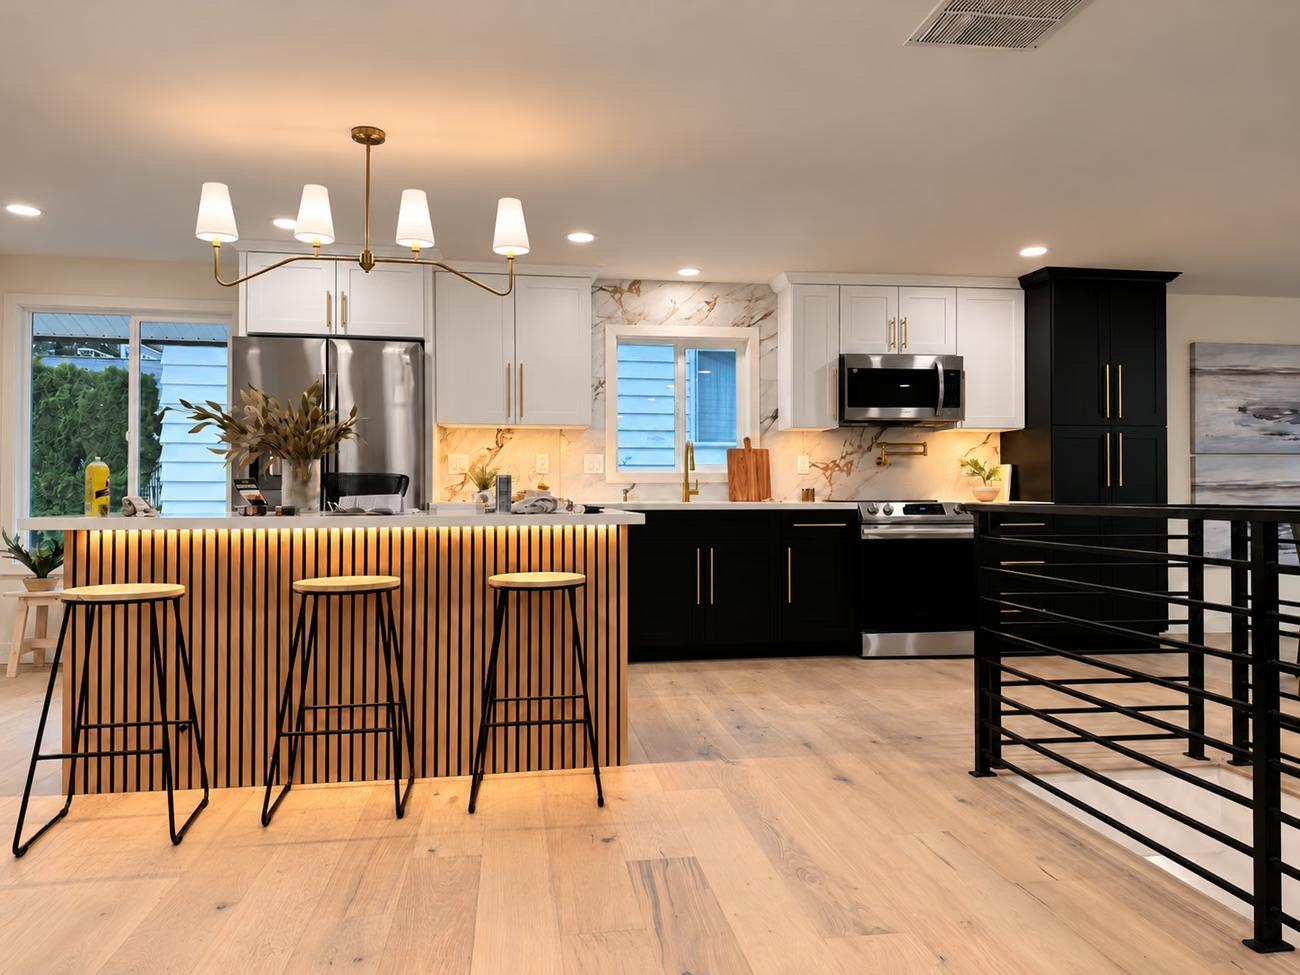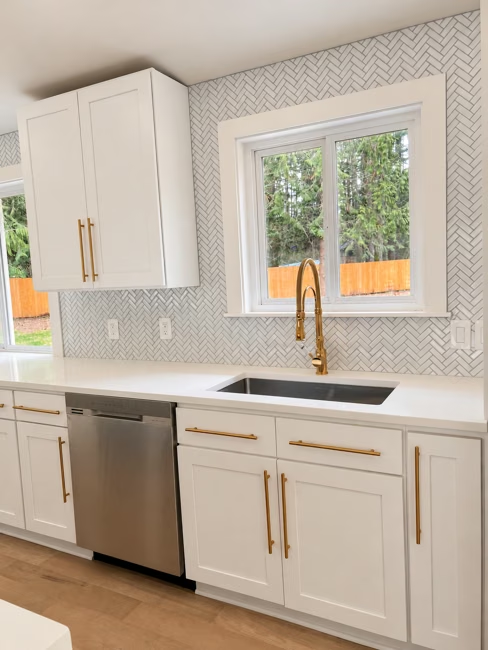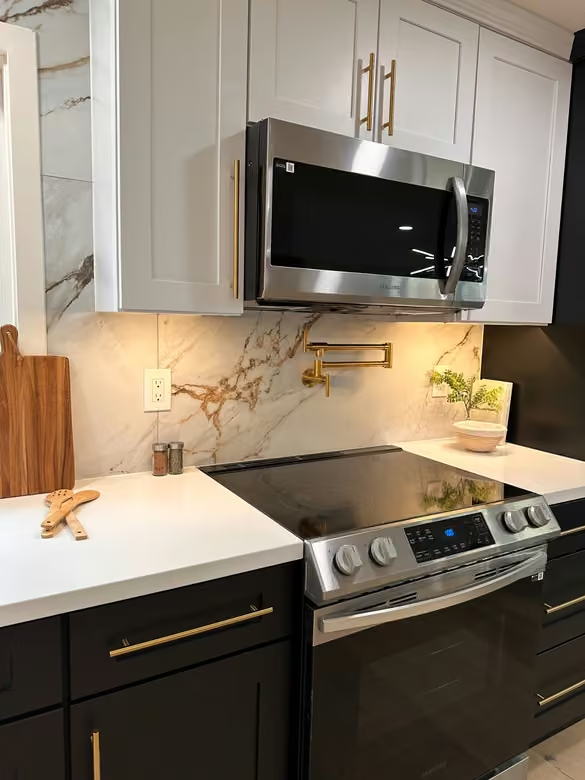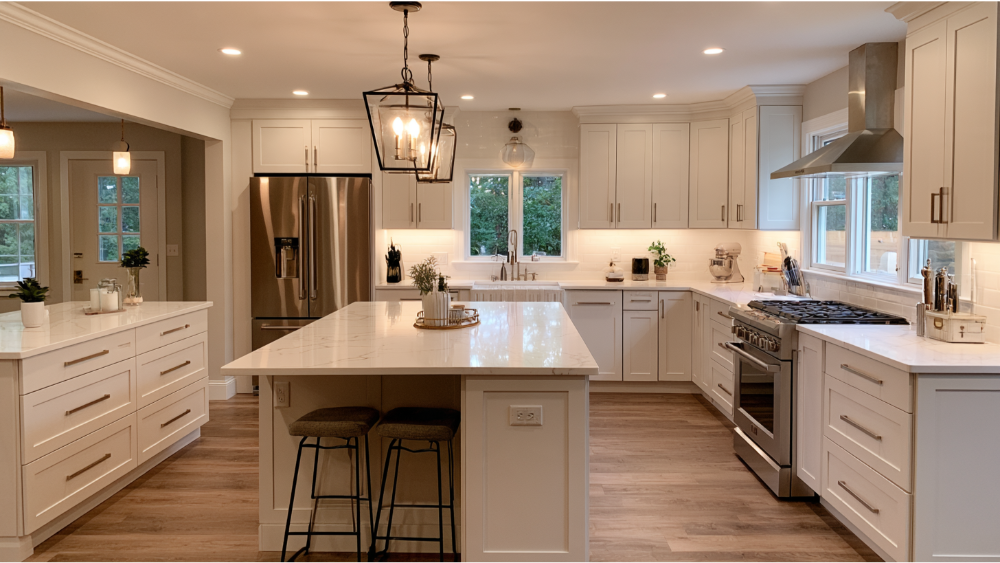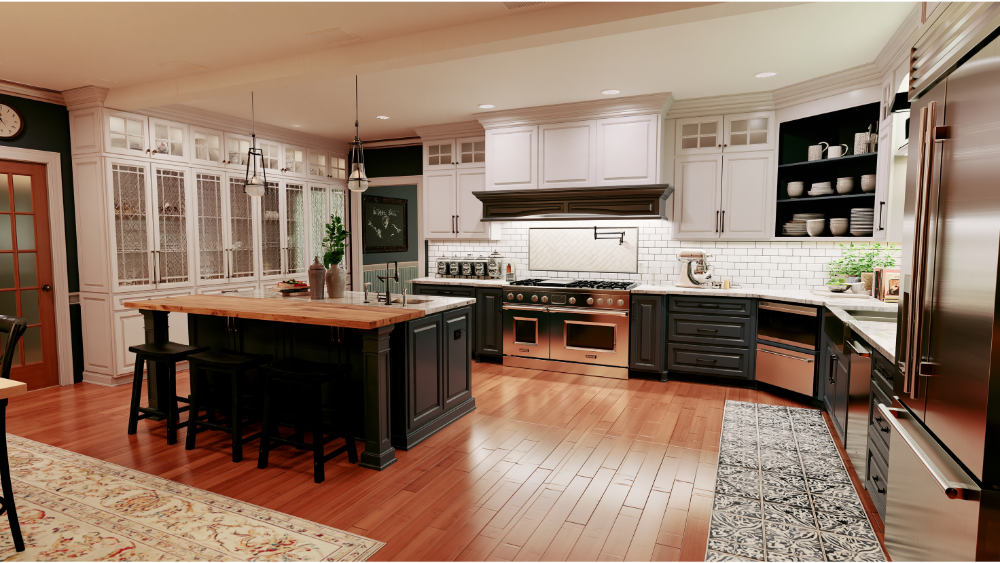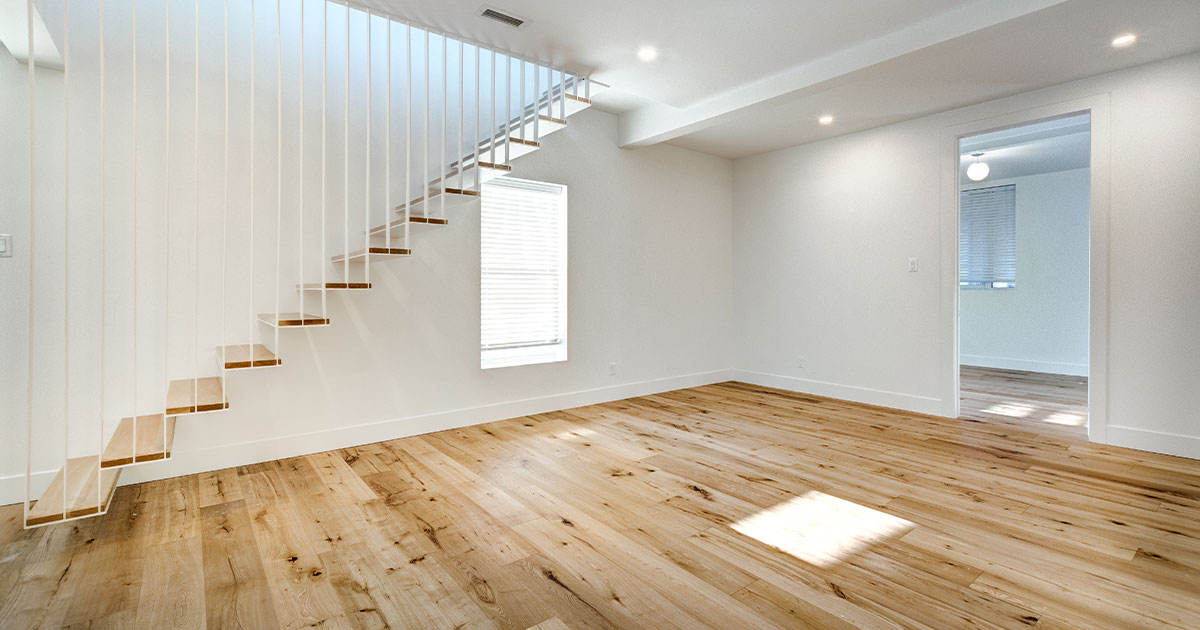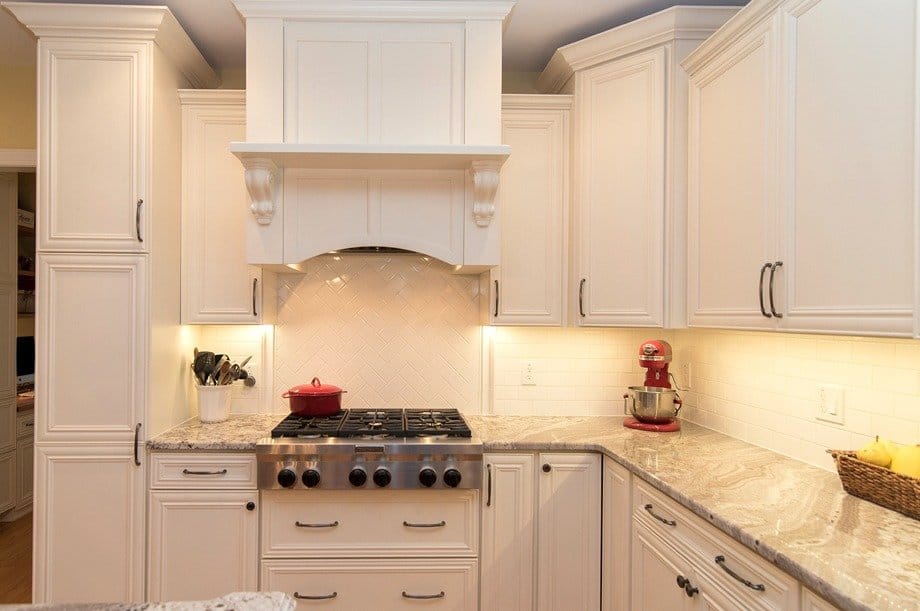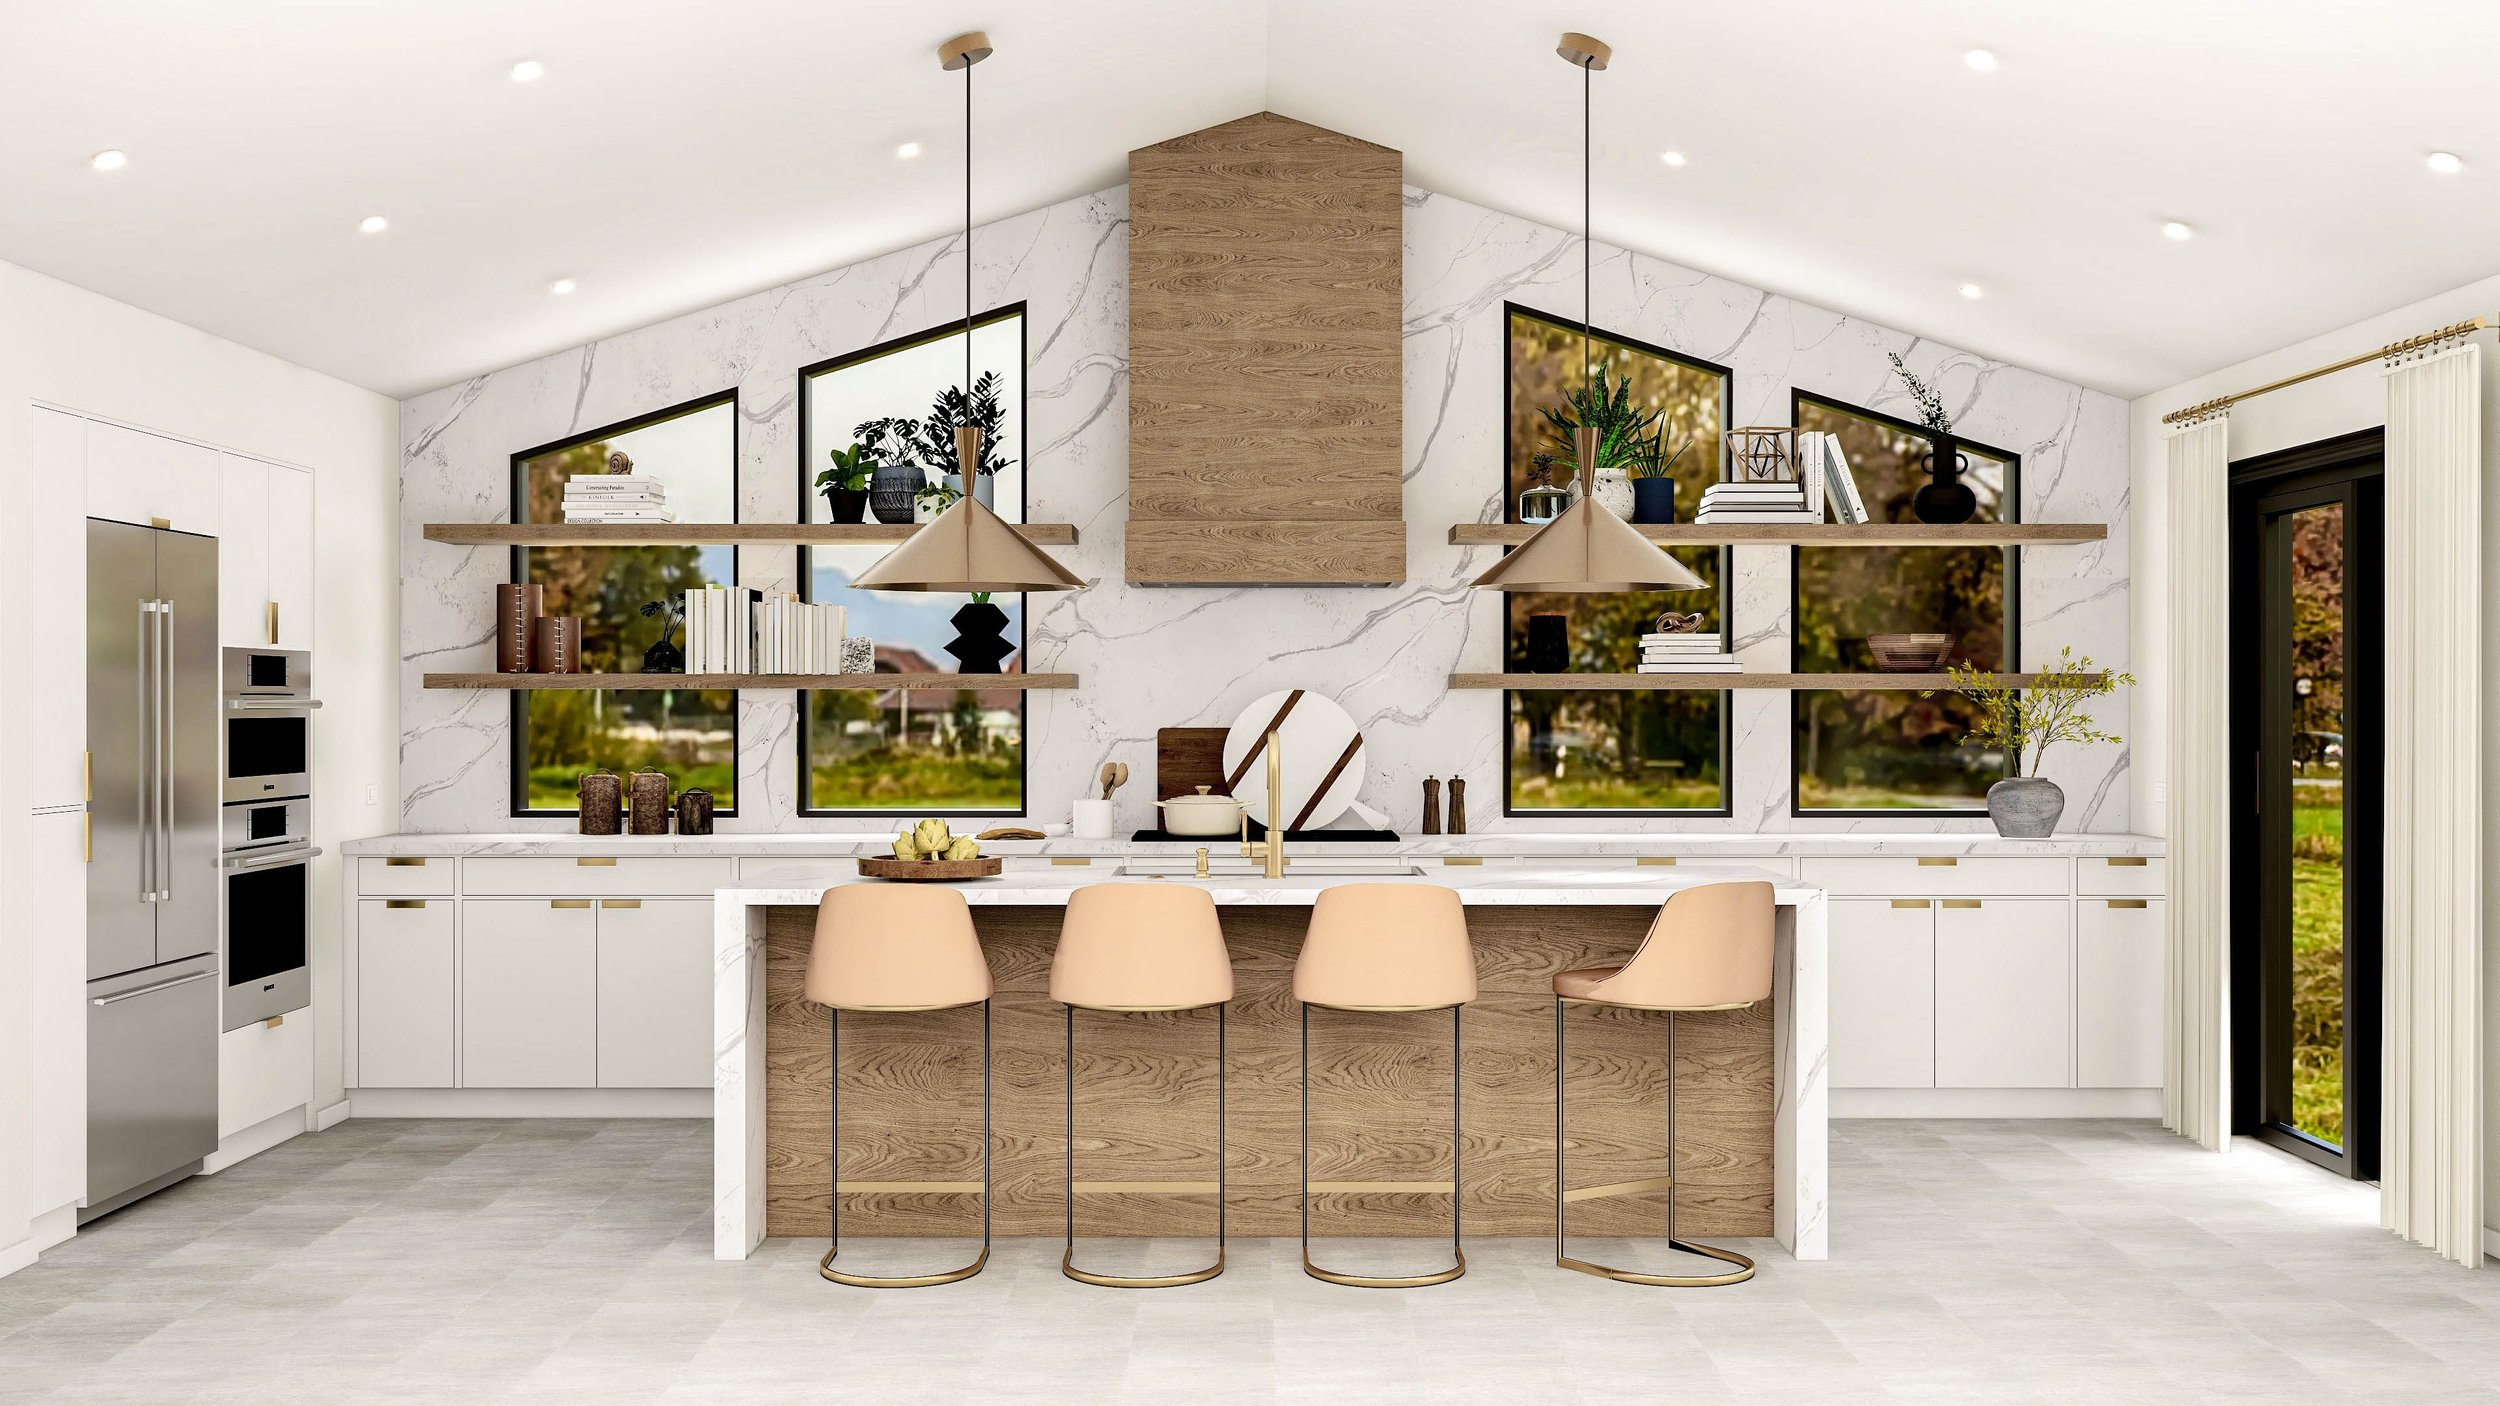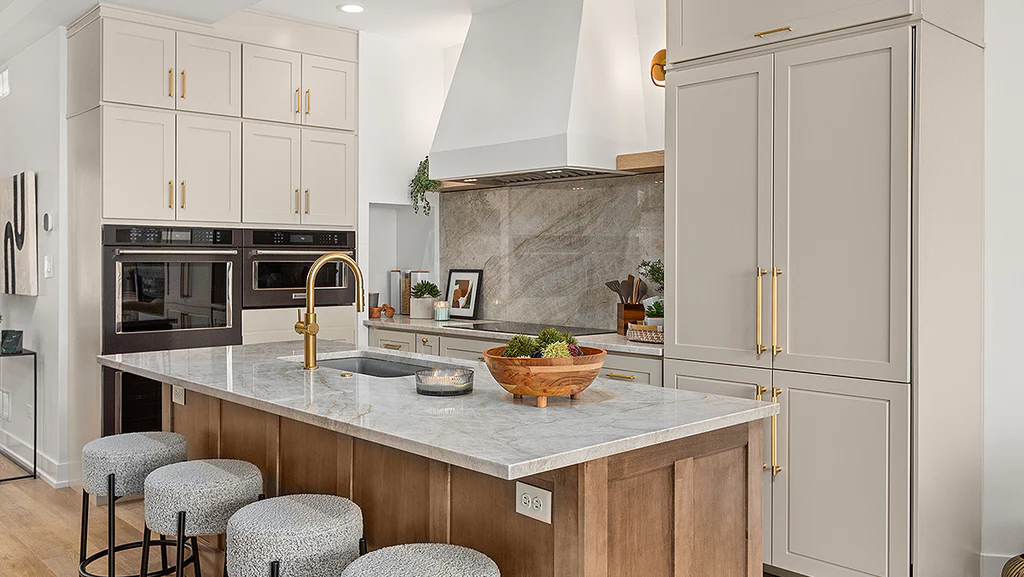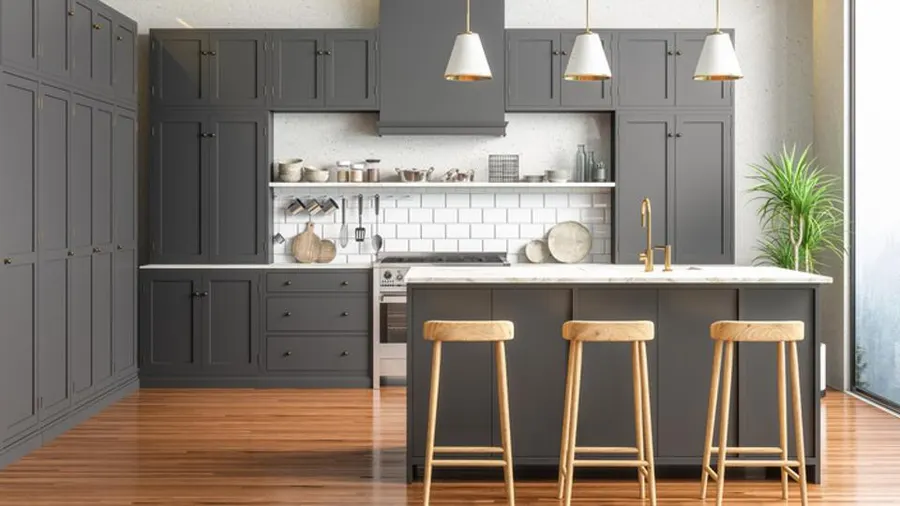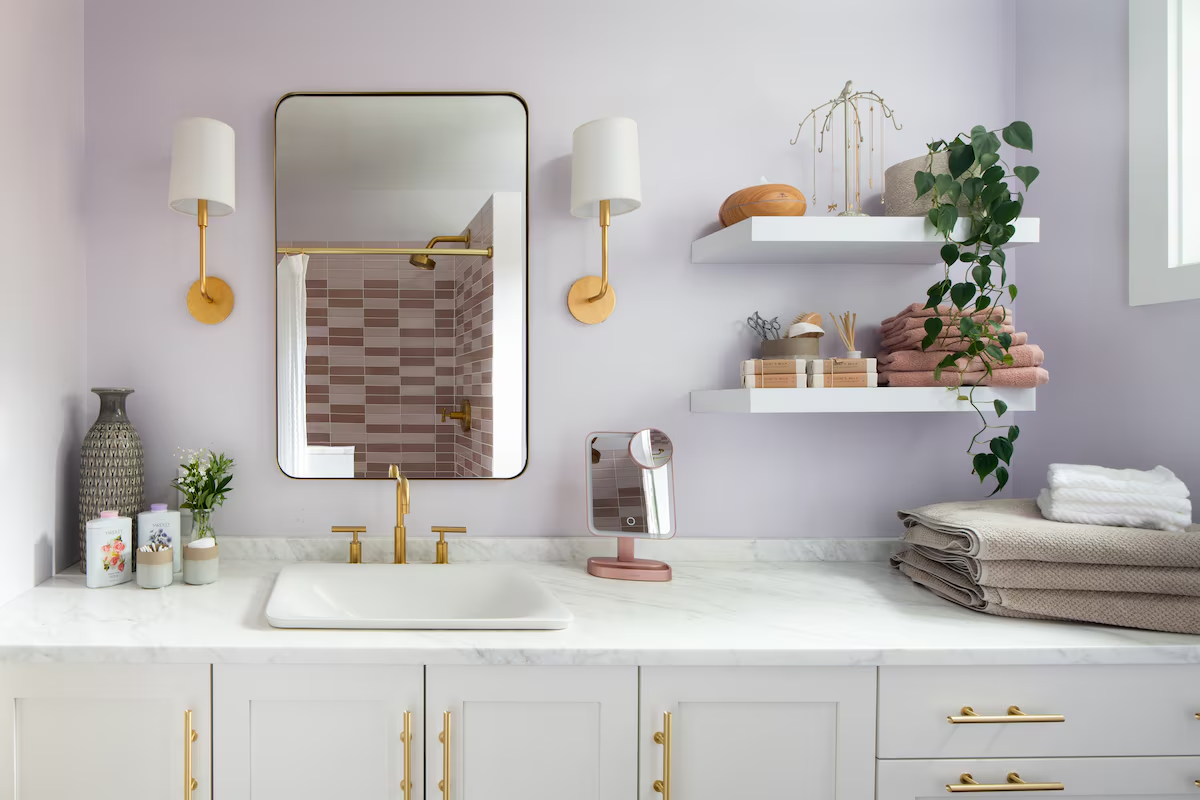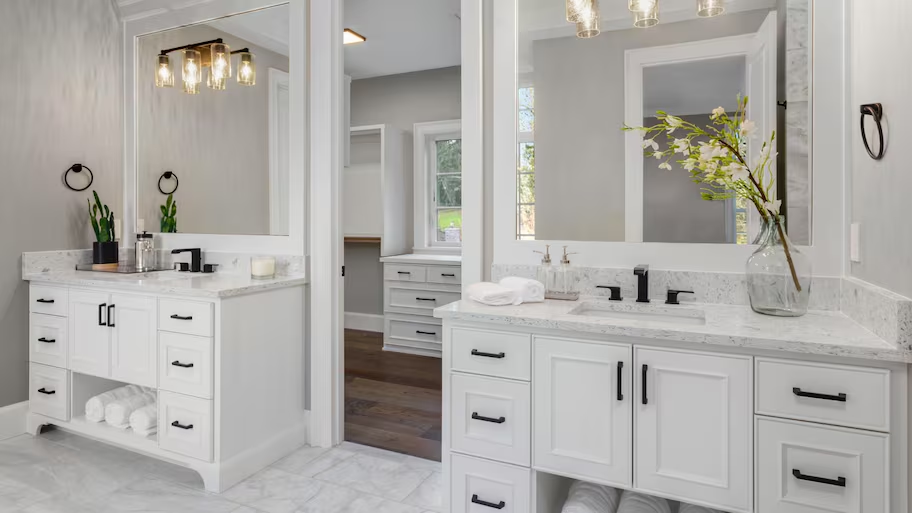

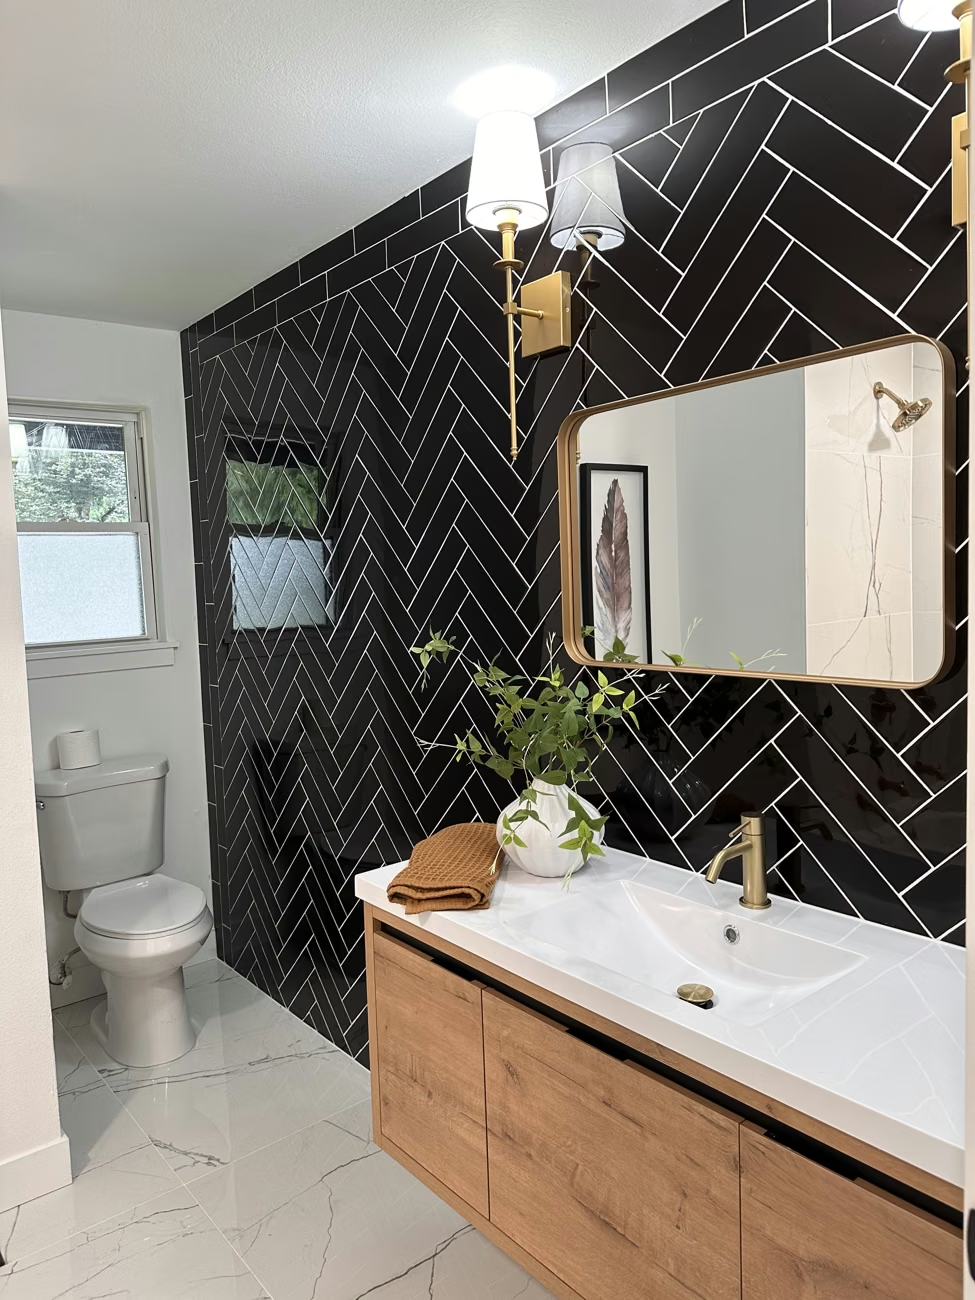
Bathroom finish example · Bothell, WA
A wet room bathroom allows a wider part of the room to form the wet bathing area. It may use an open shower, a glass screen or a shared shower-and-tub zone. The visual simplicity comes from careful planning beneath and around the finishes. An open layout or continuous floor tile alone does not establish a complete wet-room assembly.
Define how the room will be used
Decide whether the shower is the only wet area or whether the tub and circulation space share it. Consider who will use the room, where towels and clothing stay dry, how the door opens and how a helper or second person moves through the space.
A smaller wet room can still feel crowded if the shower spray, toilet and storage compete for the same area. Draw the complete room and review privacy, cleaning access and the route to each fixture.
Specify water management as a system
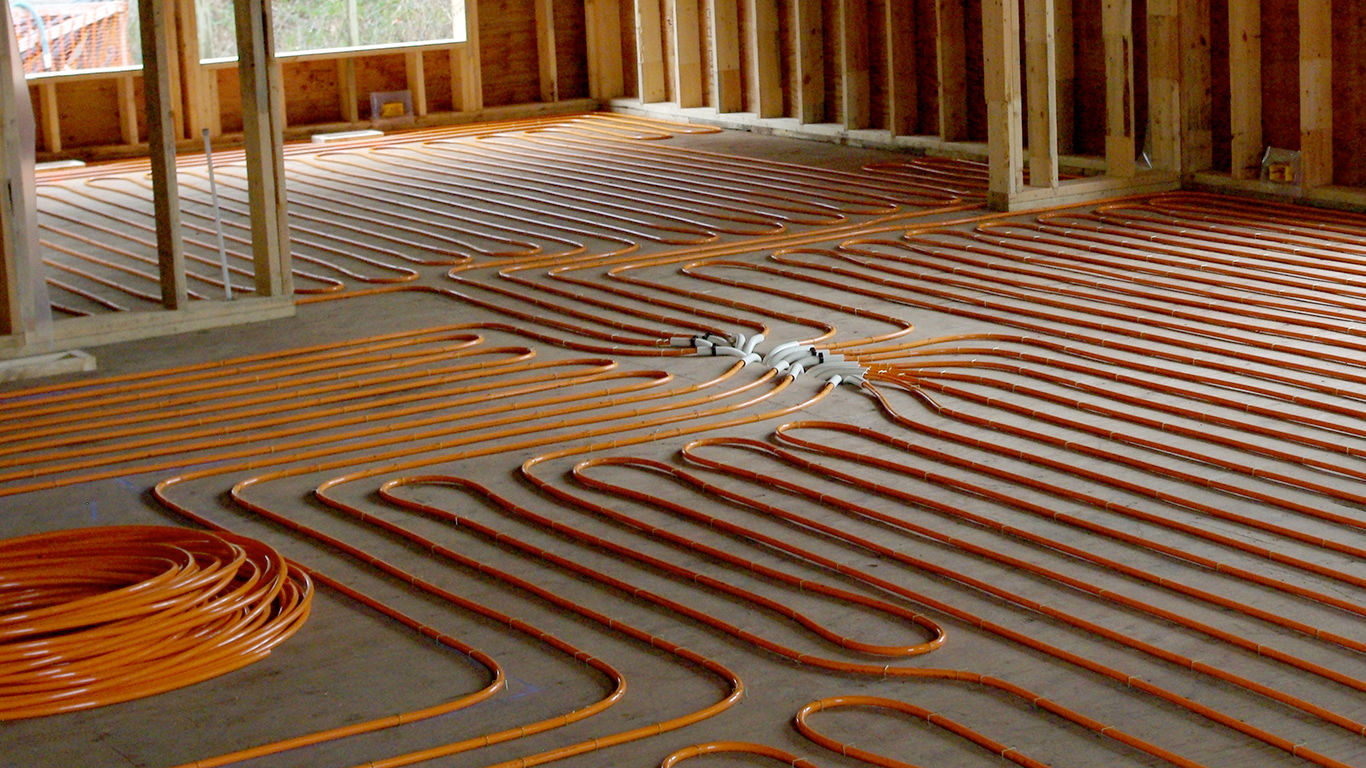
Schluter’s shower guidance explains that tile is not inherently waterproof. The waterproofing, drain connection, transitions, corners and penetrations need to work as a compatible assembly. Confirm which surfaces are treated as wet and how water is directed to the drain.
Ask for the proposed system and the inspection or testing stages to be identified in the scope. Finish samples do not answer questions about the structure, substrate, membrane or drainage beneath them.
Treat a curbless entry as a separate design decision
A curbless shower can support a continuous-looking floor, but the floor structure, available depth, drainage and adjoining dry areas must be reviewed. A photograph cannot show whether a particular home can accommodate the required assembly without other changes.
Accessible entry also involves the opening, circulation, controls, seating and the person’s needs. A curbless threshold alone does not establish that a bathroom meets an accessibility standard.
Compare tile, porcelain panels and glass as complete scopes
Large porcelain slabs or panels can create fewer visible joints, while smaller tile allows different patterns and detailing. Compare the complete installed scope: substrate preparation, waterproofing, fabrication, edges, cutouts, delivery, handling and future access.
A panel material price and a finished shower price describe different things. Ask the fabricator or installer how corners, niches, fittings and replacements will be handled, and use the selected product’s instructions.
Plan ventilation, storage and ongoing care
Discuss ventilation and the locations of dry storage, electrical fittings and lighting with the project team. Choose materials using their suitability for the intended wet application, cleaning instructions and the details needed at transitions.
A steam shower is a different specification from an ordinary wet room. Vapor management, the steam equipment, enclosure and manufacturer requirements need their own review; an open wet room should not be described as a steam enclosure.
Compare the proposal before choosing the look
The written proposal should connect demolition, existing-condition review, professional design responsibilities, permits, trade work and finish installation. Keep the agreed products and assembly information with the project documents.
Bring the existing room dimensions and your priorities to a consultation. The decision is whether the complete room can support the way you want to bathe, clean and move—not only whether a particular inspiration image looks good.
Plan the next step for your home
Bring your room photographs, priorities and any existing plans to a free 30-minute in-home consultation with Oleg & Sons Bellevue Home Remodeling. We can discuss the scope and the next planning steps for your home. Product, professional and construction responsibilities are confirmed in the written proposal.
Sources and further reading
Use the current product or authority information for your selected materials and property.