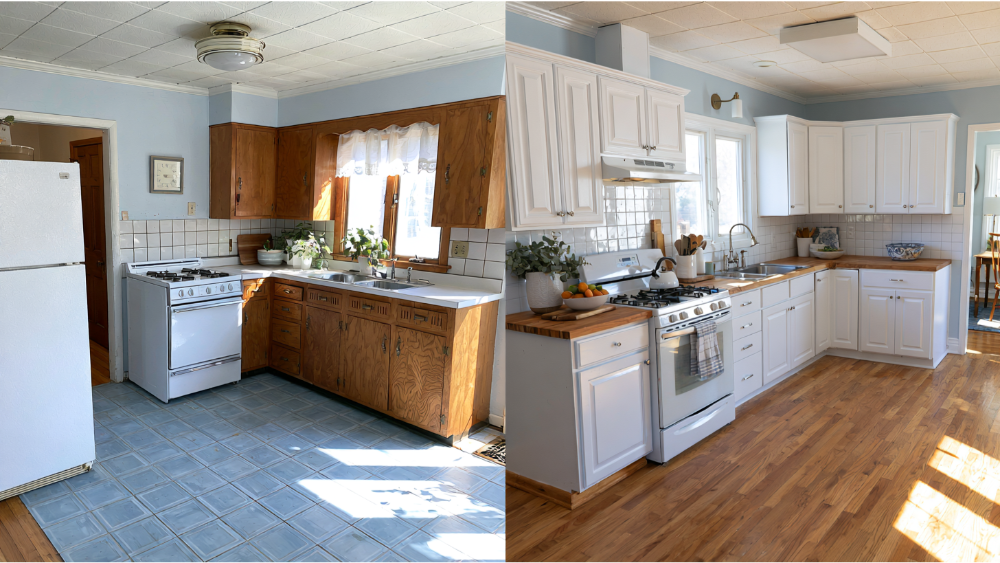
.avif)


Plan a kitchen remodel by defining how the kitchen needs to function, setting your scope and financial boundaries, measuring the existing space, and then finalizing the kitchen layout, appliances, cabinetry, utilities and materials, in that order. Do not begin demolition until the design is approved, the written scope is accepted, permit responsibilities are assigned, major product specifications are confirmed and you have a construction plan in hand.
A kitchen renovation is a significant investment, both financially and emotionally. This step by step guide covers how to plan a kitchen remodel from the first honest conversation about what's broken to the final walkthrough. It's written for the homeowner who already has a folder of inspiration photos and now wants a buildable plan, one where each decision is made in the order that keeps the next one from becoming an expensive correction.
Why the Order of the Design Process Matters More Than the Wish List

The principle is simple: function first, layout second, specifications third, finishes fourth. Almost every costly mid-project change comes from making a later decision before an earlier one, like ordering custom cabinets before appliance models are confirmed. The planning process is sequential for a reason, and both the design and the budget hold steady when that sequence holds.
- Layout determines the cabinet plan.
- Kitchen appliances determine cabinet openings, electrical loads, gas connections and ventilation needs.
- The sink and the rest of your plumbing fixtures drive cabinet size, countertop cutouts and supply and drain locations.
- The hood drives duct routing and, in some cases, makeup air.
- Lighting and outlets depend on the final work zones and cabinet elevations.
- Countertop templating only happens after base cabinets are set.
Step 1: A Kitchen Remodel Starts With What Is Not Working in Your Current Kitchen
A kitchen remodel starts with problems, not products. Walk your current kitchen and answer these honestly:
- Where do people get in each other's way?
- Is there enough counter space and open floor space to prep a real meal?
- What is hard to reach or hard to store?
- Does household traffic flow cut through the cooking area?
- Is the lighting good enough to work under, or would better lighting change how the room functions at night?
- Does the space need to serve one cook, several cooks, kids, guests, or someone aging in place?
- What already works and should stay?
Write the answers down and split them into must-haves, strong preferences and optional extras. That list becomes the test every later decision has to pass.
Step 2: Decide What Level of Kitchen Renovation You Actually Need
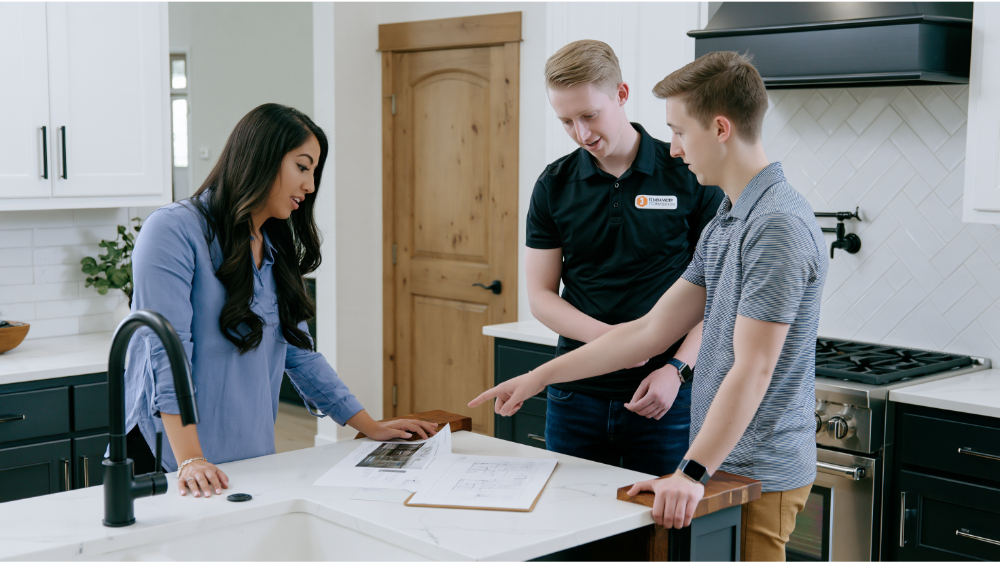
Your scope tier decides almost everything downstream: how much design work you need, whether permits are likely, which trades are involved and how much risk hides behind the walls.
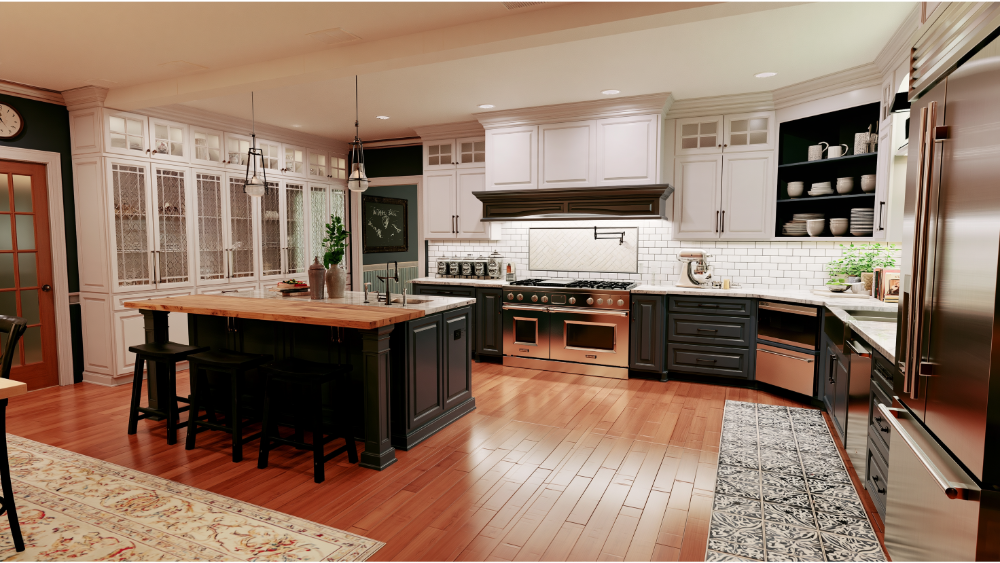
A typical kitchen renovation in an established Bellevue home lands in the middle tier: same footprint, new cabinets and counters, and a handful of electrical and plumbing updates that come along with updated appliances. Removing walls for an open concept layout pushes the project into the top tier and brings structural work with it. A luxury kitchen remodel is a materials-and-detail decision, not automatically a project requiring structural changes. Crown molding, custom millwork and integrated panels sit in the cosmetic tier but still need to be spelled out in the written scope, or they turn into add-ons later.
Step 3: How Do You Set a Realistic Budget for a Kitchen Remodel?
A realistic budget is a ceiling plus a written priority order. For most households this is the largest home improvement project they will take on, so budget the whole thing, not just construction: design, products, permits, delivery, disposal, cleanup and whatever it costs to eat without a kitchen for a while.
Ask any contractor for written assumptions, allowances and exclusions. An allowance is a placeholder amount for something you haven't picked yet, like tile. A fixed selection is a specific product with a known price. The more allowances you convert to fixed selections before construction, the fewer moving numbers you'll have later. Agree up front on how a change gets documented and approved. We quote clearly and we honor what we quote, and that's only possible when the scope is defined before anyone swings a hammer.
Step 4: Measure and Document Your Existing Kitchen
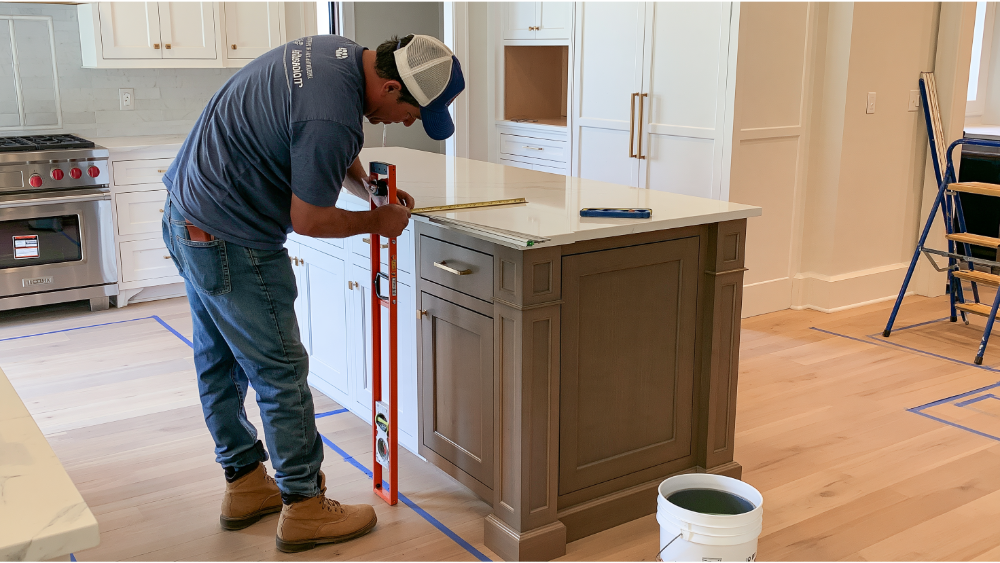
You cannot design a layout you have not measured. Record wall-to-wall dimensions, ceiling height, door swings, window and trim locations, utility locations, the size of existing appliances and their clearances, floor transitions, and any soffits or beams. Flag the electrical panel and existing circuits for professional review rather than guessing at capacity. Then photograph every wall and connection. The deliverable is an existing-conditions plan plus a photo set.
Step 5: How Do You Choose the Right Kitchen Layout?
Finalize the kitchen layout before you choose a single finish. The right layout comes from your floor space and from how many people cook at once, not from a photo. Everything below comes from the National Kitchen & Bath Association's planning guidelines. They are recommendations, not code. Local building requirements and appliance manufacturer instructions always take precedence.
Work triangle or work zones?
The work triangle connects cooking, cleaning and refrigeration. NKBA recommends the combined distance stay under 26 feet, with each leg between 4 and 9 feet, no obstacle intersecting a leg by more than 12 inches, and no household traffic crossing it. For multi-cook households, open plans and homes that host large gatherings, plan by zones instead: prep, cook, clean, beverage and storage, each with its own landing space.
Common layouts and when they work
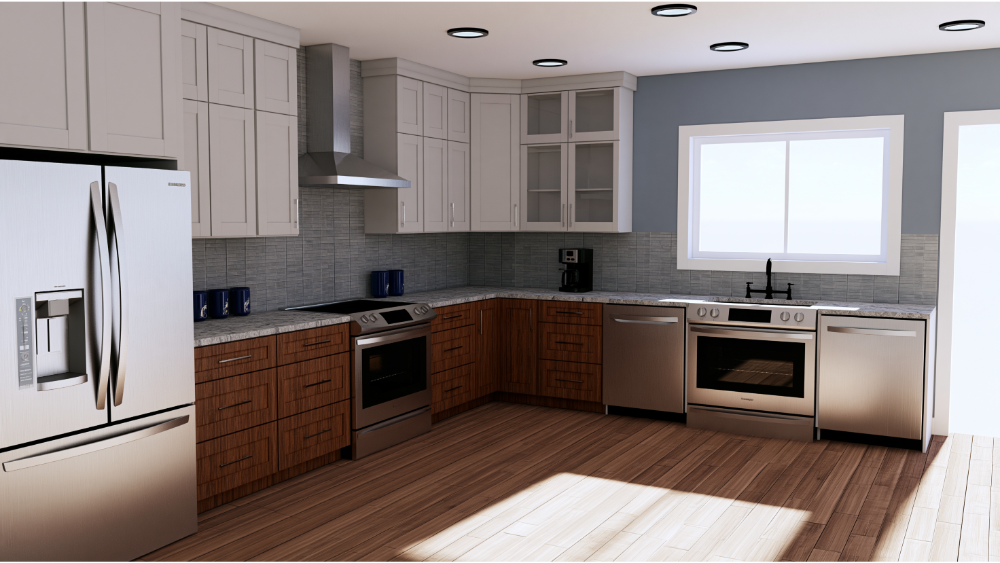
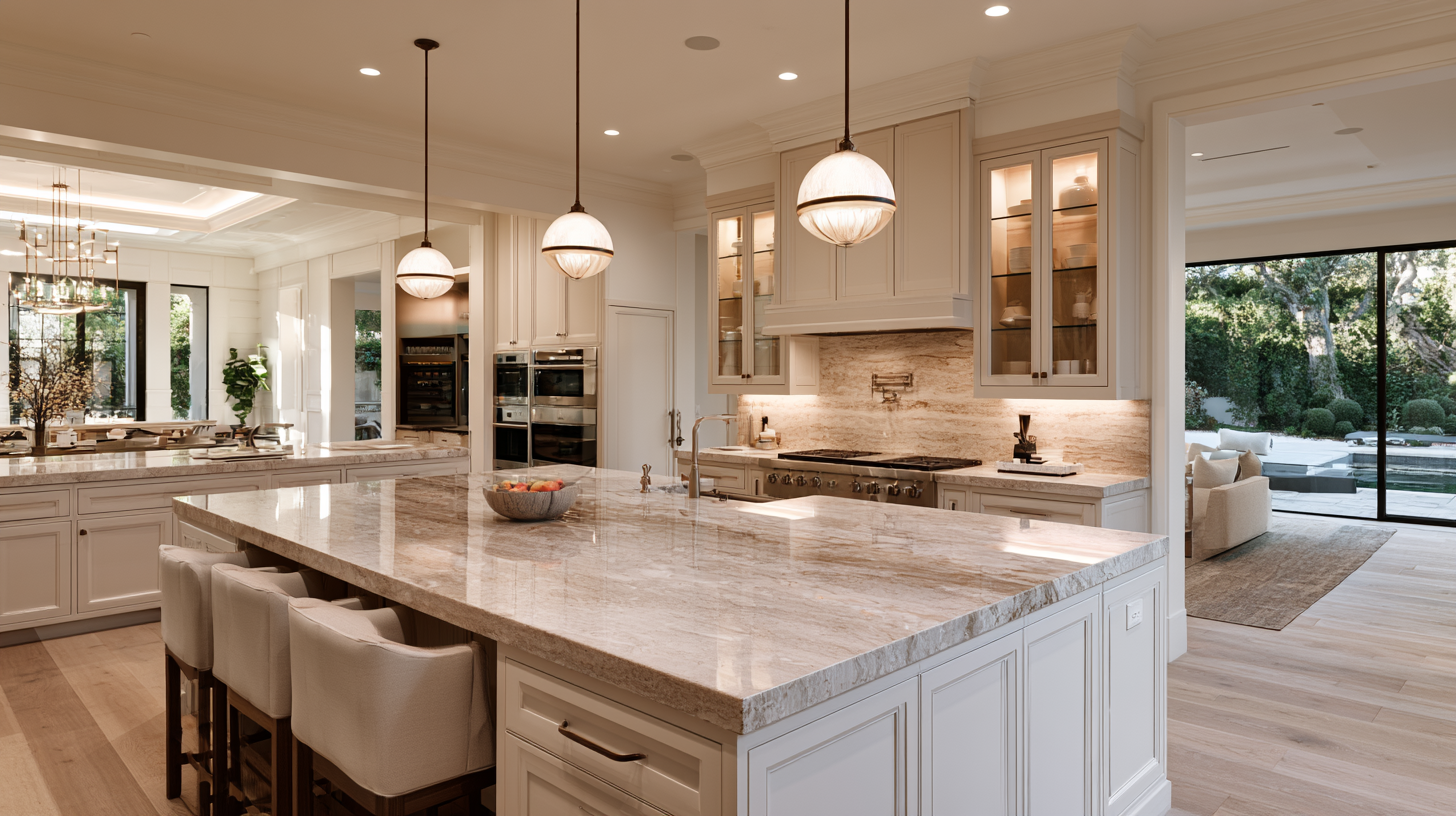
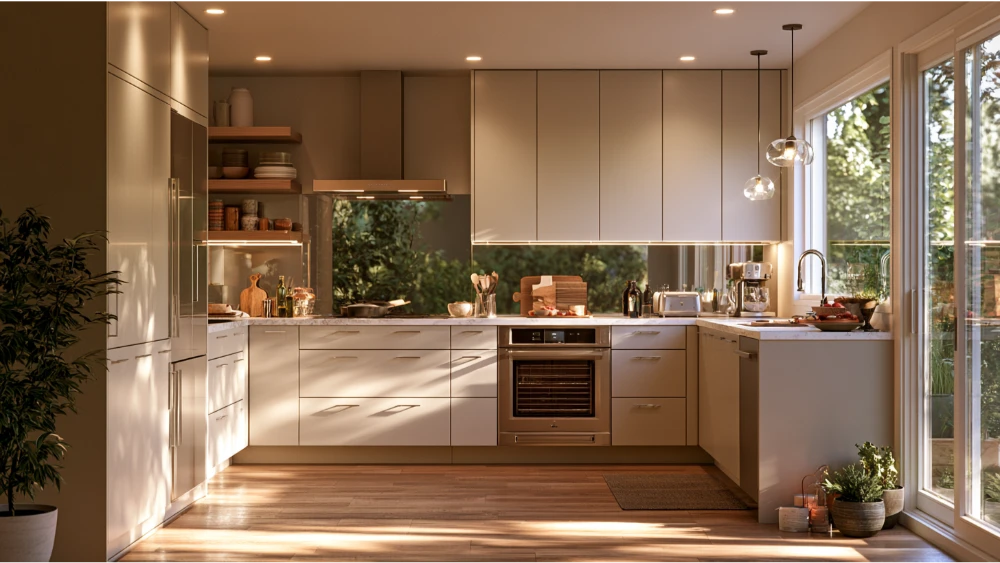
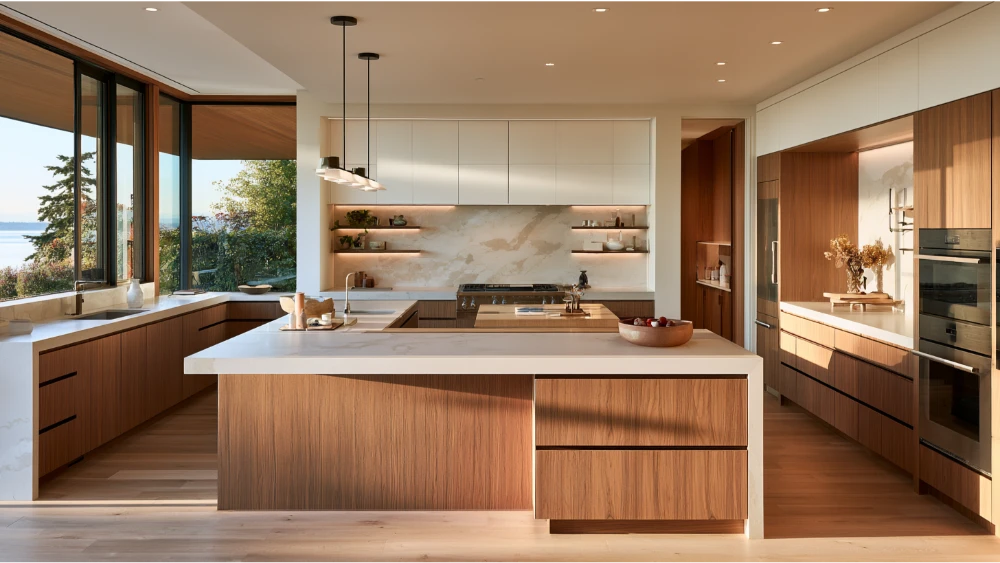
A few common layouts cover most homes. An L shaped kitchen opens to adjacent living space and suits one primary cook. A U shaped kitchen wraps counter space around three walls and works well for serious cooking. A galley between two parallel walls is efficient in narrow footprints. A single-wall kitchen suits small homes and condos. Islands and peninsulas add prep surface and seating, but only if the aisles still hold up.
Clearances to test before you commit
Aisles narrower than these numbers make even a large room feel cramped. Also check appliance doors and cabinet doors against each other on paper, and confirm there is enough space to stand in front of an open dishwasher without blocking the walkway. An open dishwasher that blocks a drawer is a daily annoyance you only discover after installation.
Step 6: Why Choosing Appliances Comes Before Ordering Cabinets
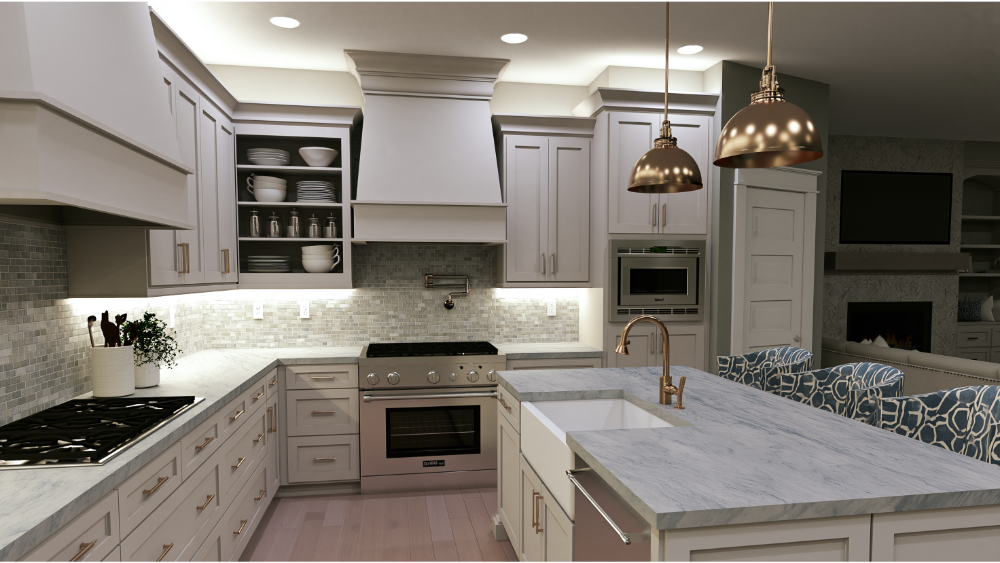
Specific appliance models, not categories, must be selected before the cabinet order is finalized. Pull the spec sheets for all major appliances and keep your appliance selections with the drawings. Manufacturer installation specs set the cabinet opening, door and handle clearances, fuel type, dedicated circuits, water connections, refrigerator ventilation gaps and panel-ready requirements. A range that's an inch deeper than planned changes the counter, the aisle and sometimes the electrical work.
Ventilation belongs in this same conversation. Hood size, airflow, duct route, makeup air and exterior termination all affect cabinetry and framing, so decide it now rather than at drywall.
Resist buying appliances on sale before the design is approved. A discount rarely covers the cost of rebuilding a cabinet run around it.
Step 7: Build the Cabinet and Storage Plan Around How You Cook
Storage is planned by contents and location, not by cabinet count. Empty a few cabinets and inventory what you actually own before you finalize anything.
- Drawers versus doors, especially for pots and pantry goods
- Trash and recycling near the prep zone
- Cookware near the cooking zone, dishes near the dishwasher
- Storage space for small appliances and trays, plus corner solutions that actually open
- A charging or drop zone so mail doesn't colonize the island
Custom cabinets and hardware should be chosen for how they feel in daily use, not just how they photograph. To maximize space in a run with an awkward dimension, custom cabinets are usually cheaper than losing those inches to filler panels.
Step 8: Coordinate Lighting, Electrical, Plumbing and Ventilation as One Plan
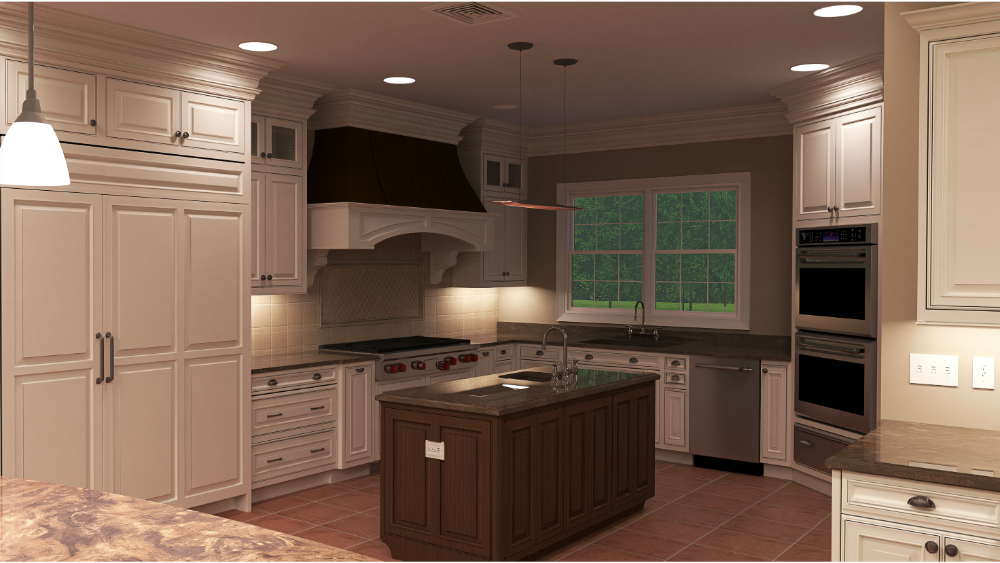
Lighting, outlets and utilities get planned before cabinets are ordered, never after. Map general lighting, task lighting over work surfaces, under-cabinet lighting, any decorative light fixtures, switch locations, countertop outlets, dedicated circuits for appliances, gas versus electric cooking, and the duct path. Lock in your plumbing fixtures at the same time, including the sink, faucet, disposal and any pot filler, along with water connections for the dishwasher and refrigerator.
The EPA notes that a range hood should capture pollutants and exhaust them directly outdoors, citing roughly 100 cfm for a typical residential range, and warns that larger fans may need makeup air to avoid depressurizing the house and backdrafting combustion appliances. The 2021 IRC benchmark is 100 cfm intermittent or 25 cfm continuous, with makeup-air provisions above 400 cfm under specified conditions. Code adoption varies by jurisdiction. In Washington, for example, electrical requirements are administered separately through L&I rather than through the residential code's electrical chapters, so confirm how your own jurisdiction handles it.
Step 9: Choose Quality Materials for Countertops, Flooring and Finishes
Select materials by how your household lives, not by what's trending. For countertops, flooring and finishes, evaluate durability, water and stain resistance, maintenance demands, heat and scratch exposure, slip resistance, repairability, and the manufacturer's care instructions. Then check that countertops, backsplash, cabinets and new flooring actually read well together in the finished kitchen under your own light, not in a showroom's.
Two sequencing notes: countertop templating cannot be finalized until base cabinets are installed, and flooring placement varies by flooring type, cabinet design and manufacturer instructions. We believe quality materials are non-negotiable for lasting results, and we use sustainable materials and practices whenever possible.
Step 10: Do You Need a Permit, a Kitchen Designer, or a General Contractor First?
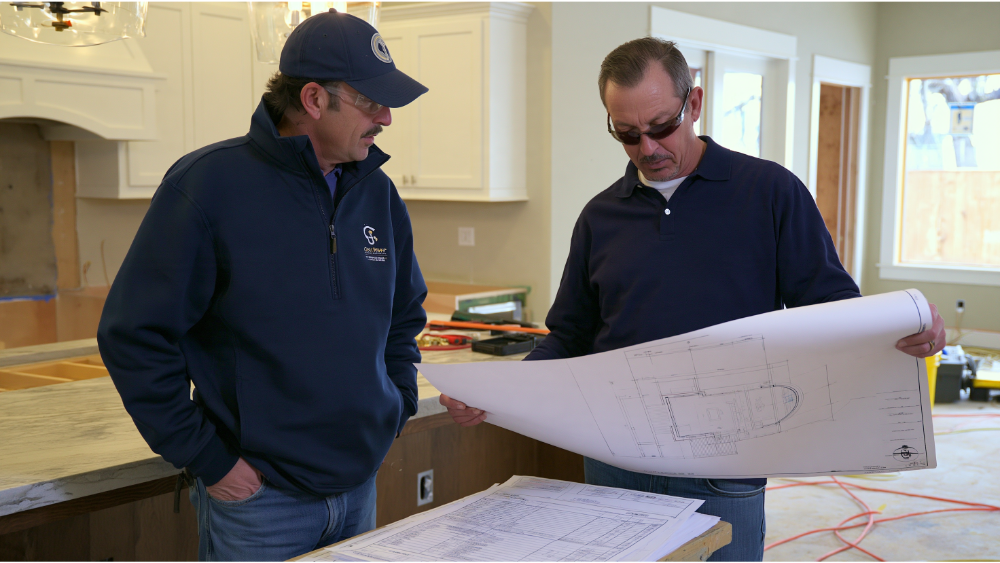
A kitchen designer or architect comes first when the layout or structure changes, and architectural drawings may be required for permit review when walls or framing are involved. Bring in a general contractor early, during the design phase, when you want cost reality alongside the drawings. Assign permit responsibility in writing before work starts. A kitchen designer earns the fee fastest on tight footprints, where an inch of aisle or a reworked corner changes how the room feels every day.
Permits are local and scope-driven, so whether your specific project needs one depends on what you're changing. Replacing cabinets or countertops alone often needs no building permit, while moving walls, adding or altering circuits, relocating a dishwasher or range, and installing or modifying gas lines and ductwork typically require permits. Some kitchen remodels qualify for a no-plan-review path; larger scopes go to plan review, and Bellevue currently cites a possible three-week turnaround. Inspections exist to confirm the finished work meets local code and safety standards. Confirm everything with your local building department. (For local specifics, see our guide: Do You Need a Permit for a Kitchen Remodel in Bellevue?)
Research contractors before you compare numbers. Washington L&I recommends verifying contractor registration, getting three written bids, agreeing to payment schedules in writing, and not paying in full before the work is complete. L&I also notes that Washington contractor registration involves no general competency test, which is exactly why project history, references and a detailed written scope matter more than a bid total. Compare written scopes side by side, not just the bottom line. If your home was built before 1978, raise lead testing and containment before demolition; EPA's Renovation, Repair and Painting rules apply to covered work disturbing painted surfaces, with minor-repair limits generally around 6 square feet indoors and 20 square feet outdoors, subject to conditions.
Your Pre-Demolition Kitchen Renovation Checklist
Demolition should begin only when every item below is confirmed in writing. Once they are, the renovation process becomes predictable instead of improvised.
- Final layout approved
- Plans and elevations completed
- Written scope of work accepted
- Appliance model numbers and specs confirmed
- Cabinet order confirmed
- Sink, faucet and hood selected
- Lighting, electrical, plumbing and ventilation plans coordinated
- Finish schedule complete
- Permit responsibilities assigned
- Long-lead products identified and addressed
- Construction sequence provided
- Communication and change-approval process documented
- Temporary kitchen prepared
- Dust-control and home-protection plan confirmed
How Do You Prepare Your Home and Set Up a Temporary Kitchen?
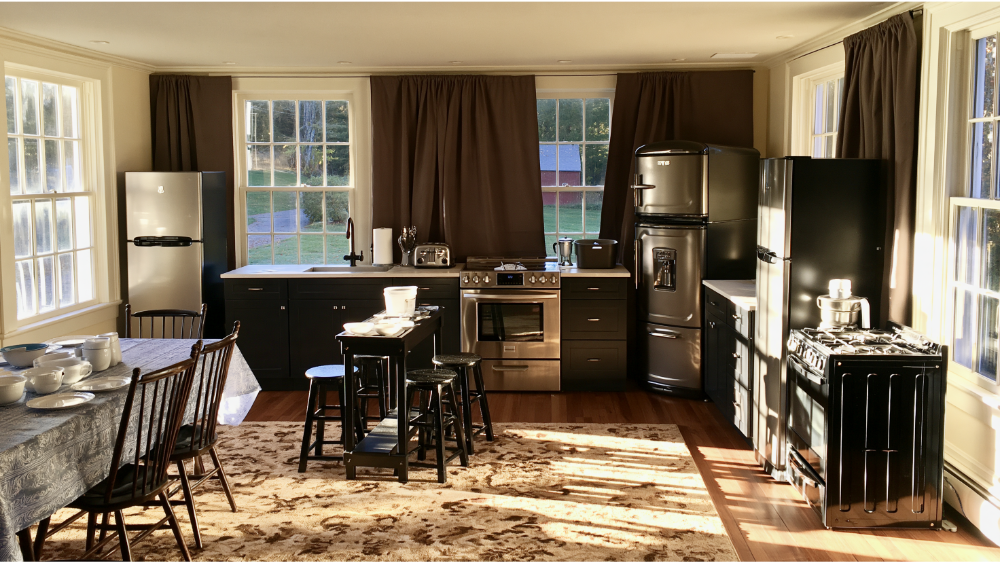
Set up a working temporary kitchen a few days before demolition, not the morning of. On your side: relocate the refrigerator or borrow a mini fridge, add a microwave and a clean prep surface, plan where dishes get washed, keep disposable plates on hand for the busiest stretches, simplify meals, arrange for kids and pets to stay clear of the work zone, and pack away valuables and fragile items.
Ask your contractor how the work zone will be isolated, how floors and adjacent rooms get protected, whether HVAC registers will be sealed during dust-generating work, what the daily cleanup routine looks like, where deliveries and parking go, and when the space is safe to use again. The EPA also advises fixing underlying moisture or structural problems rather than covering them, and ventilating heavily during and for at least 72 hours after installing products that may off-gas.
In What Order Is the Work Done Once Construction Starts?
- Site protection and work-zone isolation
- Demolition
- Framing and any structural changes
- Rough plumbing, electrical, gas and ventilation
- Required rough inspections
- Insulation and drywall
- Paint prep and flooring preparation
- Cabinet installation
- Countertop templating and installation
- Backsplash and finish carpentry
- Final connections for plumbing fixtures, electrical and appliances
- Final painting and touch-ups
- Final inspections
- Final walkthrough and punch list
Flooring can land before or after cabinets depending on the flooring type, cabinet design and manufacturer instructions, so confirm it with your contractor rather than assuming. There is no universal duration for a kitchen renovation. The real drivers are whether the footprint changes, structural work, permits and inspections, custom cabinetry and material availability, appliance specs, the unexpected things found behind the walls, whether you're living in the house, and how fast decisions get made. More on that in How Long Does a Kitchen Remodel Take?
Keep the Plan on Track: Expert Tips for Open Communication
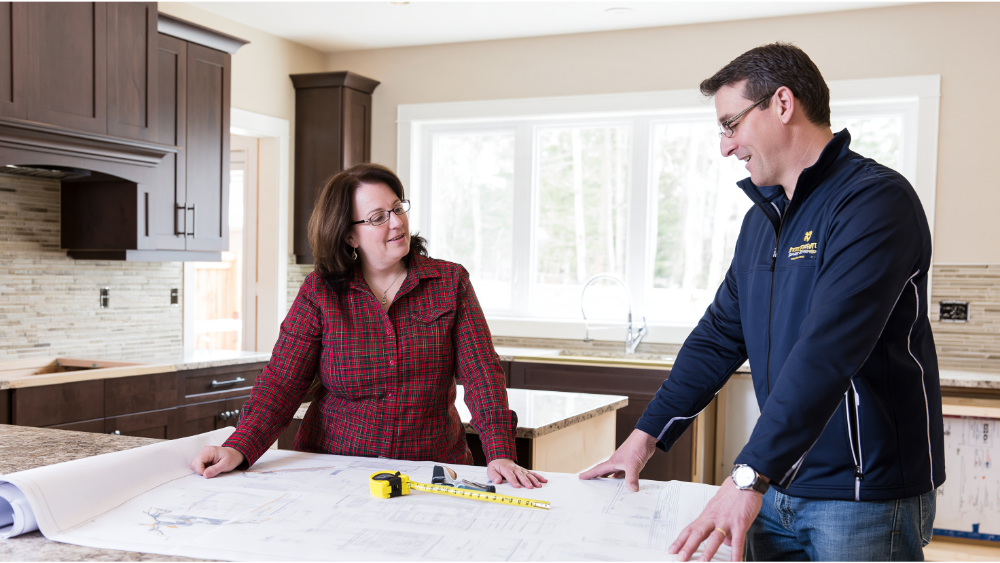
Good communication is a set of agreements, not a personality trait. A successful kitchen remodel is mostly decided before demolition day, and then protected by how information moves afterward. Before work starts, settle on one primary point of contact, how often you'll get updates, a written decision log, documented material approvals, immediate notice of delays, written approval before any optional change, a clear line between owner-requested changes and concealed conditions, and an updated schedule after any scope change. A skilled contractor tells you about a problem the day it shows up, not the week after. We believe clients should never feel in the dark, and we price clearly up front and stand behind what we quote.
Final Walkthrough, Records and What Happens After the Last Day
The project isn't finished at handoff. Test all appliances, every outlet, faucet, light and piece of cabinet hardware. Complete the punch list, confirm final inspections, and collect manuals, care instructions, paint colors, grout and tile records, plus permit and inspection paperwork. The Washington Office of the Insurance Commissioner advises telling your insurance agent or broker about improvements so your coverage reflects the updated home. Our Final Walkthrough & Approval and Post-Project Support steps exist for exactly this, backed by a full-year warranty on all remodeling services.
Frequently Asked Questions
How do you plan a kitchen remodel step by step?
List what isn't working, choose your scope tier, set a budget with written allowances, measure and document the existing space, lock the kitchen layout, select appliances, then cabinets, then utilities, then finishes. Sort permits and the written scope last, before demolition.
In what order should a kitchen remodel be done?
Design and approvals, then permits and procurement, then site protection, demolition, rough-in, inspections, drywall, cabinets, countertops, finishes, final connections, final inspection and walkthrough. Planning always finishes before demolition starts.
What is the 30% rule in remodeling?
It's an informal rule of thumb, not an industry standard or a code requirement. It's usually stated as keeping a renovation's spend within roughly 30% of the home's value, and sometimes used loosely as a contingency guideline. We plan to a defined scope and a written budget instead. No percentage rule replaces a real quote.
What is the 3x4 kitchen rule?
There is no official NKBA standard by that name. It circulates informally as shorthand for keeping the three primary work centers grouped within comfortable reach. Use the verified figures instead: work-triangle legs of 4 to 9 feet, 26 feet combined maximum, and 42-inch aisles for a single cook.
What is a realistic budget for a kitchen remodel?
A realistic budget is one built on a defined scope, written allowances and exclusions, and a priority order, then confirmed by a detailed quote. The main cost drivers are your scope tier, structural changes, custom cabinets, appliances, material selections and permits.
Let's Start Planning Together
We're a family-owned, owner-led remodeling company based in Bellevue, WA, serving homeowners across King and Snohomish counties, with 12 years of experience, a 5.0 Google rating from 43 reviews as stated on our site, and a full-year warranty. If you're ready to plan a kitchen renovation around the way your family actually uses the space, take the first step towards transforming your kitchen with a free consultation. See our kitchen remodeling work and before-and-after gallery, then get in touch.

.svg)


.webp)


.webp)