
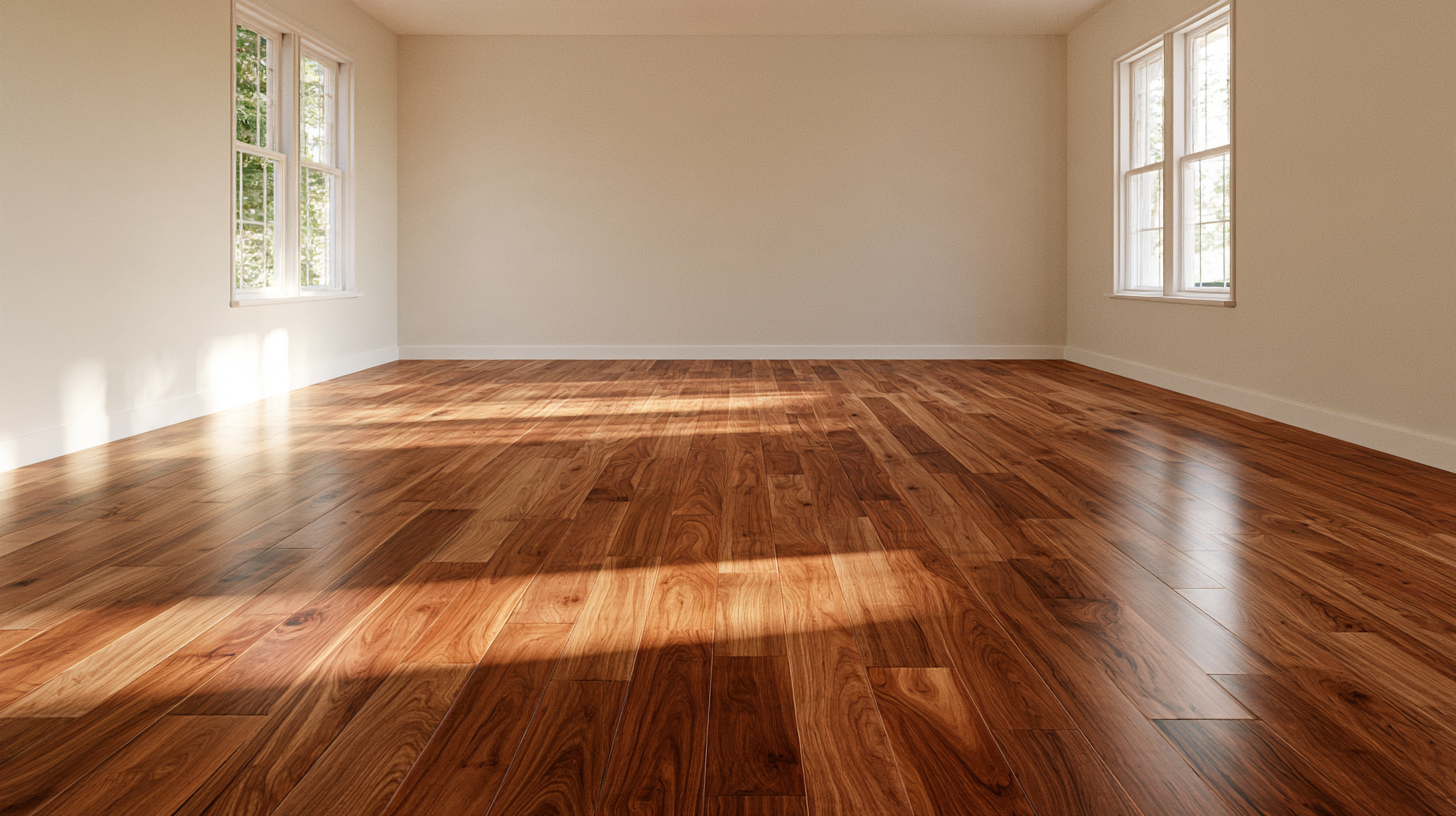
Floorboard stain changes the color of bare or fully stripped real wood, but it does not protect the floor. That job belongs to the finish. To get an even result, you confirm the floor can actually be refinished, sand it uniformly down to clean wood, approve a sample on the actual boards, apply the stain and wipe it, then topcoat it with a compatible protective finish. Skip any one of those steps and the color can end up blotchy, streaky, or wrong in a way that's expensive to undo.
If you're reading this, you're probably weighing a real decision about your own floors and you don't want to gamble on a color you can't take back. That's a reasonable worry. We've walked homeowners through this often enough to know the regret usually comes from choices made too early, before anyone checked what the floor could handle. This guide walks you through the decisions in the right order: what the floor is, whether it can be stained, how your wood species will react, how to choose a color you'll still like in a year, and when it makes sense to bring in help. By the time you finish, you'll understand your floor as a system of layers, not a single surface, and you'll know where the real risks hide.
What Does Floorboard Stain Actually Do? (Color vs. Protection)
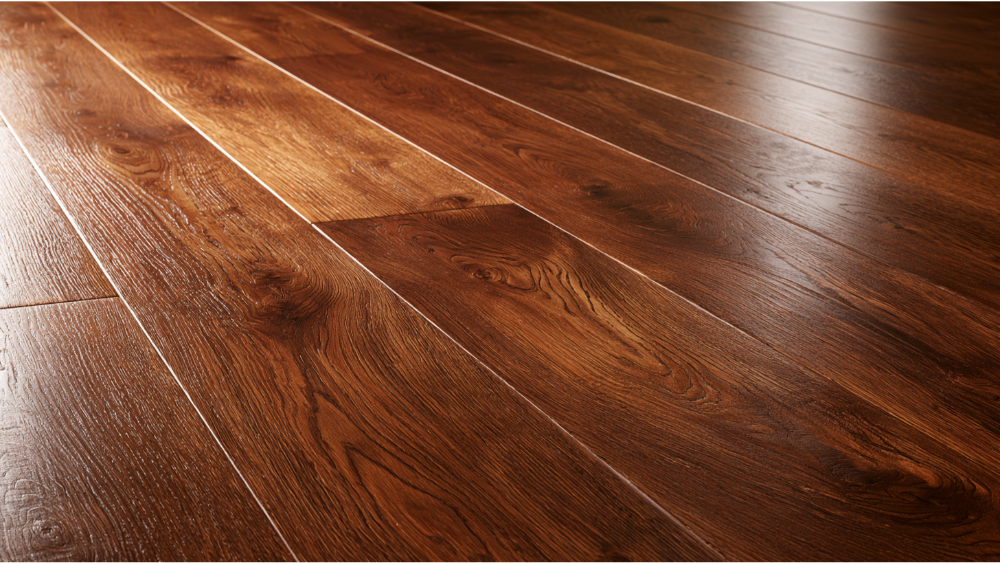
Here's the distinction that saves people the most grief: stain adds color, finish adds protection. They are two different products doing two different jobs, applied in two separate steps. A lot of homeowners assume stain seals and shields the wood. It doesn't. The National Wood Flooring Association is clear that all wood floors need an appropriate finish, and stain is not that finish.
Stain soaks into the wood and tints it. On its own, bare stained wood is still exposed to spills, grit, shoes, and everyday wear. Without a protective topcoat over it, that color won't last and the wood underneath has nothing standing between it and daily life. Think of stain as the color of a wall and finish as the clear sealer that keeps that color from scuffing off. One does nothing for durability; the other does all of it.
The clearest way to picture a stained floor is as a stack of layers:
- The wood itself (solid wood or engineered real wood)
- An optional stain or color layer (skip it and you keep the wood's natural tone)
- A sealer, if the system you're using calls for one
- A protective finish or topcoat, which is what actually resists wear and foot traffic
Staining is optional. Plenty of beautiful floors are never stained at all. A clear finish over raw oak or maple keeps the wood looking bright and airy, which some homeowners prefer over any added color. If you like the wood's natural tone, you can skip the stain entirely and go straight to a clear protective finish. Clear coats over natural oak flooring, for example, let the grain lead and keep the room feeling light, and that natural beauty is reason enough for many people to leave the color alone.
One more thing worth knowing before you start: stain highlights whatever is underneath it. Sanding marks, swirl patterns, a patch that wasn't sanded as evenly as the rest, all of it tends to show once color goes down. Stain is unforgiving that way. It doesn't hide a rough prep job, it advertises it. That's why the sanding work matters as much as the color you pick, and why we spend as much attention on preparation as on the pretty part. A floor stain can only look as good as the surface it lands on, so the quiet work under the color is where professional results are actually made or lost.
Do You Mean Wood Floor Stain, or an Unwanted Stain on Your Floor?
The phrase "floorboard stain" gets used two very different ways, so let's clear this up fast. This guide is about intentionally coloring your wood floorboards: choosing a stain to change or deepen the wood's tone.
If what you actually have is an unwanted mark on the floor, you're looking at a different project. That includes:
- A gray or white water mark from a spill or a leaking plant pot
- Dark pet-urine discoloration that soaked into the wood
- Black oxidation stains, often where water met metal or where the finish broke down
- Tannin bleed coming up through the surface
- A stain application that went wrong and left blotches
Removing an accidental stain is its own task, and the approach depends on what caused it and how deep it went. A surface mark on the finish is one thing; a stain that soaked through to the wood underneath is another, and the second usually calls for sanding. We'll cover that in a separate guide on removing water, pet, and black stains from hardwood (internal link). From here on, everything is about adding color on purpose.
Can Your Floorboards Be Stained? (Start Here Before You Buy Anything)

This is the step most guides skip, and it's the one that matters most. Before you look at a single color chip, you need to know what your floor is and whether it can take a stain at all. Color selection comes after floor identification, not before. Buy the stain first and you may find out too late that your floor was never a candidate.
True color changes require sanding the floor down to bare, uniformly prepared wood. So the real question is whether your floor can be sanded safely. Here's how to think through it.
Solid Hardwood: The Most Forgiving
Solid wood floorboards are milled from a single piece of hardwood all the way through. That thickness is what makes them the most forgiving surface to sand and restain. Because there's real wood below the surface, a solid floor can generally be refinished more times than an engineered one. We say "generally" on purpose. The number of possible sandings depends on the floor's current thickness, how flat it is, its overall condition, the equipment, and the skill of whoever runs it. Nobody can promise a fixed count of future refinishes. But if you have a healthy solid hardwood floor, staining it is usually realistic, and solid hardwood floors tend to reward the effort with the deepest, most even color of any option.
Engineered Hardwood: It Depends on the Wear Layer
Engineered flooring has a real-wood top layer bonded over a plywood or composite core. That top layer, the wear layer, is the only part you can sand. Some engineered floors have a generous wear layer and refinish well. Others have a thin veneer that can be sanded through, which ruins the board and can't be undone. Once you hit the plywood core, there's no wood left to stain, and the whole board has to be replaced.
For a sense of scale, the NWFA's voluntary Certified Refinishable program sets minimum wear layers of 3.2 mm for unfinished flooring and 2.5 mm for factory-finished or distressed flooring, measured at the lowest point on distressed products. Treat those as certification thresholds, not a green light to sand any engineered floor. Your specific boards, their condition, their flatness, and the manufacturer's own documentation still need to be assessed before anyone touches them with a sander. If you don't know your wear-layer thickness, find out before committing to a color change. A quick way to gauge it is to pull a vent cover or look at a cut edge near a doorway, where you can sometimes see how thick the real wood layer is before the core begins.
Factory-Finished and Unknown Refinishing History
Many floors arrive pre-finished from the factory with a hard protective coating already on them. These can sometimes be sanded and restained, but a factory finish is tough and has to be fully cut through to reach bare wood. The bigger complication is history. If a floor has already been refinished once or twice, there may be less wood left to work with than you'd guess by looking. When the refinishing history is unknown, assessment matters even more. A floor that was installed decades ago and sanded by a previous owner can have far less life left than its surface suggests, so it pays to look closer before you plan a color change.
Laminate and Wood-Look Flooring: Can't Be Stained
Laminate, luxury vinyl, and other wood-look products are not real wood. They're a printed image under a wear surface, or a resilient material made to mimic wood grain. You can't sand them and you can't stain them. If the "wood grain" on your floor is actually a printed photographic layer, staining is off the table entirely, and replacement is the only way to change the look. A simple test: run your finger over a seam and look at how the grain repeats. Printed products often show the same knot or grain pattern repeating across the room, something real wood never does.
Once you know what you have, the last decision is how far to go. A full sand-and-refinish, the kind that lets you change color, is appropriate when the floor has deep scratches, dents, exposed bare wood, or when you simply want a different color. If the finish is just dull or lightly worn and you're happy with the existing color, a recoat may be all you need. And if boards are damaged or the wear layer is too thin to sand, replacement is the honest answer. Sorting this out first is what keeps the rest of the project from going sideways.
Floorboard Stain vs. Sealer vs. Protective Finish: The Layer System Explained
We touched on the layer system earlier. It's worth laying out in full, because understanding it clears up most of the confusion about what stain can and can't do.
The topcoat is where durability lives. It's the layer taking the daily abuse, and it's the reason a stained floor holds up over time. Floors usually get multiple coats of protective finish, not one coat, though the exact number follows the product system you're using rather than any universal rule. More coats within a system's recommendation build more protection; going off-script doesn't help. A typical wood floor might get a sealer coat followed by two or three coats of topcoat, with a light buff between coats so each one bonds to the last.
Your topcoat choice also shapes how the final floor looks. Oil-based finishes add a warm amber glow that tends to deepen and richen over the years. Water based finishes dry clearer and stay closer to the color you put down, without that amber shift. Neither is better across the board. They just produce different looks, and that oil-versus-water distinction comes back when we talk about choosing the stain itself. A water based topcoat over a cool gray stain keeps the gray reading gray, while an oil-based coat can nudge that same stain warmer over time. The point to hold onto now: stain colors, finish protects, and you need both.
How Wood Species Changes the Way Stain Looks
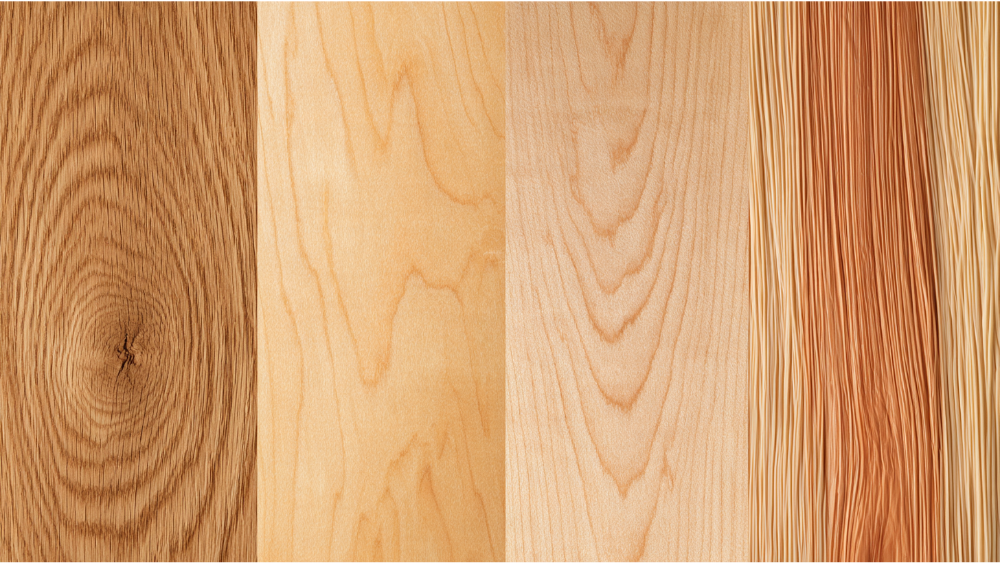
This is the part that trips up homeowners who treat stain like paint. Paint covers. Stain soaks in, and how it soaks in depends enormously on the wood species underneath. The same can of stain can look warm and slightly pink on one floor, muted and flat on another, and streaky on a third. Species first, color second. A wood floor stain that enhances the grain on oak can blotch badly on maple, even though it came from the same can.
The reason comes down to grain and pores. The USDA's wood research explains it well: open-grained species like oak, ash, pecan, and walnut have larger pores that accept stain readily and evenly. Close-grained species like maple, birch, and beech are denser, so they absorb stain slowly and unevenly, which leads to blotching. Softwoods are their own case, with soft and hard growth bands that drink stain at different rates and often end up with strong contrast.
Red Oak and White Oak
Oak is the workhorse of floorboard staining, and for good reason. Its open grain accepts stain beautifully with proper technique, which is part of why it's so common. The difference between the two varieties matters for color. Red oak carries a pink to reddish undertone that pushes through lighter and warmer stains, so a brown can read warmer than the chip suggested. White oak has a cooler, more neutral base, which is why it handles gray and modern neutral tones more predictably. If you want a cool, contemporary color, your starting species makes a real difference. White oak floors are the usual choice behind the clean, cool floors you see in modern homes, precisely because the base of this oak flooring doesn't fight those shades.
Maple, Birch, and Beech
These close-grained hardwoods are dense and smooth, which sounds like it should make them easy. The opposite is true for staining. Their tight grain absorbs stain unevenly, so color tends to pool in some spots and skip others, leaving a blotchy result. A pre-stain conditioner, which partly fills the wood so it accepts stain more evenly, is usually necessary. Maple in particular almost always needs one. Even then, these species are harder to get right, and testing on the actual boards is non-negotiable. Many homeowners with maple end up choosing lighter shades and a more natural look specifically because deep stains fight the wood so hard.
Pine and Softwoods
Pine floors have a lot of character, and staining can amplify it in ways you may not expect. The softer earlywood and harder latewood bands absorb stain at very different rates, so a single color can produce strong light-and-dark striping across each board. Some homeowners love that rustic contrast. Others are surprised by it. Either way, a conditioner and a careful sample tell you which camp you'll land in. On pine, the gap between a lighter, softer result and a darker, more dramatic one can be striking, so the sample is the only honest preview.
Walnut, Cherry, and Mixed or Replacement Boards
Walnut and cherry bring rich, warm color on their own and often look best with a clear finish or a very light stain that lets the natural tone lead. The trickier situation is mixed boards. If some boards have been replaced, that newer or different wood may not take stain the same way as the original floor, so a patched-in repair can stand out after staining even when it looked fine bare. Replacement boards should be sampled separately before you commit.
This is the heart of why a color chart can't predict your result. The final look is a product of species, how the floor was sanded, natural board-to-board variation, the stain's pigment, and the topcoat over it. A chip shows none of that. The only reliable preview is stain applied to your actual wood.
How to Choose and Stain Wood Floors: Picking the Right Floor Stain
Start with the label. The single most common mistake is buying a stain made for furniture or decks and putting it on a floor. Confirm the product is specifically labeled for wood floors. Floor stains are formulated for the demands of a floor, and they're designed to work with floor-grade protective finishes. A furniture stain may never fully dry under a floor topcoat, which can leave you with a soft, tacky layer that never cures.
After that, the big decision is oil-based versus water based. Both can give you a great floor, so this is about matching the product to what you want.
An oil based stain penetrates deeper and tends to deliver that rich, warm color a lot of people picture when they imagine a stained floor. Oil-based products also take longer to dry and carry more odor. Water based stains dry faster, clean up more easily, and hold a clearer color, though they don't always reach the same depth. A water based stain is often the choice when you want the floor to stay close to a precise shade, since it shifts less over time. One note on timing that surprises people: stains generally need longer drying time than finishes do, especially the heavily pigmented and oil-based ones. Plan for that.
The most important selection choice isn't the stain alone, though. It's picking a complete, compatible stain-and-finish system. Stain, sealer, and topcoat need to work together. Mixing incompatible chemistries, say a finish that doesn't bond well over a particular stain, is a recipe for peeling, cloudiness, or a finish that never fully cures. We don't pretend one chemistry is universally superior, because it isn't. What matters is that the whole system is matched and that the materials are good. Quality materials are non-negotiable for a floor meant to last, and that applies to the stain and the finish together, not just the color you fell for. A common pairing is a water based stain under a water based topcoat, which keeps the color true and dries fast, but there are plenty of good oil-based systems too. The rule is simple: stay inside one manufacturer's recommended system and you remove most of the ways a floor can go wrong. If you want a custom color the standard chart doesn't offer, a good supplier can often mix one, but that custom blend still has to be tested on your boards like any other.
Choosing Light, Medium, or Dark Floor Colors
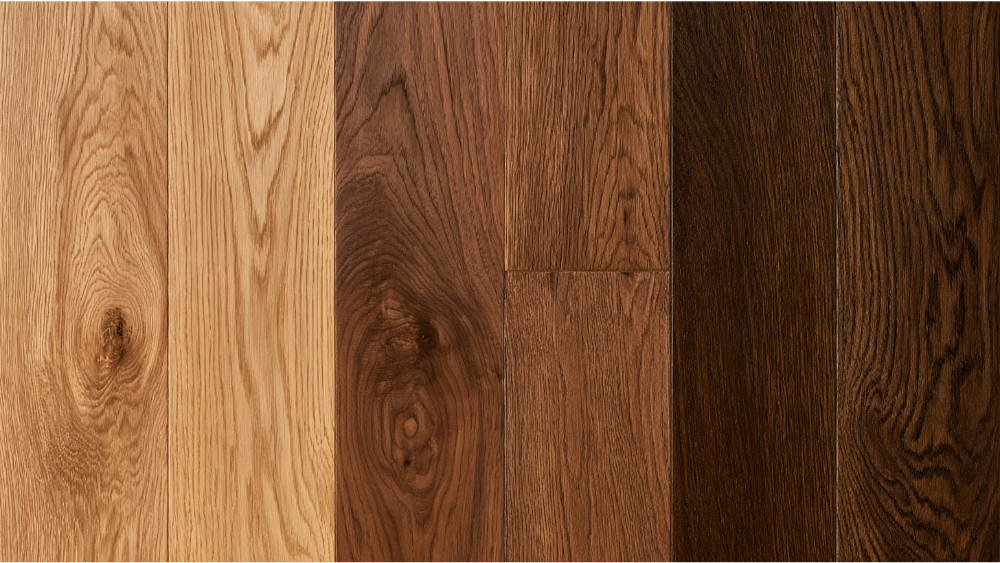
This is the fun part, and it's where a floor stops being a project and starts becoming the room. A stained floor sets the tone for the whole space, so the color deserves real thought, not a quick pick off a trend list. Your home reflects your style, and the floor is one of the biggest surfaces in it. The right stain can create the mood of an entire room, from warm and cozy to cool and open, which is why it's worth slowing down here. Manufacturers offer a wide array of natural colors, from pale neutrals to deep browns, so you have real room to find your fit.
Each direction comes with trade-offs worth knowing before you choose.
What Darker Shades Do
- Hide scratches, blemishes, and minor imperfections well
- Add drama, depth, and a richer, more formal feel
- Show dust, pet hair, and footprints more easily, so they need more frequent cleaning
- Can make a small or low-light room feel smaller and heavier
Darker floors make a strong statement, and they pair especially well with lighter walls and furniture that lets the floor anchor the space. Darker stains also hide fine scratches that lighter tones would reveal. The trade-off is maintenance. On a very dark floor, every speck of dust and every footprint reads clearly, so busy households with pets should go in knowing they'll sweep more often.
What Lighter and Natural Shades Do
- Make a small, dark room feel larger and more open
- Keep a bright, airy look, especially with a clear or near-natural finish
- Hide dust and everyday foot-traffic marks better than dark floors
- Show deep scratches a little more readily than very dark stains
Lighter and more natural shades lean into the wood's own beauty rather than covering it. They enhance the grain instead of masking it, which is why they suit open, light-filled rooms so well. A lighter floor also bounces daylight around a space and tends to forgive the everyday dust that a darker floor shows off. Note that very warm oil-based tones over certain species can read slightly yellow over time, so if you want to keep a floor cool, a water based system helps hold that. If your room runs small or short on windows, going lighter is often the move that makes it feel bigger.
Color never lives in isolation, either. Hold your samples against your walls, cabinets, trim, stairs, and any flooring in adjacent rooms. A floor that looks perfect alone can clash with warm cabinets or fight a cool wall color. Match the floor to your furniture and the overall style you're after, not just to the chip that caught your eye. And look at the samples in both daylight and evening light, because a stain that reads soft and brown at noon can turn surprisingly orange or gray under lamps at night. Sheen plays into it too: a satin finish mutes the color and hides more, while a glossier finish brightens it and reflects more light.
The right color is the one that fits your home and your eye, not the one that happens to be popular this year. We'd always rather help you land on a color you'll still love in five years than talk you into whatever's trending. That's the whole point of choosing with care instead of chasing a fad.
Why You Must Test Floor Stain Samples on the Actual Floor
A manufacturer's color chip is a starting point and nothing more. It was made on some reference wood under some reference light, and neither matches your floor. The only sample that tells the truth is stain applied to your actual boards. A single shade can look like two different colors on two different floors, so the chip is a suggestion, not a promise.
A proper on-floor sample uses the real thing at every layer:
- The same sanding method you'll use on the whole floor
- Your actual floorboards, in an area you can live with
- The intended stain, sealer, and finish
- The exact sheen you plan to use
It also helps to brush out two or three shades side by side so you can see how a lighter and a darker option read against your room, including right into a corner where light falls differently. Seeing them together, in place, tells you far more than imagining them from a fan deck. Then look at it under multiple lighting conditions, daylight through the windows and the lamps you use at night. The color can shift noticeably between the two. Because the same stain looks different depending on species, how it was sanded, the pigment, and the topcoat over it, the only way to know your result is to produce it in miniature first.
Here's the stakes-driven reason this step is worth the extra day: once a floor is stained and topcoated, the color is essentially permanent. Changing your mind afterward means sanding the whole floor back to bare wood and starting over. Approving a real sample before full application is how you make sure there are no surprises, and it's the kind of careful step we insist on. It's a small amount of patience that prevents a very large regret.
The Floor-Staining Process From Start to Finish
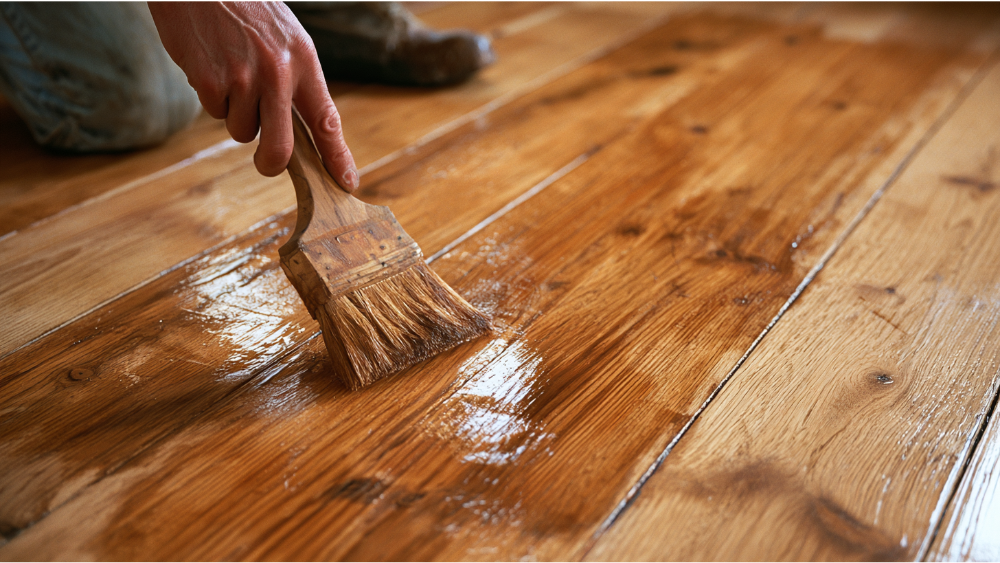
A good floor project follows a clear arc, and so does a good remodel. On our projects, that means a consultation and planning stage, material selection, the actual construction work, a final walkthrough you sign off on, and support after we're done. The technical staining steps live inside that structure. Here's the sequence from bare floor to finished color.
- Inspect and repair. Fill gaps, set popped nails, and replace or fix damaged boards. Whatever's wrong with the floor should be addressed before color goes down. This is also when you move furniture out, pull up rugs, and clear the room completely so nothing blocks the sander.
- Sand uniformly. Work from coarser grit to finer grit in a progression, cutting through the old finish down to clean, even bare wood. The final grit matters because it controls how the wood accepts stain. As a product-specific example, one current professional floor-stain data sheet calls for an 80 to 100 grit final cut with an 80 to 120 multidisc range, but that's that system's spec, not a universal rule. The non-negotiable principle is even sanding across the entire floor. Uneven sanding shows up as blotches the moment stain hits it. Edges and corners the big machine can't reach get handled with an edger so the whole floor takes color at the same rate.
- Remove all dust. Vacuum thoroughly to remove dust, then tack the surface. Dust left behind gets trapped under the finish and ruins the look permanently. Wiping down windowsills, walls, and trim matters too, since fine dust settles back onto a floor you thought was clean.
- Condition or water-pop if the species calls for it. Dense, blotch-prone woods like maple benefit from a pre-stain conditioner. Water popping, lightly raising the grain with water, opens the pores so the wood takes color more evenly and deeply, and it can make a stain read a touch darker and richer than it would on a flatter sanded surface. This step is species- and project-dependent.
- Apply the stain in manageable sections. Work an area at a time to apply stain while keeping a wet edge, so each new section blends into the last rather than drying before you reach it. Follow the grain and texture of the wood as you go so the color lays down evenly.
- Wipe off the excess. Stain needs to penetrate for a short window, then the surplus comes off with a clean wipe. One current product sheet gives a 1 to 3 minute penetration time before wiping, as an example of how short that window can be. Leaving excess stain on the wood surface does not give you a darker, better, or more durable floor. It gives you stain that stays sticky, dries slowly, and can keep the topcoat from bonding or curing. Too much stain is not more color. It's a problem that shows up later as a tacky floor or a finish that won't cure.
- Let the stain dry. Give it the time the product requires before anything else touches it.
- Apply sealer and finish. Follow the system, usually several coats of protective topcoat, built up per the manufacturer's instructions. A light buff between each coat helps it grip the last.
- Cure. The finish needs time to reach full hardness, which is separate from being dry to the touch.
What stands out working through these steps is how unforgiving they are. There's no hiding a rushed sanding pass or a skipped wipe once the color and finish are locked in. That's exactly why hands-on, careful work matters here, and why we'd rather do it slowly and right than fast and sorry. Professional results come from respecting each step in order, not from racing to the finish.
Drying Time, Cure Time, and When You Can Use the Room Again
Ask ten sources how long floor stain takes to dry and you'll get ten answers, because there's no single correct number. Dry time depends on the product, the pigment, the temperature, the humidity, and the airflow in the room. Anyone who gives you one universal figure is guessing. A deep, heavily pigmented color in a cool, damp room can take several times longer than a light, natural shade in warm, dry air.
It also helps to understand that "done" isn't one moment. A floor passes through several distinct milestones:
Stain dry time and finish dry time are not the same thing, and they're not the same as cure time. As a rough and honest range, many floors need somewhere around 24 to 48 hours before the stain is ready for topcoat, but that's a planning estimate, not a promise. Product-specific numbers vary widely. One current 2026 professional floor-stain data sheet lists dry-to-finish times of about 2 hours for typical wood tones, 6 hours for white, and 12 to 18 hours for several heavily pigmented dark colors, all under ideal conditions of 60 to 80 degrees Fahrenheit and 35 to 75 percent relative humidity. That same sheet gives a 48-hour maximum window to apply its compatible finish after staining. Those are that product's figures under those conditions, not universal rules. A darker color in a cool, humid room can take dramatically longer than a lighter color in warm, dry air.
When you reintroduce furniture, set it down gently and use felt pads, because a finish that feels dry can still dent or scuff before it fully cures. Rugs go down last for a reason: trapping finish gases under a rug too early can leave a cloudy mark or slow the cure in that spot.
What you deserve from whoever does the work is an honest access timeline up front: when you can walk, when furniture comes back, when the house is fully livable again. Planning this way can save time and frustration for the whole household. Communication like that is part of the job, not a favor. We'd rather tell you the real schedule and have you plan around it than leave you wondering when you can move back into your own kitchen.
Common Floor Stain Problems (and Why They Happen)
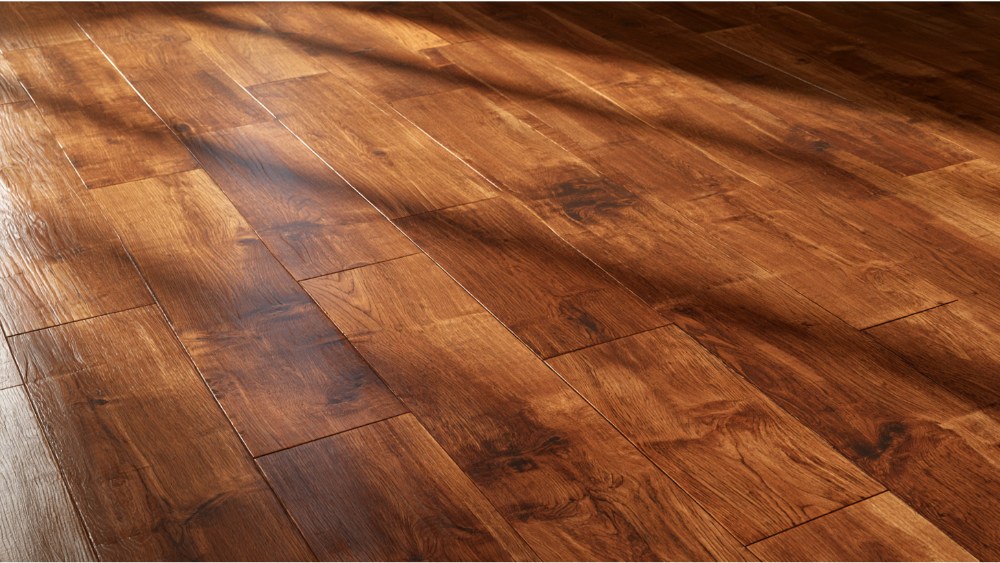
Almost every floor-staining problem traces back to prep and testing, the two steps people are most tempted to rush. Here's what goes wrong, why, and how to keep it from happening.
Notice the pattern. Nearly every row comes back to even sanding, proper cleanup, conditioning where the species demands it, and sampling before you commit. None of those steps are glamorous, which is exactly why they get skipped and exactly why floors go wrong. Do them and most of this table never becomes your problem. The one that surprises most people is the finish that won't cure: it usually means too much stain was left on the surface and the topcoat can't grip wood it never actually reached.
Safety Before You Sand or Stain
Staining a floor involves fine dust and chemicals that deserve respect. Most how-to guides mention one safety issue in passing. Here's the full picture, based on national guidance.
- Lead paint in older homes. If your home was built before 1978, sanding or scraping painted floorboards, trim, or thresholds can release lead dust. The EPA recommends lead-safe practices for DIY work, and paid contractors who disturb painted surfaces in qualifying pre-1978 housing and child-occupied facilities are required to be lead-safe certified under the RRP Rule. This is a real reason to pause before sanding anything painted in an older home. Many homes around Bellevue and the greater Seattle area fall into that pre-1978 window, so it's worth checking your build date first.
- Dust containment. Seal off the work area, keep children and pets out, use HEPA-equipped tools and vacuums where you can, and clean up with HEPA vacuuming and damp methods, especially if lead may be present. Fine wood dust travels through a house easily, so plastic sheeting over doorways earns its keep.
- Ventilation and VOCs. Stains, finishes, and solvents release volatile organic compounds. The EPA recommends maximizing ventilation, following all label precautions, and bringing in fresh outdoor air while you work. For context, older EPA studies found levels of several organic pollutants averaged two to five times higher indoors than outdoors, which is reason enough to keep air moving. Water based products generally release fewer of these compounds than oil-based ones, which is one reason some homeowners lean that way for occupied homes.
- PPE and label compliance. Wear the protection the product label specifies, and follow its directions. The label is written for that specific chemistry.
- Oily-rag fire safety. This one catches people off guard. Rags soaked with oil-based stain can self-heat and ignite on their own if left piled up. The NFPA advises spreading or hanging them outdoors away from any structure to dry, or using a sealed water-filled metal container, following the product label and your local disposal rules.
- Leftover product disposal. Dispose of leftover stain and solvents according to the product label and your local waste rules. Don't pour them down a drain.
We treat these the same way we treat a client's home, which is to say carefully. Handling dust, fumes, and flammable rags properly is part of doing the job right, and it's part of respecting the house you live in.
Should You DIY or Bring in a Professional?

Plenty of floor projects are reasonable to take on yourself, and some really aren't. The honest answer depends on the floor and the scope, not on anyone's sales pitch. Here's how we'd split it.
The reason to lean toward a professional assessment in those right-hand cases is risk, not pressure. A big drum sander in inexperienced hands can gouge a floor in seconds, and a gouge that deep means sanding the whole room lower to level it out. Over-sand a thin engineered veneer and the board is finished. These are mistakes you can't take back, and they're expensive to fix. The appeal of a DIY job is saving on labor, but a single ruined floor erases that saving and then some.
If you've been burned by a contractor before, we understand why you're cautious. The safeguards that prevent that experience are structural: a clear process from first conversation to final sign-off, an on-floor sample you approve before anything permanent happens, and a realistic timeline shared with you up front rather than discovered along the way. Being an owner-led, family business isn't a limitation here. It means the people accountable for the work are the people doing it, with their name on it.
One honest note about scope. Oleg & Sons is a remodeling firm with 12 years of experience, and we coordinate flooring decisions and specialist work as part of tailored remodeling projects that may also touch cabinets, millwork, and the rooms around your floor. We back our work with a full-year warranty and start every project with a free consultation. We're not here to claim that every stand-alone refinishing task is handled in-house. When flooring is part of your remodel, we make sure the color, the materials, and the specialist execution all fit the bigger picture of what you're building, so the new wood floor reads as a deliberate part of the room rather than an afterthought.
Plan Your Floor With Confidence
A floor color you'll love starts well before the stain goes down. It starts with knowing the floor can be refinished, choosing a color against your actual room and light, approving a tested sample, and understanding the real timeline so nothing about the finished result surprises you. Get those right and the color almost takes care of itself. The whole arc, from identifying the wood to the final protective finish, is really just a series of careful decisions made in the right order.
If a new floor is part of a kitchen, bathroom, or whole-home project you're planning, we'd be glad to help you think it through. Oleg & Sons is a family-owned, owner-led remodeling firm serving Bellevue and the greater Seattle area, including King County and Snohomish County. We coordinate tailored flooring choices within full remodeling projects, we back our work with a full-year warranty, and we start with a free consultation where you do the talking and we do the listening.
Let's start planning together. Get in touch when you're ready, and we'll help you build a plan that fits your home. You can find us at 14205 SE 36th Street, Suite 100, Bellevue, WA 98006.