.avif)
.svg)


Key Takeaway
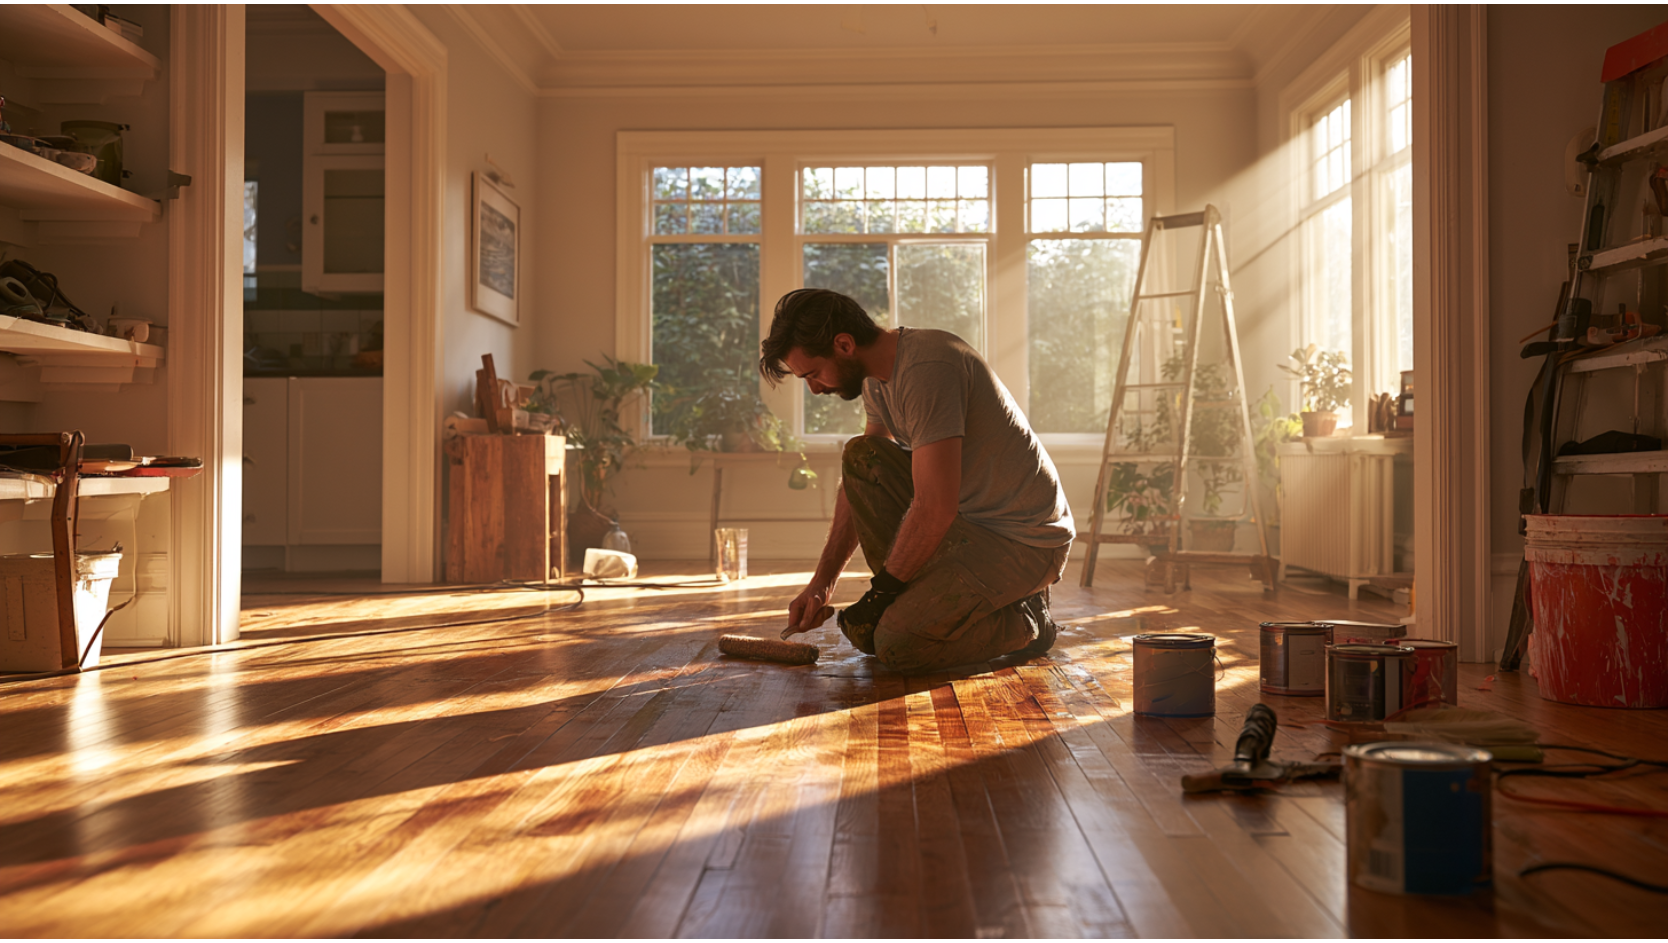
Staining hardwood floors requires sanding to bare wood, removing all dust, testing your stain color on the actual floor, applying stain evenly with the grain, wiping off the excess, and sealing with a compatible protective finish. This step-by-step guide for Seattle homeowners covers every stage, including local humidity, lead safety in pre-1978 homes, and proper disposal of oily rags. Follow manufacturer dry times closely, since Seattle's damp indoor air can extend drying from 2 hours for wood tones to 12 to 18 hours for deep colors.
To stain hardwood floors, first confirm the floor can safely be sanded, then sand it down to bare wood, remove every trace of dust, test your stain color, apply it evenly with the grain, wipe off the excess, and let it dry fully under the manufacturer's conditions before sealing it with a compatible protective finish. That's the whole process in one sentence. The reason it deserves a full guide is that floor stain is one of the most visible decisions you'll make in your home. Once color hits the wood, sanding marks, blotches, dust specks, and lap lines are hard to hide and harder to undo. This guide is written for Seattle-area homeowners weighing whether to do it yourselves or bring in a pro. Two ideas anchor everything that follows: stain is color, and the finish on top of it is protection. And a real color change on hardwood floors means sanding to bare wood, not painting over what's already there. Before you rent a floor sander or open a stain can, make sure your hardwood floors are a good candidate for refinishing.
Is Your Hardwood Floor a Good Candidate for Staining?
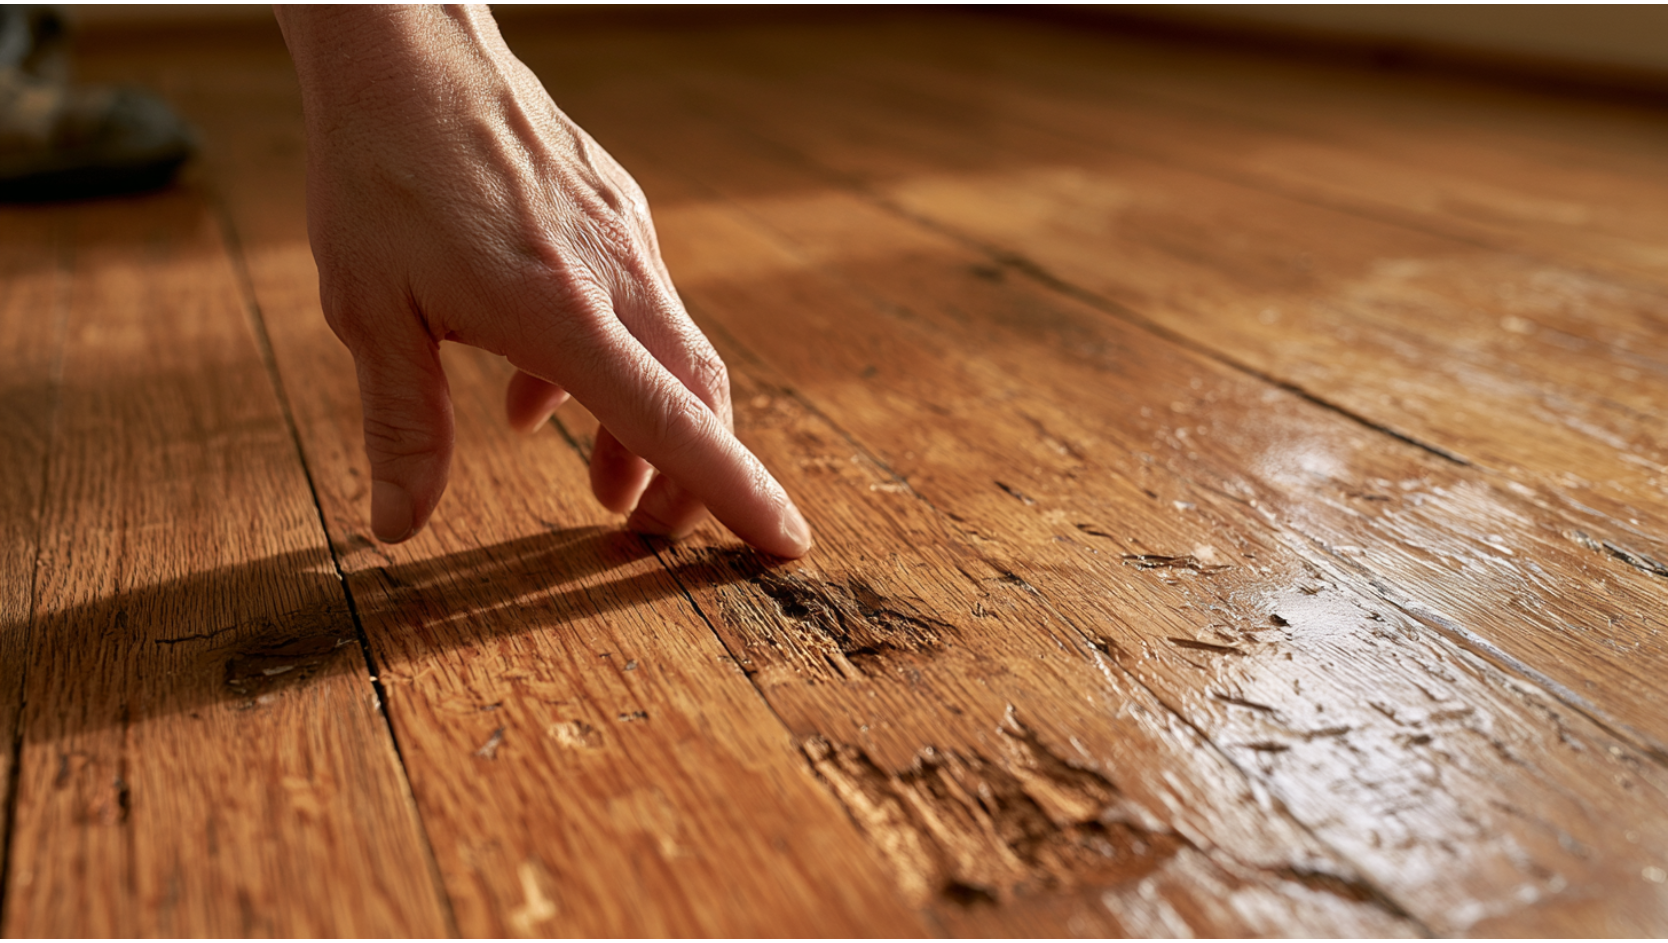
Most guides skip straight to sanding. That's a mistake, because not every floor should be sanded, and a wrong call here can shorten the life of the floors or ruin them outright. Take a few minutes to figure out what you actually have underfoot before any refinishing begins.
Solid vs. Engineered Hardwood
Solid hardwood is a single piece of wood all the way through, which is why it can be sanded and refinished many times over its life. Engineered hardwood is different: it's a thin layer of real hardwood bonded over plywood or a composite core. That wear layer is all you have to work with, and once it's gone, the floor is done. The National Wood Flooring Association sets useful benchmarks here. As a general rule, if the wear layer is thinner than 3/32 inch (about 2.5mm), the floors should not be sanded. For unfinished smooth engineered flooring, the refinishability benchmark is 3.2mm (4/32 inch). A single careful sanding removes less than 1/32 inch of wood, so hardwood floors that have already been sanded a couple of times, or one with a thin factory wear layer, have very little left to give. If you're not sure what you have, that uncertainty alone is a reason to get a professional opinion before you commit to a full refinish.
How Wood Species Affects Your Result
Hardwood comes from deciduous trees like oak and maple, and wood species matters more than most people expect. Open-grained woods like oak and walnut drink stain in easily and tend to color evenly. Tight-grained maple resists stain and is prone to blotching, which is why it needs extra prep. White oak is dimensionally stable and handles radiant heat well, which is part of why it's such a popular choice for hardwood floors in Pacific Northwest homes. Fir, common in older Seattle houses, behaves differently again, and its wood grain reads differently under color.
Before you plan a stain job, check for deal-breakers: deep pet stains that have soaked into the wood, water damage, cupping, or wide gaps between boards. Those often mean repair, wood filler, or board replacement first. And if you only want to freshen an existing finish rather than change the color, a screen-and-recoat may be all you need. A true color change on your existing floors, especially going lighter, requires sanding all the way to bare wood.
Seattle Homeowner Considerations: Humidity, Lead, Ventilation, and Disposal
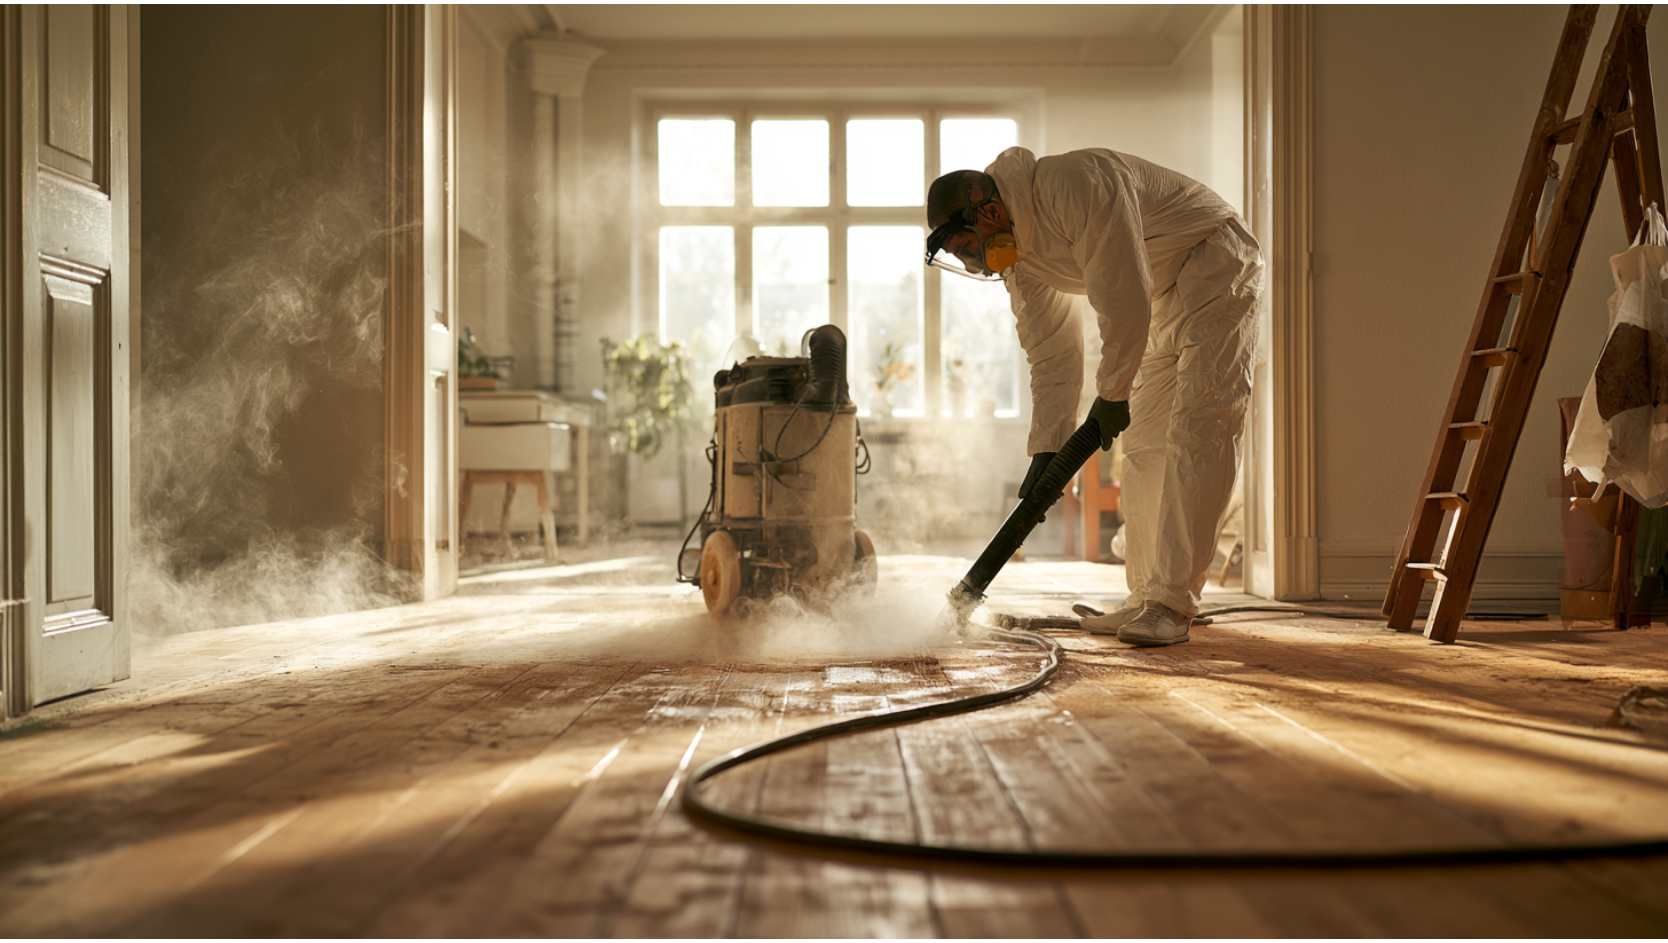
The staining steps are the same anywhere in the country. But a handful of local realities can make or break the job for Bellevue and greater Seattle homeowners, and they rarely get the attention they deserve.
Indoor Humidity and the Pacific Northwest
Around here, the number that matters isn't the outdoor forecast, it's the humidity inside your house. Wood constantly exchanges moisture with the surrounding air, and that affects both how stain absorbs and how it dries. The NWFA recommends keeping a home between 60 and 80°F and 30 to 50% relative humidity year-round to minimize cupping, gapping, and splitting in hardwood floors. Before you stain, check your floor with a moisture meter (most read wood moisture content from roughly 5 to 30%). Damp indoor conditions also stretch out drying time and curing, which is a point we'll come back to at Step 7. Managing that indoor climate is one of the quieter differences between hardwood floors that turn out even and ones that fight you.
Older Seattle Homes and Lead-Safe Work
Seattle and Bellevue have a lot of pre-1978 homes, and that changes the safety picture. Floor refinishing isn't automatically a lead-paint project. But if your sanding will disturb old painted baseboards, trim, stair parts, or nearby walls, lead becomes a real concern. The EPA's Renovation, Repair, and Painting (RRP) Rule applies to work in pre-1978 housing that disturbs more than 6 square feet of interior painted surface (or 20 square feet exterior). The EPA recommends hiring a lead-safe certified contractor for RRP work in older homes. If your project touches painted surfaces from that era, get the surfaces tested before any sander touches them.
Ventilation, Fire Safety, and Disposal
Stains and finishes give off volatile organic compounds. The EPA notes that levels of common organic pollutants run 2 to 5 times higher indoors than outdoors, and during activities like paint stripping can spike up to 1,000 times outdoor levels for a few hours. Open windows and doors, keep air moving through the space, and stay out while products dry and cure.
Oily rags are the sleeper hazard. The NFPA reports an average of about 900 home fires a year started by oily rags catching fire, often through spontaneous combustion. Never pile stain-soaked rags. Drop them into a metal container filled with water and detergent, keep it away from heat and sunlight, and empty it. The Seattle Fire Code requires materials prone to spontaneous ignition, like oily rags, to be kept in a listed disposal container with contents removed daily.
For leftover solvents and thinner, King County accepts them at household hazardous waste sites in containers of 5 gallons or less, up to a 50-gallon household limit per trip. Staining alone usually doesn't require a permit. But if your floor work is part of a larger remodel that affects structure, egress, or ventilation, check first. Seattle's Department of Construction and Inspections (SDCI) offers free 20-minute coaching sessions with a permit specialist.
Tools and Materials You'll Need
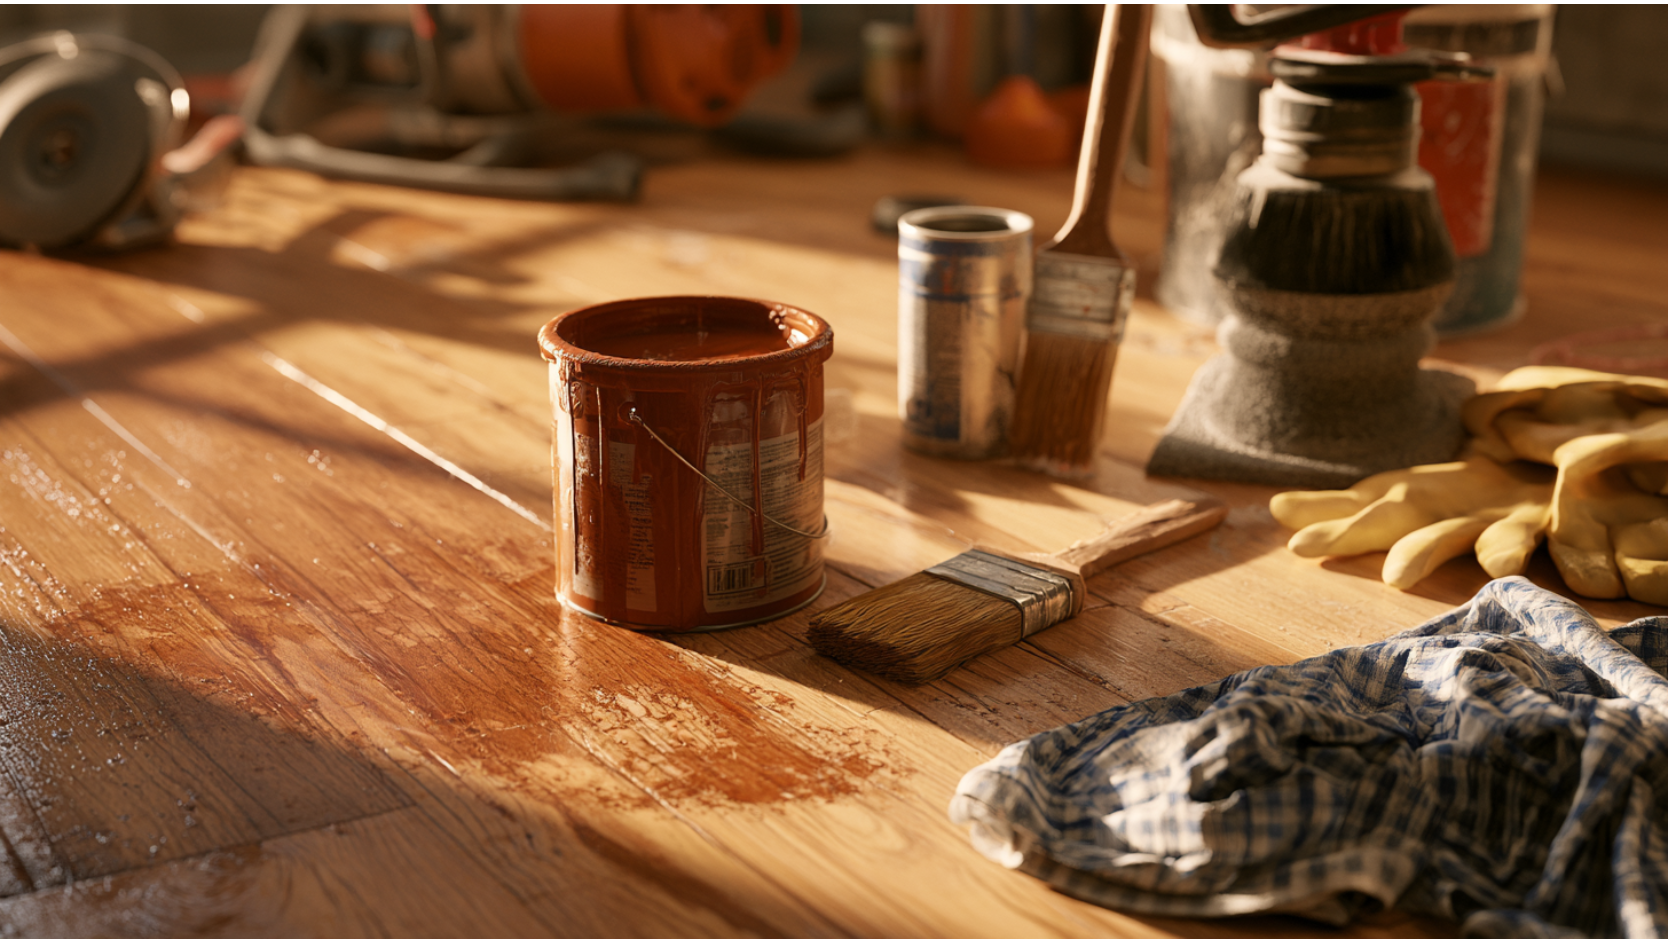
Gather everything before you start so you're not stopping mid-process. Quality materials genuinely matter here, because cheap abrasives and thin stain don't produce lasting results on hardwood floors:
- Sanding equipment: a drum or orbital floor sander, a hand sander or edger for corners and perimeters, and abrasives running from coarse grit sandpaper to fine grit sandpaper for the sanding stage.
- Dust control: a shop vacuum, plus a tack cloth or microfiber pads for the final wipe-down that clears all the dust the vacuum leaves behind.
- Stain and applicators: your chosen stain color, plus rags, a brush, and an applicator pad. Add a wood conditioner if you're working with a blotch-prone species like maple.
- Protective finish: an oil based or water based topcoat compatible with your stain (more on that choice below).
- PPE: eye protection, gloves, hearing protection, and a NIOSH-approved respirator. N95, N99, and N100 filters block 95%, 99%, and 99.97% of particulates respectively. Note that solvent vapor may call for a different cartridge than a simple dust filter, so check the product's safety data sheet.
- A metal container with water for oily rags, ready before you open a single can.
Step 1: Clear the Room and Seal Off the Space
Empty the room completely. Move out all your stuff, roll up rugs, lift any old carpet in the way, and take down window treatments. Slide furniture out and protect any furniture legs that could catch grit as pieces come and go. Remove shoe moulding and base trim if you can do it cleanly, so stain reaches the board edges near the walls. Seal off adjacent rooms and cover HVAC returns with plastic sheeting, because sanding dust and debris travel through a whole house fast. Keep every entry point to this space covered until you're ready to work. Make sure any windows you plan to open for ventilation are accessible. Then plan your exit path. You want to work toward the door, not paint yourself into a corner with a floor full of wet stain between you and the way out.
Step 2: Clean and Inspect the Floor
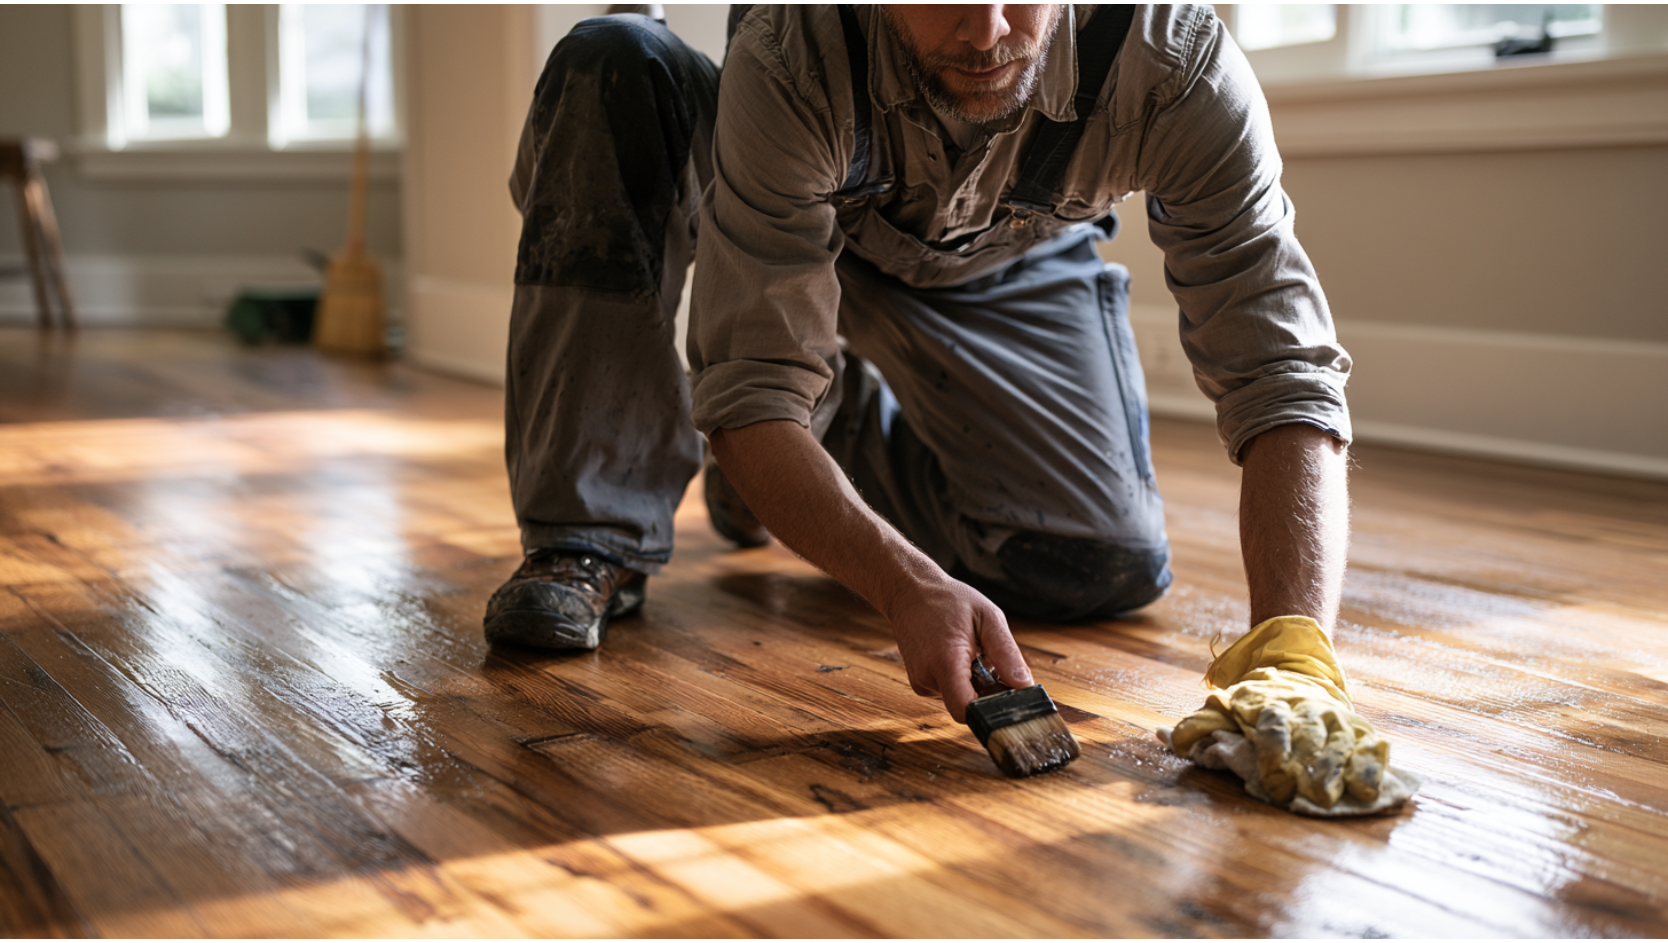
Give the floors a thorough cleaning to lift wax, oils, and residue so the sander cuts clean wood instead of dragging old buildup around. Then get down and inspect. Look for loose boards, nails that have worked their way up, deep pet stains, and any signs of water damage. Handle repairs and board replacement now, before you sand and stain. Fixing a problem after the color is down is far harder, and it usually means re-sanding a whole section. Keep in mind that patched or replacement boards can absorb stain differently from the originals, so factor that into your stain color testing later.
Step 3: Sand the Floor to Bare Wood
Sanding is where an even stain job is won or lost. Skip steps or rush the sanding process, and the stain will show every flaw. The goal is to remove the old finish and any surface damage, then leave a clean, uniformly abraded surface that accepts color evenly. This is the heart of the refinishing process.
Work through the grits in sequence. Start coarse enough to strip the old finish, then step up to finer abrasives. For hardwood floors with only minor wear, an 80 to 120 grit range often does the job. Many manufacturers call for a final cut or screen around 80 to 100 grit, and DuraSeal specifically recommends a final screen with No. 100 grit before staining hardwood floors. Follow the specs on your product rather than guessing.
Keep the drum sander moving whenever it's in contact with the floor. Pausing in one spot digs a divot, and slowing at the turns leaves drum marks that no stain will hide. Always sand with the grain. Use the edger to reach the perimeter, corners, and edges along the walls that the big machine can't. Even sanding produces even color, so take your time on transitions between the drum and the edger.
One optional technique for some species: water-popping. Lightly and evenly wetting the sanded floor raises the grain and opens the wood to absorb stain more deeply and uniformly. It's an advanced move that changes how much color the floor takes, so test it before committing. And if you're working with engineered flooring, use a light touch and stay within that wear-layer limit from the candidacy section.
Step 4: Remove Every Trace of Dust
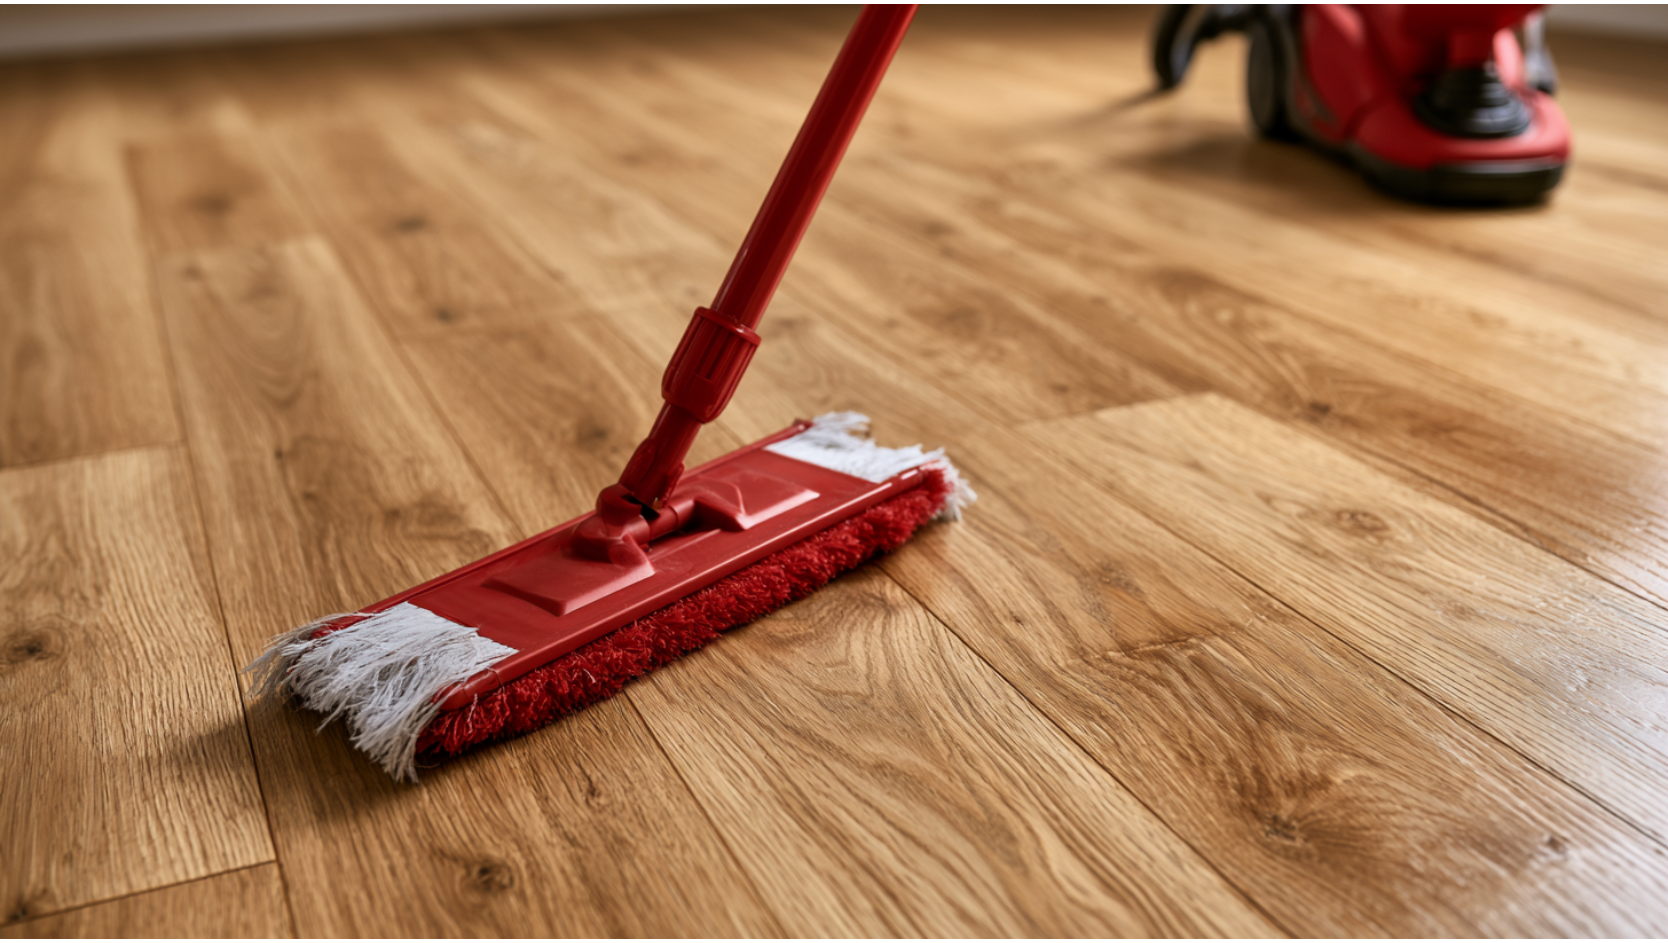
Vacuum the entire floor thoroughly, including the edges, corners, and any gaps between boards. Then go over it with a tack cloth or microfiber pad to lift the fine dust and debris the vacuum leaves behind. This step is not optional. Leftover dust causes specks, rough patches, and spotting in the stain, and it shows up again as bumps under the finish coats. Don't wet mop bare sanded wood before staining hardwood floors unless you're deliberately water-popping with controlled moisture. Otherwise, keep the surface dry and clean, and don't walk across it in dusty shoes on your way to the stain can.
Step 5: Test Your Stain Color Before Committing
This single step protects you from the most heartbreaking mistake in the whole process: a stain color you hate across an entire floor. Never judge stain from the lid of the can. Test it on the actual floor in an inconspicuous area, or on spare boards of the same species that have been sanded the same way. Look at your samples in daylight coming through the windows and again in evening light, because stain can read warmer or cooler depending on the source.
Stain color choice doesn't live in isolation. Your floor plays off cabinets, trim, wall paint, and the overall style of the space. This is exactly where a tailored approach pays off: the right floor color supports your whole home's look instead of fighting it. Remember that species absorb differently. Oak and walnut take stain readily, while maple and some engineered products resist and blotch. For blotch-prone woods, a wood conditioner applied before the stain helps the color land evenly and get you to your desired color.
If you're coordinating floors with a kitchen or bathroom remodel, this decision ripples outward. Floor color influences the cabinetry, millwork, and paint you'll choose next, which is why we like to plan color as part of the larger vision rather than in a vacuum.
Step 6: Apply the Stain Evenly with the Grain
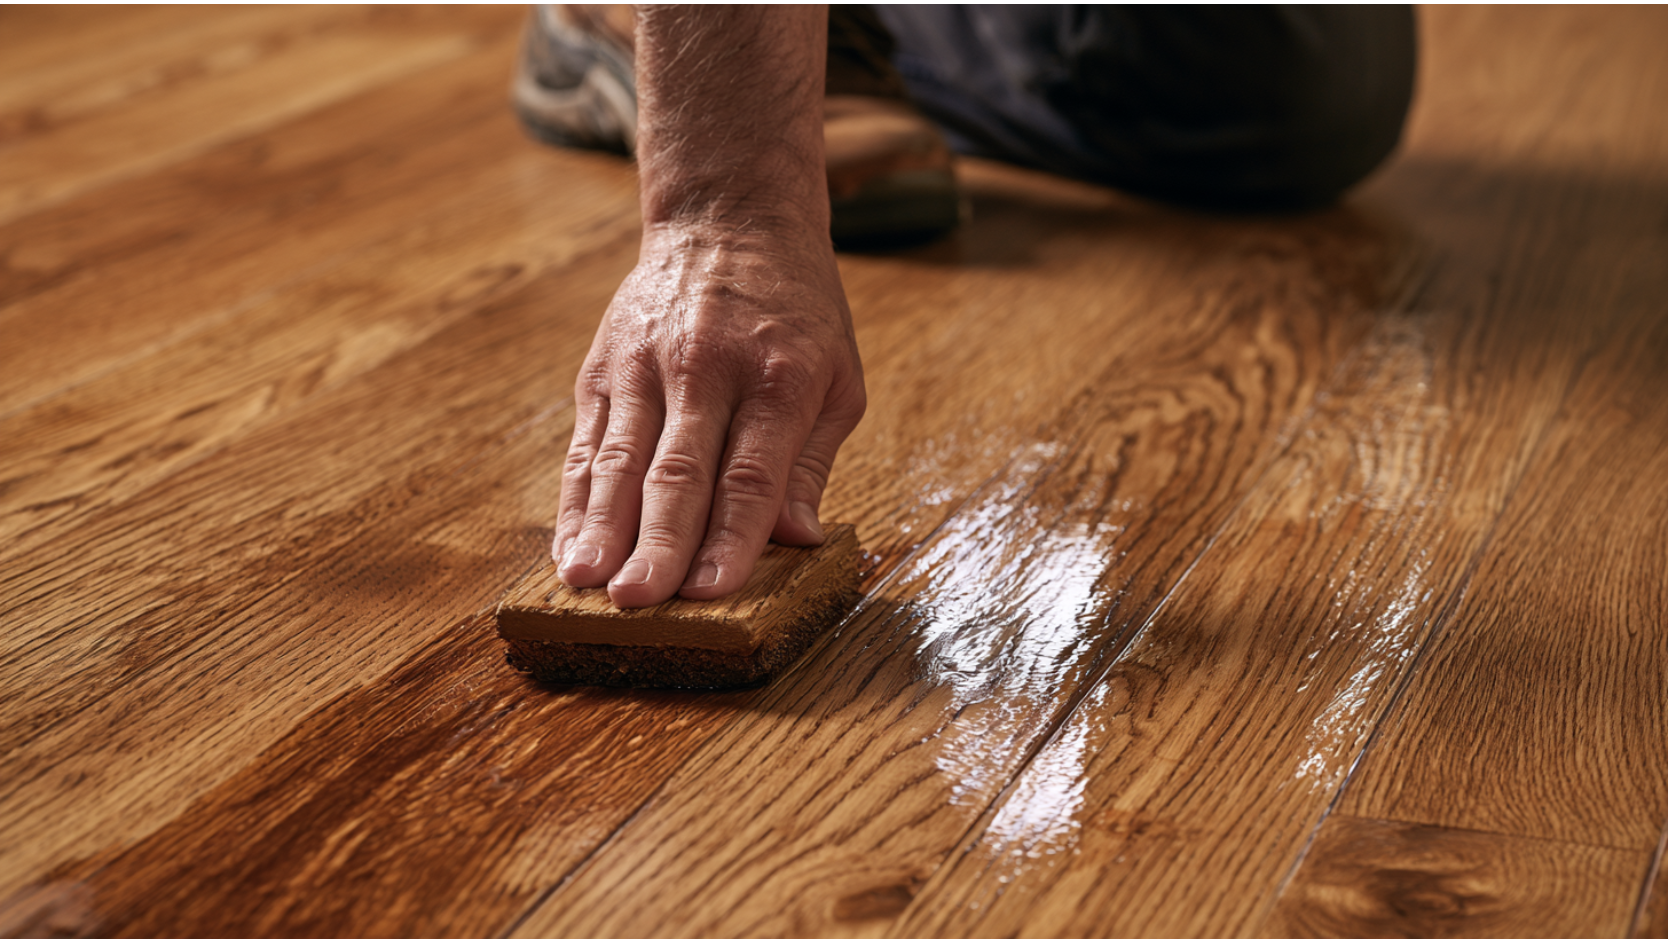
Work with the grain in manageable sections, keeping a wet edge so each new area blends into the last. Apply the stain, let it penetrate for the manufacturer's specified window, then wipe off the excess. That penetration window is short and product-specific: Bona DriFast calls for 1 to 3 minutes, while DuraSeal Quick Coat allows 5 to 8 minutes. These are examples, not universal numbers, so read your can.
Wiping off the excess is not a cleanup nicety. It's essential for proper drying time and for the finish to adhere later. Over-applying stain, or leaving it sitting too long, leads to uneven drying, patchy lap lines, and tacky spots that never fully cure. Avoid puddles, and plan your path so you're always moving toward the exit rather than tracking footprints across fresh color.
Oil Based vs. Water Based Stain
If your floor needs more than one can, mix or batch them consistently when the manufacturer allows it, so you don't get a visible color shift halfway across the room. On the oil based versus water based question, oil based stains generally penetrate deeper and give a richer, more forgiving finish with a longer working time, while water based options dry faster and hold their color tone. Oil based products also tend to carry a stronger odor, which makes the ventilation from open windows all the more important. Whichever you use, the current technical data sheet is your final authority.
Step 7: Let the Stain Dry Completely
Patience protects everything you've done so far. Rushing to the topcoat while stain is still off-gassing traps solvents, causes adhesion problems, and can ruin the finish. Let it dry completely using the manufacturer's dry times, not a guess based on how the floor looks.
Drying time varies widely by product and color. Under ideal conditions of 60 to 80°F and 35 to 75% relative humidity, Bona DriFast lists roughly 2 hours for wood tones, a minimum of 6 hours for white, and 12 to 18 hours for deep stain colors like Ebony, Spice Brown, Bark, and Cocoa. DuraSeal Quick Coat lists about 2 to 3 hours at 77°F and 50% RH. This is where Seattle's indoor humidity comes back into play. High humidity and low temperature both extend drying time, while more ventilation and airflow shorten it. If your home is damp, expect to wait longer than the label's ideal number.
Keep gentle air moving to help the floor dry, but don't blast a fan across a dusty room and settle grit and debris into wet stain. And mind the topcoat window: Bona recommends applying finish after the stain has dried but within 48 hours of application, so plan the timing rather than letting the floor sit for days.
Step 8: Apply the Protective Finish
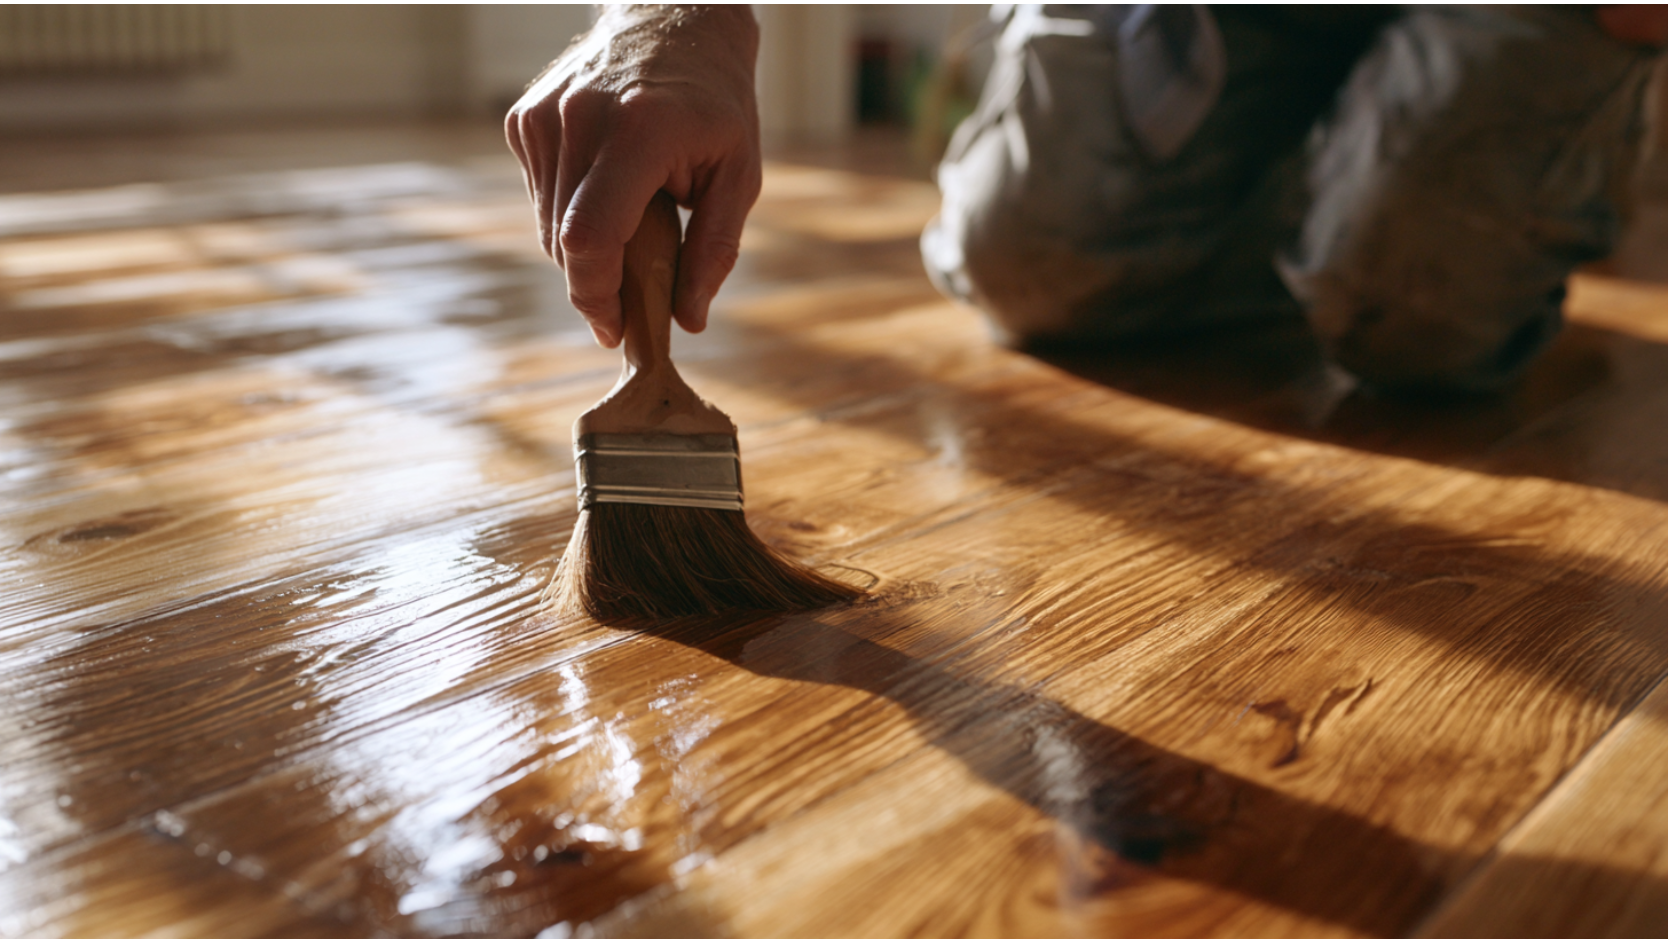
Here's the distinction that trips up a lot of homeowners: the stain gives your hardwood floors their color, but it offers almost no protection. The finish you apply on top is what stands up to foot traffic, furniture, and spills, especially in high traffic areas. Skip it, and your beautiful color won't survive a season.
You'll choose between oil based and water based finishes. An oil based poly adds warmth and amber tone and is known for durability, but it cures slower and carries higher VOCs. A water based poly dries faster, stays clearer, and generally has lower odor. Whatever you pick, compatibility with your stain matters. Bona's DriFast, for example, is designed to prepare the surface for a Bona waterborne or other Bona topcoat, whether that ends up being oil based polyurethane or a waterborne system. Mixing incompatible finishes can cause peeling or cloudiness. Follow the label and the manufacturer's instructions for the number of coats, whether to lightly sand or screen between coats, and how long to let the floor cure before you walk on it or move furniture back. One coat is never enough, so most finishes need at least two or three coats, with drying time between each. Plan the installation of the topcoat across more than one day.
Common Mistakes That Ruin a Hardwood Floor Stain Project
Most floor-staining disasters trace back to a short list of avoidable errors:
- Sanding an engineered floor past its wear layer, leaving it unrepairable.
- Skipping lead testing before disturbing painted surfaces, trim, or walls in a pre-1978 home.
- Choosing a stain color from the can lid instead of testing it on the actual floor.
- Leaving dust and debris behind, which shows up as specks and spotting in the stain.
- Over-applying stain, causing tacky spots and uneven color.
- Not wiping off the excess, which wrecks drying time and finish adhesion.
- Applying the topcoat before the stain has fully dried.
- Piling oily rags instead of storing them in a water-filled metal container.
- Walking on the floor or moving furniture back before the finish has cured.
DIY vs. Hiring a Floor Refinisher: How to Decide
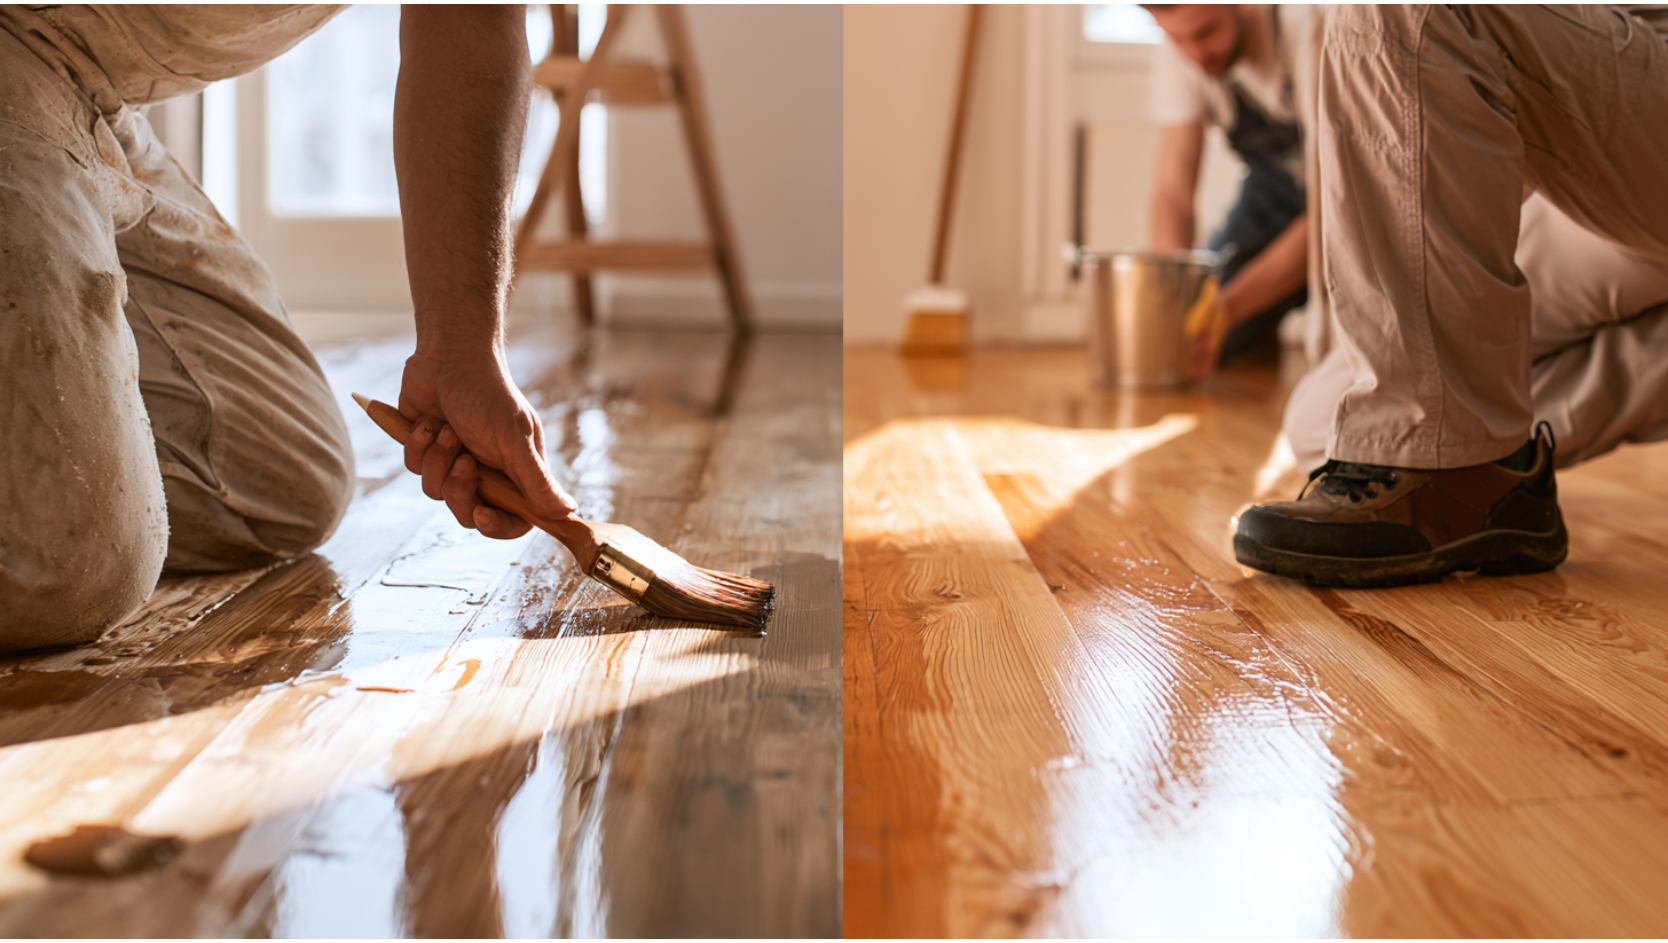
DIY staining can be reasonable for a small, simple space of solid hardwood in good shape, especially if you're patient and willing to test carefully. It can save money on a modest room if things go smoothly. The stakes rise fast beyond that. Large open areas, an entire house of flooring, stairs, engineered or thin previously sanded floors, dark stains that show every flaw, water or pet damage, and pre-1978 painted surfaces all push a project into professional territory. So does timing it around a broader remodel, where floor color has to coordinate with cabinets, millwork, and paint. A skilled floor refinisher will also account for the true cost of a job, including whether repairs or a fresh installation make more sense than refinishing worn boards.
Refinishing an entire floor by hand is time consuming, and doing it well the first time can save time and headaches down the road. If you do hire out the work, Washington's Department of Labor & Industries advises using its online tool to confirm a contractor's active registration, bond, insurance, and workers' compensation before signing anything. It's a quick check that protects you.
The honest reason to bring in a pro isn't that you can't learn the steps. It's that floor stain is unforgiving, and a professional process, with careful prep, moisture control, and quality materials, keeps a very visible surface from becoming a very visible regret.
How Oleg & Sons Approaches Floors as Part of a Home Transformation
We think of floor color as one thread in your home's whole design, not a standalone chore. When we plan a kitchen, bathroom, or full home renovation, the floors get considered alongside cabinetry, trim, walls, and wall color so everything reads as one intentional look. Whether the job calls for refinishing existing hardwood or a fresh installation, our craftsmen treat your home as they'd treat their own, and we keep communication open so you're never left wondering what's happening or why. If you're weighing new flooring or a stain color change as part of a larger project in Bellevue or the greater Seattle area, we'd be glad to talk it through. Get in touch for a free consultation, and let's start planning together.
Frequently Asked Questions
Can you stain hardwood floors without sanding?
Not for a true color change. A no-sand product or a screen-and-recoat can refresh or slightly darken an existing finish, but changing the actual color of hardwood floors, especially going lighter, requires sanding down to bare wood so the stain can penetrate.
How long does hardwood floor stain take to dry in Seattle?
It depends on the product and color, and on your indoor conditions. Under ideal humidity, wood tones may dry in about 2 hours while deep colors can take 12 to 18. Damp Seattle indoor air extends drying time, so follow the manufacturer's numbers and give the floor extra time when your home is humid.
Do you need polyurethane or another finish after staining?
Yes. Stain is only color and offers little protection. You need a compatible protective finish on top, whether oil based or water based, to guard against wear, moisture, and spills. Follow the label for coat count and cure time. Testing the shade in an inconspicuous area first helps you get pretty close to the same result across the whole room.
What happens if you don't wipe off excess stain?
Leftover stain dries unevenly, leaves patchy lap lines and tacky spots, and can prevent your finish coats from adhering properly. Wiping the excess within the manufacturer's window is essential to the result.
How do you dispose of stain rags and leftover solvents in King County?
Store oily rags in a water-filled metal container, never in a pile, since they can spontaneously combust. King County accepts leftover solvents and thinner at household hazardous waste sites in containers of 5 gallons or less, up to 50 gallons per trip.
More Posts
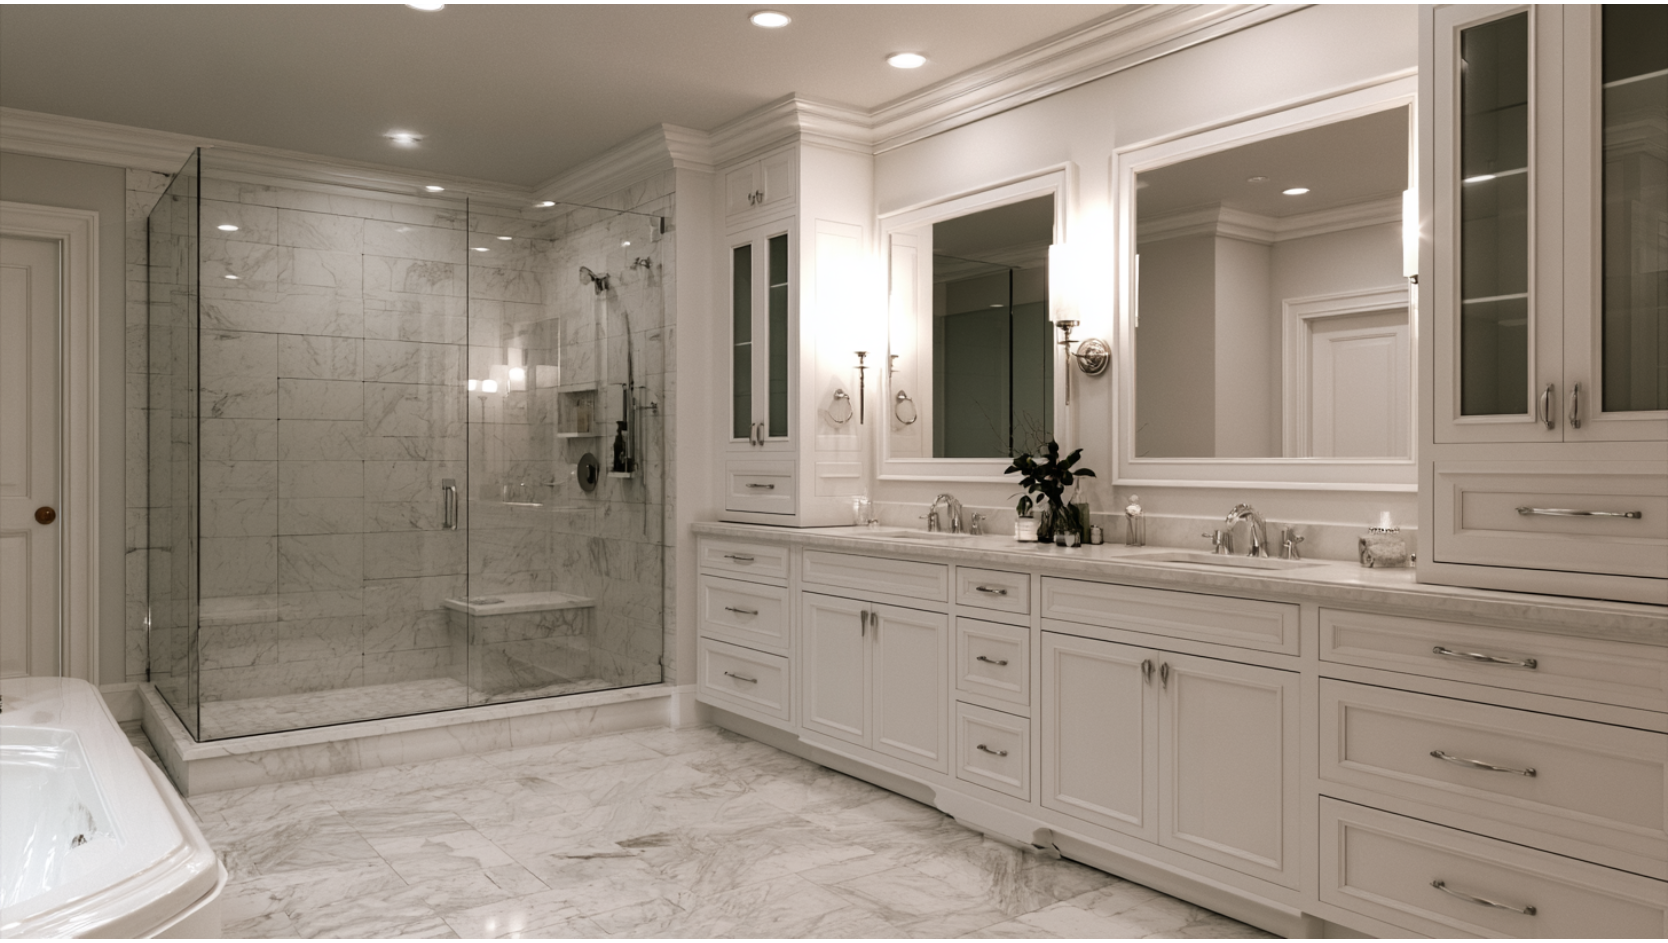
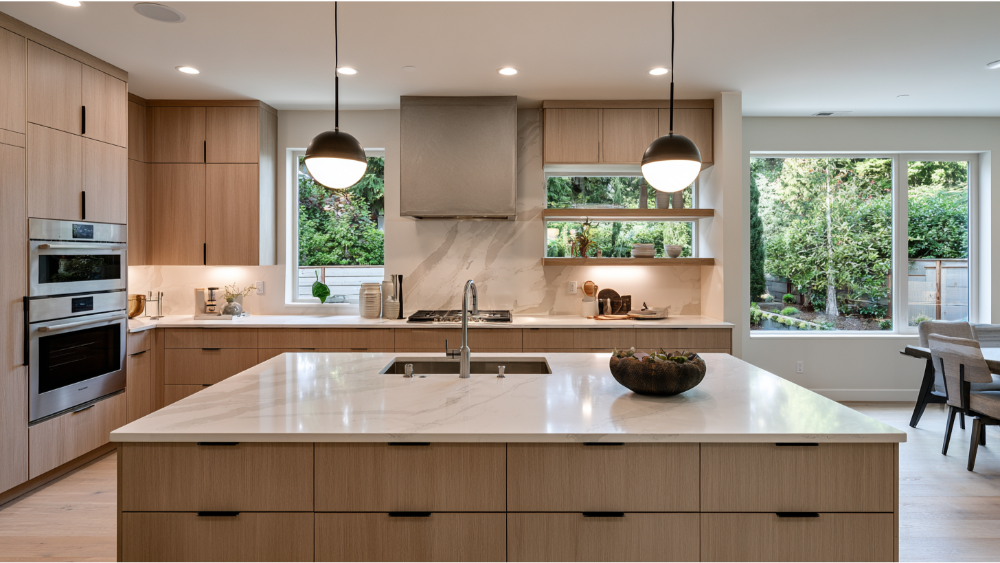
Looking for more posts on caring for and updating your home? We share practical guides on flooring, kitchens, bathrooms, and whole-home remodels for Bellevue and greater Seattle homeowners.
.webp)
.svg)


.webp)

.webp)